TAD-725 specifications
The Radio Shack TAD-725 is an advanced telephone answering device that became popular in the late 1990s and early 2000s. It embodies a range of features that cater to both functionality and user convenience, making it a staple for many households during its time.One of the standout characteristics of the TAD-725 is its digital recording capability. Unlike older tape-based answering machines, the TAD-725 utilizes digital technology to store messages, ensuring a more reliable and clearer audio quality. This shift not only enhances sound fidelity but also reduces the wear and tear associated with traditional tape mechanisms, leading to a longer lifespan for the device.
The TAD-725 is designed to accommodate up to 60 minutes of recording time. This ample capacity allows users to receive multiple messages without the worry of running out of storage space. The device also features a customizable announcement function, allowing users to record a personal greeting that can provide callers with a warm and familiar touch.
User-friendliness is another hallmark of the TAD-725. It includes an intuitive interface with easy-to-use controls, such as buttons for playback, recording, and deleting messages. Additionally, a built-in LCD screen displays important information like the number of messages received and the current status of the unit, further enhancing user experience.
The TAD-725 also comes equipped with features such as call screening, allowing users to listen to messages as they are being recorded in real-time. This feature is particularly useful for determining the importance of calls and deciding whether to intercept. The device includes a date and time stamp on recorded messages, granting users the ability to keep track of when messages were left, which offers additional context and organization.
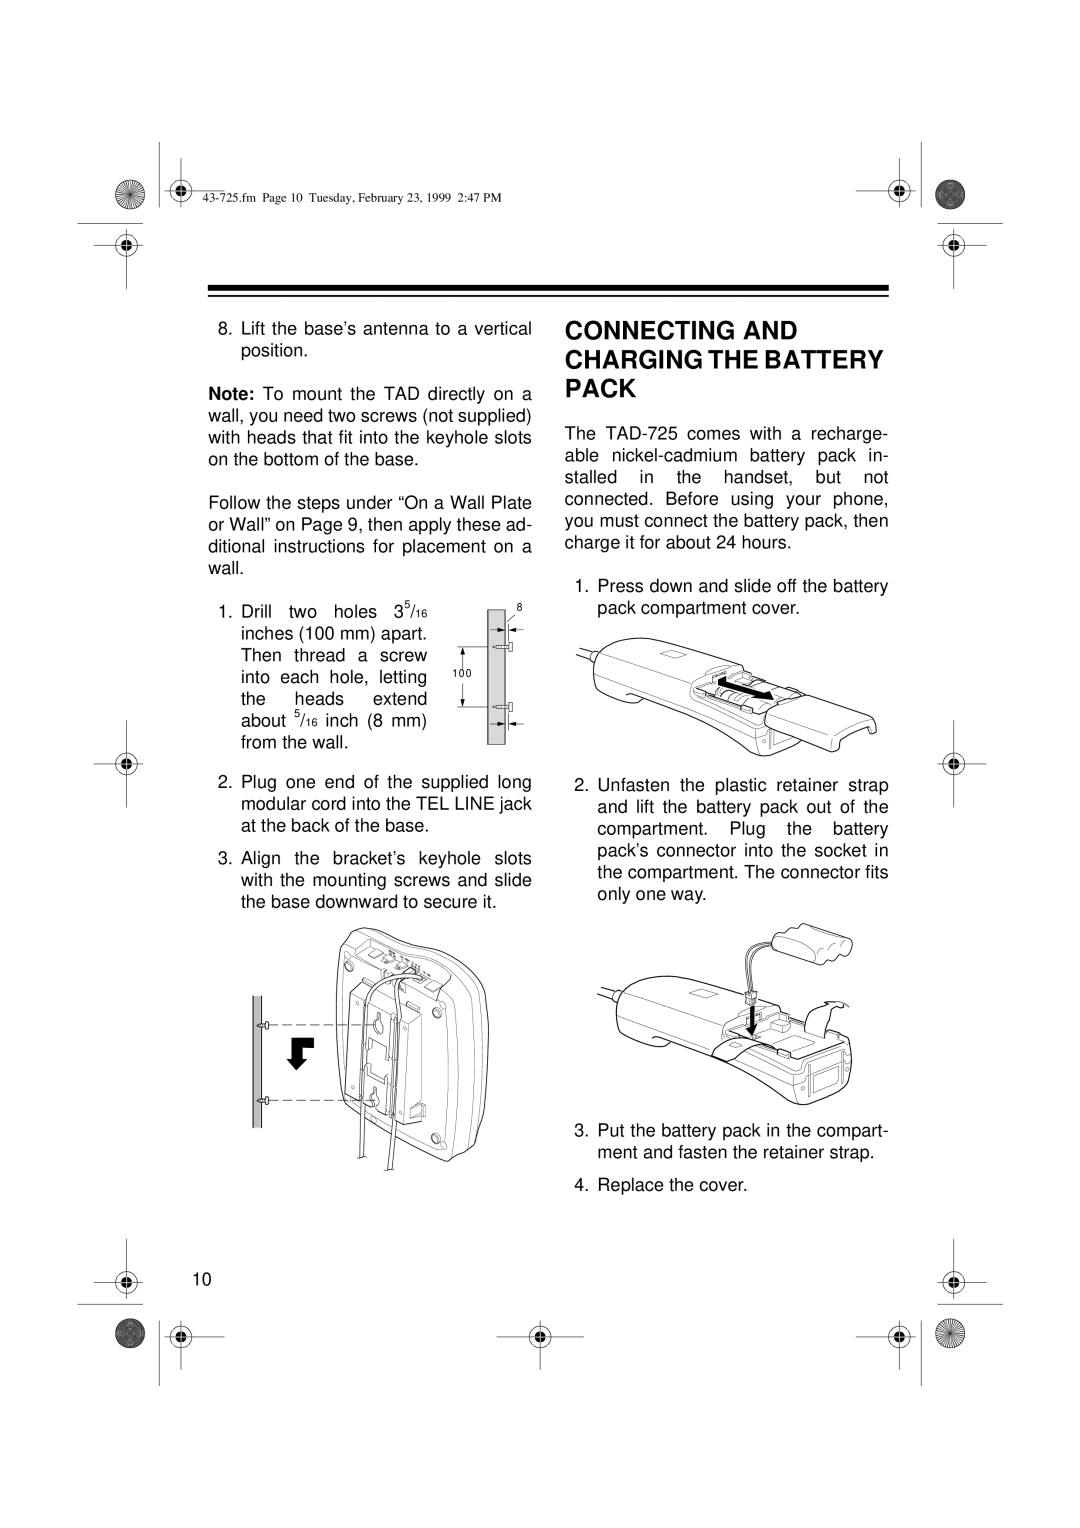
Another technological aspect is the TAD-725’s compatibility with a variety of telephone systems. It connects easily to both landlines and certain digital phone services, making it a versatile addition to any home. Furthermore, the unit boasts a battery backup feature, ensuring that it remains operational even during power outages, so users never miss an important message.
In conclusion, the Radio Shack TAD-725 telephone answering machine encompasses a blend of reliability, clarity, and user-friendliness. Its digital recording capabilities, ample storage, and features such as call screening and battery backup make it a notable device in the evolution of communication technology. Even today, it remains a reference point for the standards of answering machines from its time.

