WARNING – SERVICING TO BE CARRIED OUT ONLY BY AN AUTHORISED PERSON
Disconnect from electricity before servicing. Check appliance is safe when you have finished.
21.To Replace an Oven Fan
Disconnect from electricity supply.
Pull the cooker forward to gain access to the rear. Remove the screws securing the electric cover to the back sheet and remove the cover.
Disconnect the three terminals connected to the fan noting their position. Remove the oven inner back (see 19). Hold the fan blade and remove the centre nut
22.To Remove Grill Element
Disconnect from electricity supply.
Remove grill pan from inside the grill compartment; remove the enamelled front shield from the grill roof, by undoing the two screws and washers.
Remove the two screws and washers securing the grill element front support. Remove the screws from the grill element.
Lift the element out carefully, disconnecting the leads from the element terminals (noting their position). If it is not possible to disconnect the leads in this way, pull the cooker forward to gain access to the rear, remove the screws securing the electric cover to the back sheet, remove the cover and disconnect the terminals from the rear.
Fit the new element and reassemble in reverse order. Check the operation of the grill.
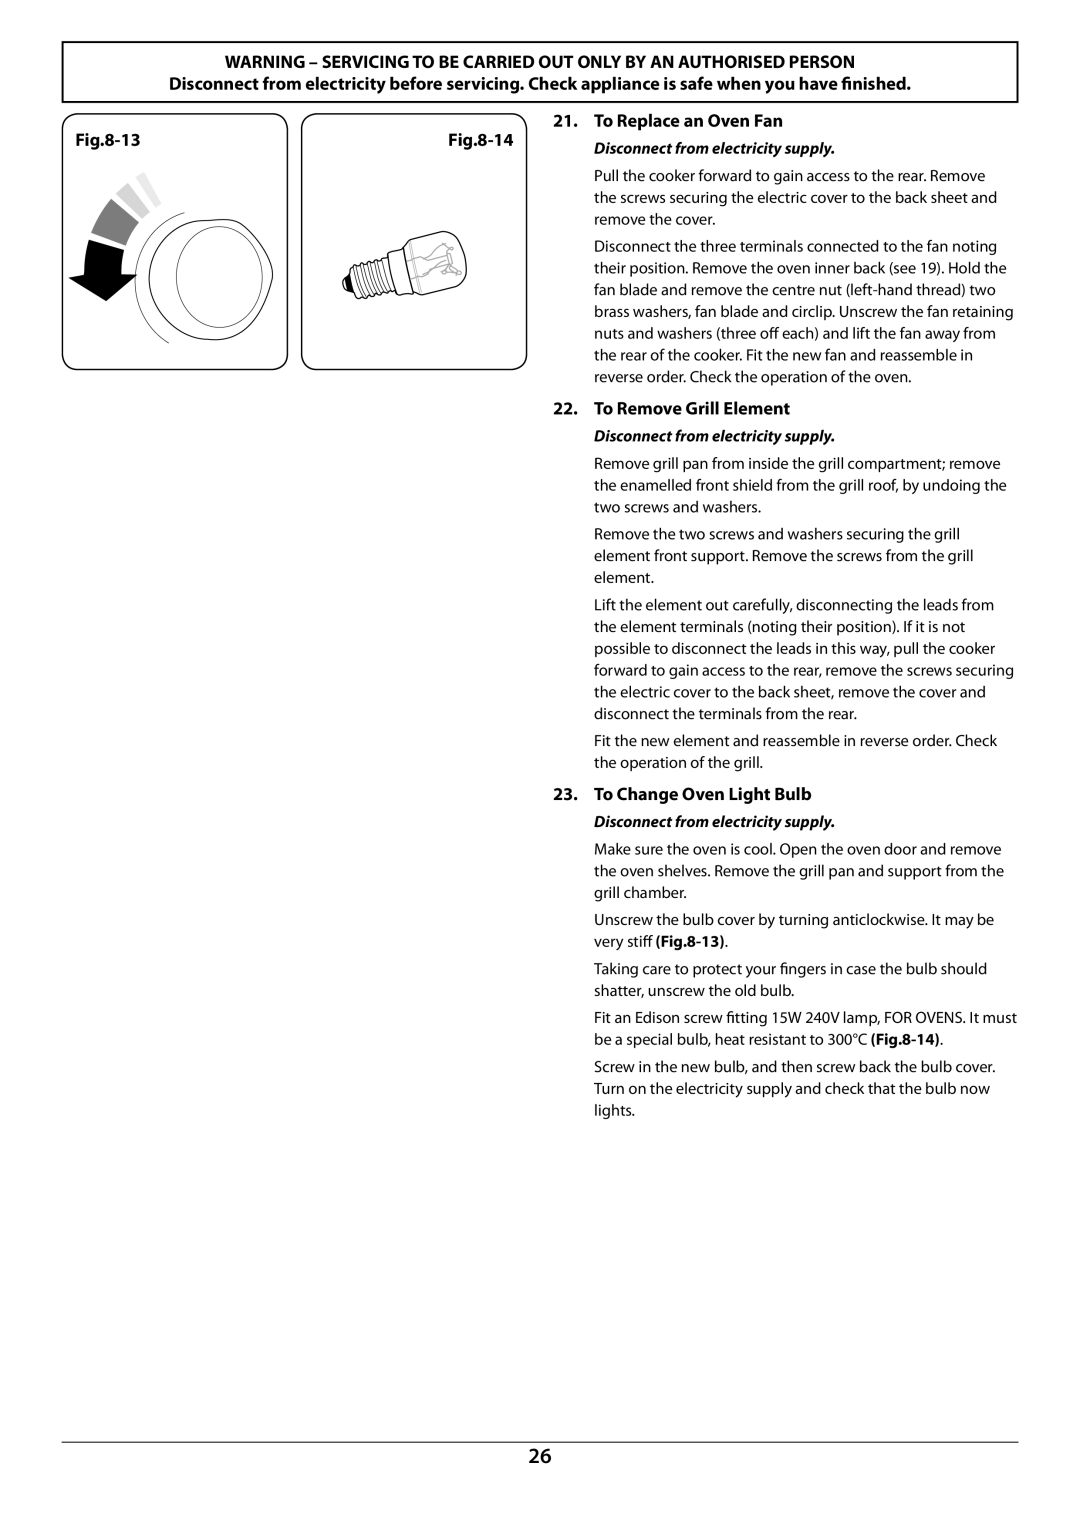
23.To Change Oven Light Bulb
Disconnect from electricity supply.
Make sure the oven is cool. Open the oven door and remove the oven shelves. Remove the grill pan and support from the grill chamber.
Unscrew the bulb cover by turning anticlockwise. It may be very stiff
Taking care to protect your fingers in case the bulb should shatter, unscrew the old bulb.
Fit an Edison screw fitting 15W 240V lamp, FOR OVENS. It must be a special bulb, heat resistant to 300°C
Screw in the new bulb, and then screw back the bulb cover. Turn on the electricity supply and check that the bulb now lights.
26