Connections & Setup
Turning on your receiver for the first time
You have completed the connection steps and are ready to start using your DIRECTV® HD
Receiver. The first step is to turn on the HD Receiver.
1.Turn on your TV and set it to display the signal from your HD Receiver.
If you connected the HD Receiver to video input jacks on your TV, you will need to set your TV to display the input from these jacks. Usually this is done by pressing a VIDEO, INPUT, or MODE button on your TV’s remote control. (See page 13 or the manual for your TV if you need help.)
If you connected the HD Receiver to an
2.Press the ON•OFF button on the HD Receiver’s remote control or POWER on the front of the HD Receiver (the light on the front panel turns on).
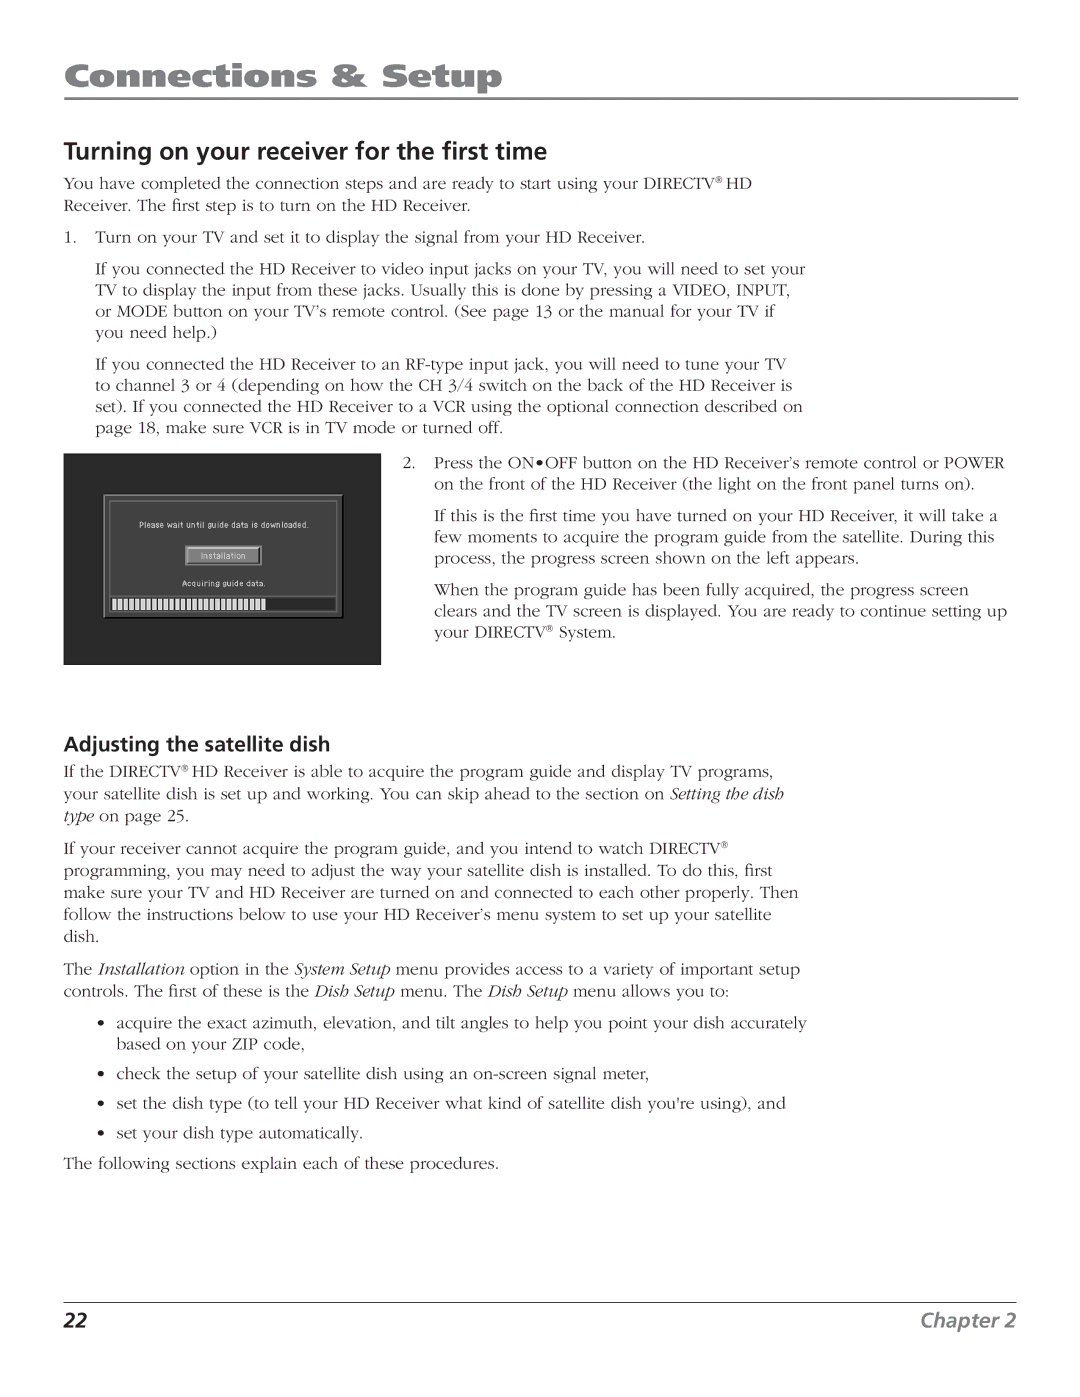
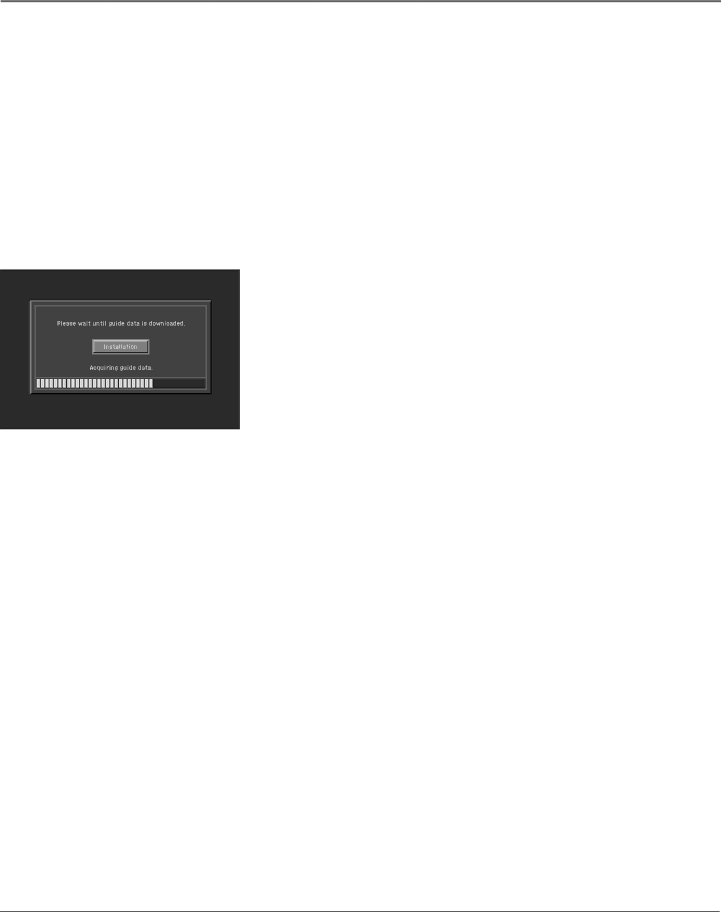
If this is the first time you have turned on your HD Receiver, it will take a few moments to acquire the program guide from the satellite. During this process, the progress screen shown on the left appears.
When the program guide has been fully acquired, the progress screen clears and the TV screen is displayed. You are ready to continue setting up your DIRECTV® System.
Adjusting the satellite dish
If the DIRECTV® HD Receiver is able to acquire the program guide and display TV programs, your satellite dish is set up and working. You can skip ahead to the section on Setting the dish type on page 25.
If your receiver cannot acquire the program guide, and you intend to watch DIRECTV® programming, you may need to adjust the way your satellite dish is installed. To do this, first make sure your TV and HD Receiver are turned on and connected to each other properly. Then follow the instructions below to use your HD Receiver’s menu system to set up your satellite dish.
The Installation option in the System Setup menu provides access to a variety of important setup controls. The first of these is the Dish Setup menu. The Dish Setup menu allows you to:
•acquire the exact azimuth, elevation, and tilt angles to help you point your dish accurately based on your ZIP code,
•check the setup of your satellite dish using an
•set the dish type (to tell your HD Receiver what kind of satellite dish you're using), and
•set your dish type automatically.
The following sections explain each of these procedures.
22 | Chapter 2 |