Using the TV’s Menu System

0 Go Back

1 Picture Settings

2 Picture Presets

3 Auto Color

4 Color Warmth

5 Noise Reduction

6 Green Stretch

7 EdgeSVM Enhancement

8 Contrast Expand

9 Advanced Settings

Main Menu Picture Quality

Off

Low

High

A change in this screen is applied to all inputs.

Press ￿ or ￿ to point to an option, then press OK to select it. Press ￿to return to the menu.

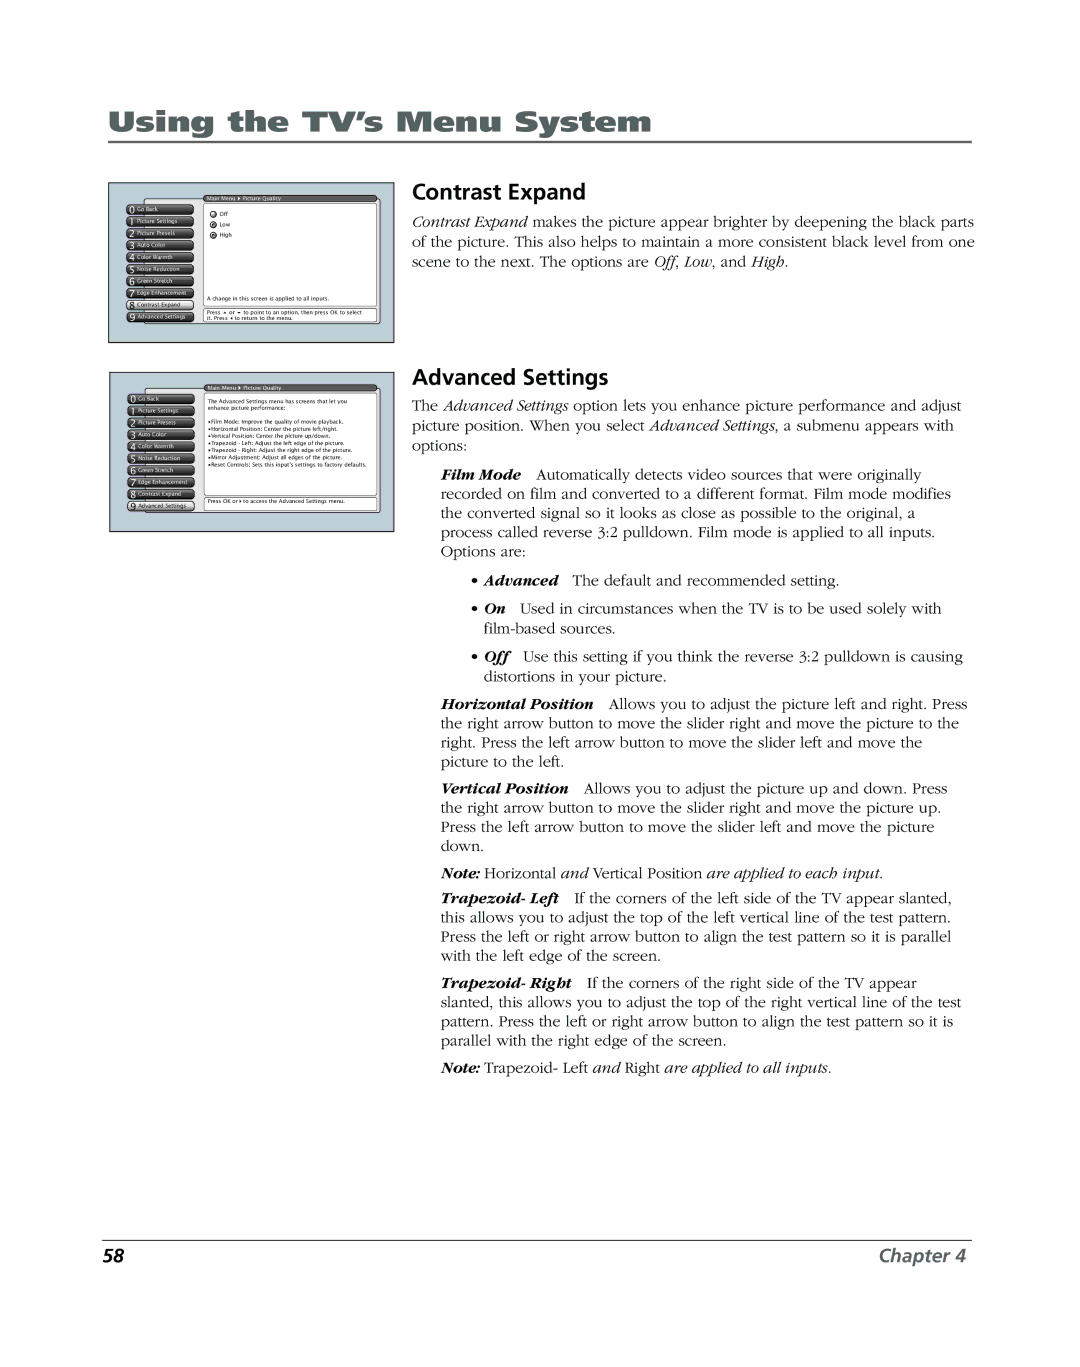
Contrast Expand

Contrast Expand makes the picture appear brighter by deepening the black parts of the picture. This also helps to maintain a more consistent black level from one scene to the next. The options are Off, Low, and High.

0 Go Back

1 Picture Settings

2 Picture Presets

3 Auto Color

4 Color Warmth

5 Noise Reduction

6 Green Stretch

7 Edge Enhancement

8 ResetContrastControlsExpand

9 AdvancedReset ControlsSettings

Main Menu Picture Quality

The Advanced Settings menu has screens that let you enhance picture performance:

•Film Mode: Improve the quality of movie playback.

•Horizontal Position: Center the picture left/right.

•Vertical Position: Center the picture up/down.

•Trapezoid - Left: Adjust the left edge of the picture.

•Trapezoid - Right: Adjust the right edge of the picture.

•Mirror Adjustment: Adjust all edges of the picture.

•Reset Controls: Sets this input's settings to factory defaults.

Press OK or￿to access the Advanced Settings menu.

Advanced Settings

The Advanced Settings option lets you enhance picture performance and adjust picture position. When you select Advanced Settings, a submenu appears with options:

Film Mode Automatically detects video sources that were originally recorded on film and converted to a different format. Film mode modifies the converted signal so it looks as close as possible to the original, a process called reverse 3:2 pulldown. Film mode is applied to all inputs. Options are:

Advanced The default and recommended setting.

On Used in circumstances when the TV is to be used solely with film-based sources.

Off Use this setting if you think the reverse 3:2 pulldown is causing distortions in your picture.

Horizontal Position Allows you to adjust the picture left and right. Press the right arrow button to move the slider right and move the picture to the right. Press the left arrow button to move the slider left and move the picture to the left.

Vertical Position Allows you to adjust the picture up and down. Press the right arrow button to move the slider right and move the picture up. Press the left arrow button to move the slider left and move the picture down.

Note: Horizontal and Vertical Position are applied to each input.

Trapezoid- Left If the corners of the left side of the TV appear slanted, this allows you to adjust the top of the left vertical line of the test pattern. Press the left or right arrow button to align the test pattern so it is parallel with the left edge of the screen.

Trapezoid- Right If the corners of the right side of the TV appear slanted, this allows you to adjust the top of the right vertical line of the test pattern. Press the left or right arrow button to align the test pattern so it is parallel with the right edge of the screen.

Note: Trapezoid- Left and Right are applied to all inputs.

58

Chapter 4

Page 60
Image 60
RCA DVR2080, DVR2160 manual Contrast Expand, Advanced Settings

DVR2080, DVR2160 specifications

The RCA DVR2160 and DVR2080 are advanced digital video recorders that have solidified their place in the home entertainment sector. Both models offer a compelling array of features and technologies designed to enhance user experience while delivering high-quality video recording and playback.

Starting with the RCA DVR2160, this model features a twin tuner system that allows users to watch one program while simultaneously recording another. This is particularly beneficial for families with varied viewing preferences. The DVR2160 has a storage capacity that can accommodate a significant number of hours of video content, allowing viewers to record their favorite shows without worrying about space constraints. The user interface is intuitive, making it easy to navigate through recorded content and scheduled programs.

One of the standout technologies in the DVR2160 is its digital video upscaling capability. This feature enhances standard definition content to near high-definition quality, providing an improved viewing experience for older content. Additionally, the unit supports various formats, including MPEG-2 and MPEG-4, which is essential for compatibility with different broadcasting standards.

Moving on to the RCA DVR2080, this model is a more budget-friendly option but doesn't skimp on essential features. The DVR2080 also boasts a twin tuner system, enabling simultaneous viewing and recording, similar to its counterpart. The storage capacity, while slightly lower than the DVR2160, still offers ample recording time for regular users.

One of the key characteristics of the DVR2080 is its user-friendly scheduling feature, which enables users to set recordings in advance with ease. This model also includes an electronic program guide that allows viewers to browse through available programming and set recordings with just a few clicks.

Both DVR models come equipped with HDMI outputs, ensuring high-quality video transmission to compatible TVs. They also support USB connections, allowing users to expand their storage or connect to additional devices easily.

In conclusion, the RCA DVR2160 and DVR2080 provide a versatile and user-friendly experience for anyone looking to take control of their viewing habits. With their dual tuner systems, ample storage, and advanced technologies, these DVRs are committed to making every viewer's experience enjoyable and hassle-free. Whether you are a casual viewer or a dedicated binge-watcher, RCA's DVR options cater to a variety of needs.