INTERACTIVE SETUP
LABELING THE CHANNELS
This last step in the Interactive Setup lets you edit your channel list and label your channels. (For more, see List and Labels in the Features and Menus section.)
SETUP
Would you like to name each channel?
![]() 1 Name channels 2 Skip this step
1 Name channels 2 Skip this step
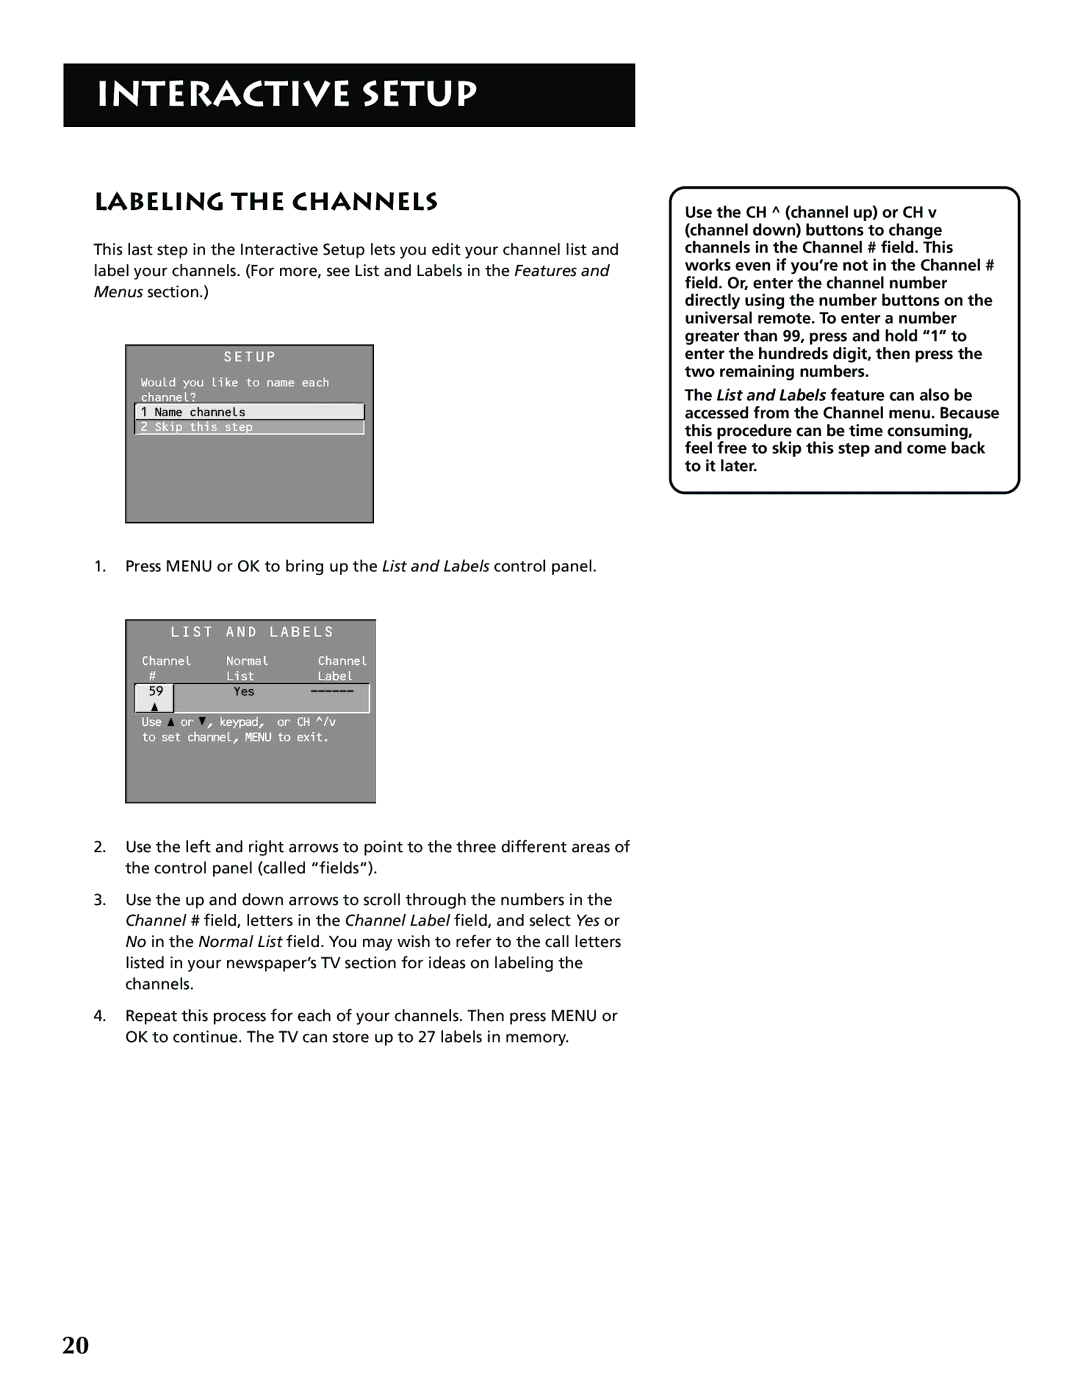
1.Press MENU or OK to bring up the List and Labels control panel.
LIST AND LABELS
Channel | Normal | Channel | |
# |
| List | Label |
59 |
| Yes | |
|
|
|
|
Use ![]() or
or ![]() , keypad, or CH ^/v to set channel, MENU to exit.
, keypad, or CH ^/v to set channel, MENU to exit.
2.Use the left and right arrows to point to the three different areas of the control panel (called “fields”).
3.Use the up and down arrows to scroll through the numbers in the Channel # field, letters in the Channel Label field, and select Yes or No in the Normal List field. You may wish to refer to the call letters listed in your newspaper’s TV section for ideas on labeling the channels.
4.Repeat this process for each of your channels. Then press MENU or OK to continue. The TV can store up to 27 labels in memory.
Use the CH ^ (channel up) or CH v (channel down) buttons to change channels in the Channel # field. This works even if you’re not in the Channel # field. Or, enter the channel number directly using the number buttons on the universal remote. To enter a number greater than 99, press and hold “1” to enter the hundreds digit, then press the two remaining numbers.
The List and Labels feature can also be accessed from the Channel menu. Because this procedure can be time consuming, feel free to skip this step and come back to it later.
20
