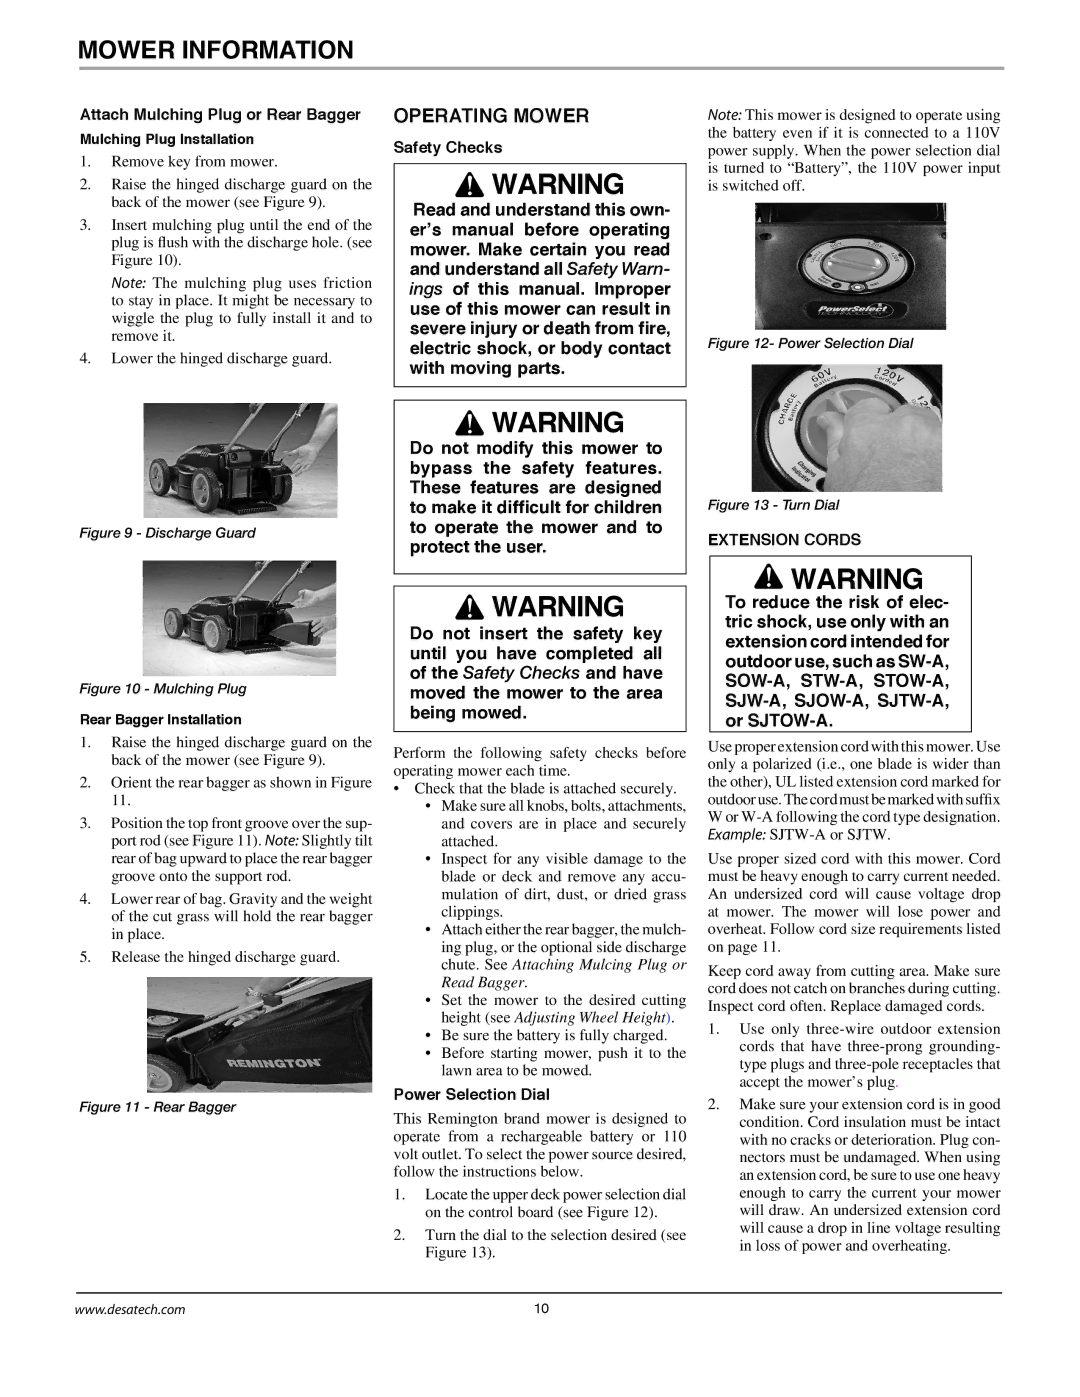
MOWER INFORMATION

Attach Mulching Plug or Rear Bagger

Mulching Plug Installation

1.Remove key from mower.

2.Raise the hinged discharge guard on the back of the mower (see Figure 9).

3.Insert mulching plug until the end of the plug is flush with the discharge hole. (see Figure 10).

Note: The mulching plug uses friction to stay in place. It might be necessary to wiggle the plug to fully install it and to remove it.

4.Lower the hinged discharge guard.

OPERATING MOWER

Safety Checks

WARNING

Read and understand this own- er’s manual before operating mower. Make certain you read and understand all Safety Warn- ings of this manual. Improper use of this mower can result in severe injury or death from fire, electric shock, or body contact with moving parts.

Note: This mower is designed to operate using the battery even if it is connected to a 110V power supply. When the power selection dial is turned to “Battery”, the 110V power input is switched off.

Figure 12- Power Selection Dial

Figure 9 - Discharge Guard

Figure 10 - Mulching Plug

Rear Bagger Installation

1.Raise the hinged discharge guard on the back of the mower (see Figure 9).

2.Orient the rear bagger as shown in Figure 11.

3.Position the top front groove over the sup- port rod (see Figure 11). Note: Slightly tilt rear of bag upward to place the rear bagger groove onto the support rod.

4.Lower rear of bag. Gravity and the weight of the cut grass will hold the rear bagger in place.

5.Release the hinged discharge guard.

Figure 11 - Rear Bagger

WARNING

Do not modify this mower to bypass the safety features. These features are designed to make it difficult for children to operate the mower and to protect the user.

WARNING

Do not insert the safety key until you have completed all of the Safety Checks and have moved the mower to the area being mowed.

Perform the following safety checks before operating mower each time.

Check that the blade is attached securely.

Make sure all knobs, bolts, attachments, and covers are in place and securely attached.

Inspect for any visible damage to the blade or deck and remove any accu- mulation of dirt, dust, or dried grass clippings.

Attach either the rear bagger, the mulch- ing plug, or the optional side discharge chute. See Attaching Mulcing Plug or Read Bagger.

Set the mower to the desired cutting height (see Adjusting Wheel Height).

Be sure the battery is fully charged.

Before starting mower, push it to the lawn area to be mowed.

Power Selection Dial

This Remington brand mower is designed to operate from a rechargeable battery or 110 volt outlet. To select the power source desired, follow the instructions below.

1.Locate the upper deck power selection dial on the control board (see Figure 12).

2.Turn the dial to the selection desired (see Figure 13).

Figure 13 - Turn Dial

EXTENSION CORDS

WARNING

To reduce the risk of elec- tric shock, use only with an extension cord intended for outdoor use, such as SW-A, SOW-A, STW-A, STOW-A, SJW-A, SJOW-A, SJTW-A, or SJTOW-A.

Use proper extension cord with this mower. Use only a polarized (i.e., one blade is wider than the other), UL listed extension cord marked for outdoor use. The cord must be marked with suffix W or W-A following the cord type designation. Example: SJTW-A or SJTW.

Use proper sized cord with this mower. Cord must be heavy enough to carry current needed. An undersized cord will cause voltage drop at mower. The mower will lose power and overheat. Follow cord size requirements listed on page 11.

Keep cord away from cutting area. Make sure cord does not catch on branches during cutting. Inspect cord often. Replace damaged cords.

1.Use only three-wire outdoor extension cords that have three-prong grounding- type plugs and three-pole receptacles that accept the mower’s plug.

2.Make sure your extension cord is in good condition. Cord insulation must be intact with no cracks or deterioration. Plug con- nectors must be undamaged. When using an extension cord, be sure to use one heavy enough to carry the current your mower will draw. An undersized extension cord will cause a drop in line voltage resulting in loss of power and overheating.

www.desatech.com

10

Page 10
Image 10
Remington Power Tools MPS6017A Operating Mower, Attach Mulching Plug or Rear Bagger, Safety Checks, Power Selection Dial

MPS6017A specifications

The Remington Power Tools MPS6017A is a versatile and powerful multi-purpose saw designed for both professionals and home enthusiasts. This tool stands out among its competitors due to its innovative features and user-friendly design, making it an essential addition to any toolbox.

One of the standout characteristics of the MPS6017A is its robust 6 AMP motor, delivering sufficient power for cutting through various materials, including wood, plastic, and metal. This motor ensures consistent performance, enabling users to complete tasks efficiently. The saw's variable speed control allows for a customizable cutting experience, making it suitable for a wide range of applications, from intricate cuts to heavy-duty tasks.

The MPS6017A is equipped with a patented laser guide system that enhances precision during cuts. This technology provides a visual reference line, ensuring accuracy and helping to achieve clean, straight cuts every time. Coupled with the adjustable cutting depth feature, users can easily select the appropriate depth for their specific project, offering flexibility and control.

Another noteworthy feature is the tool-less blade change system, which simplifies the process of swapping blades. This means that users can quickly and efficiently change blades without needing additional tools, significantly reducing downtime between cuts. The saw also supports a variety of blade types, accommodating different cutting styles and preferences.

In terms of design, the MPS6017A boasts a lightweight and ergonomic structure, providing comfort during extended use. The soft-grip handle adds to user comfort and reduces fatigue, making it ideal for prolonged projects. Furthermore, the integrated dust blower keeps the cutting line clear, enhancing visibility and ensuring accuracy.

Safety is paramount in the design of the MPS6017A. It includes features such as a safety lock switch and a protective blade guard, which help prevent accidental starts and protect users from potential injuries.

Overall, the Remington Power Tools MPS6017A is an exceptional multi-purpose saw that combines power, precision, and safety. Its range of advanced features and user-oriented design make it a reliable option for anyone looking to tackle a variety of cutting tasks with ease and precision. Whether for weekend DIY projects or professional applications, the MPS6017A is equipped to handle it all, making it a valuable investment for any toolkit.