Operation
Tools
CAUTION:
First, disconnect the vacuum cleaner from the electrical outlet.
Unclogging nozzle and hose
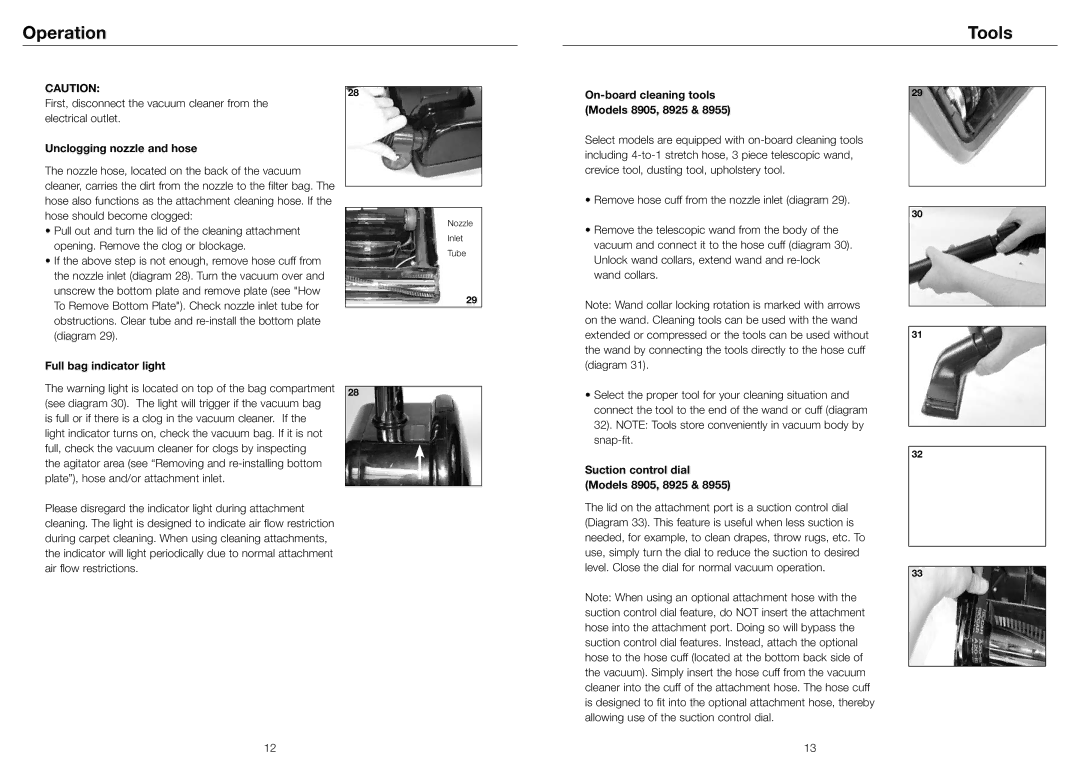
The nozzle hose, located on the back of the vacuum cleaner, carries the dirt from the nozzle to the filter bag. The hose also functions as the attachment cleaning hose. If the hose should become clogged:
•Pull out and turn the lid of the cleaning attachment opening. Remove the clog or blockage.
•If the above step is not enough, remove hose cuff from the nozzle inlet (diagram 28). Turn the vacuum over and unscrew the bottom plate and remove plate (see "How To Remove Bottom Plate"). Check nozzle inlet tube for obstructions. Clear tube and
Full bag indicator light
The warning light is located on top of the bag compartment (see diagram 30). The light will trigger if the vacuum bag is full or if there is a clog in the vacuum cleaner. If the light indicator turns on, check the vacuum bag. If it is not full, check the vacuum cleaner for clogs by inspecting
the agitator area (see “Removing and
Please disregard the indicator light during attachment cleaning. The light is designed to indicate air flow restriction during carpet cleaning. When using cleaning attachments, the indicator will light periodically due to normal attachment air flow restrictions.
28
Nozzle
Inlet
Tube
29
28
| 29 | |
(Models 8905, 8925 & 8955) |
| |
Select models are equipped with |
| |
including |
| |
crevice tool, dusting tool, upholstery tool. |
| |
• Remove hose cuff from the nozzle inlet (diagram 29). |
| |
| ||
| 30 | |
• Remove the telescopic wand from the body of the |
| |
vacuum and connect it to the hose cuff (diagram 30). |
| |
Unlock wand collars, extend wand and |
| |
wand collars. |
| |
Note: Wand collar locking rotation is marked with arrows |
| |
| ||
on the wand. Cleaning tools can be used with the wand |
| |
extended or compressed or the tools can be used without | 31 | |
the wand by connecting the tools directly to the hose cuff |
| |
(diagram 31). |
| |
• Select the proper tool for your cleaning situation and |
| |
connect the tool to the end of the wand or cuff (diagram |
| |
32). NOTE: Tools store conveniently in vacuum body by |
| |
| ||
| ||
| 32 | |
Suction control dial |
| |
(Models 8905, 8925 & 8955) |
| |
The lid on the attachment port is a suction control dial |
| |
(Diagram 33). This feature is useful when less suction is |
| |
needed, for example, to clean drapes, throw rugs, etc. To |
| |
use, simply turn the dial to reduce the suction to desired |
| |
| ||
level. Close the dial for normal vacuum operation. |
| |
33 | ||
| ||
Note: When using an optional attachment hose with the |
| |
suction control dial feature, do NOT insert the attachment |
| |
hose into the attachment port. Doing so will bypass the |
| |
suction control dial features. Instead, attach the optional |
| |
hose to the hose cuff (located at the bottom back side of |
| |
the vacuum). Simply insert the hose cuff from the vacuum |
| |
| ||
cleaner into the cuff of the attachment hose. The hose cuff |
| |
is designed to fit into the optional attachment hose, thereby |
| |
allowing use of the suction control dial. |
|
12
13 |
