2.With a marker, mark the edge where the motor meets the base (the edge farthest away from the pump).
3.Remove the belt guard bolt and nut.
4.Remove the front belt guard cover.
5.Loosen the four motor mounting bolts.
6.The belt tension will pull the motor toward the pump. Remove the belt from the unit and set it on the ground.
7.Using the reference mark made in step 1, move the motor approximately 1/4" past the mark (moving it away from the pump).
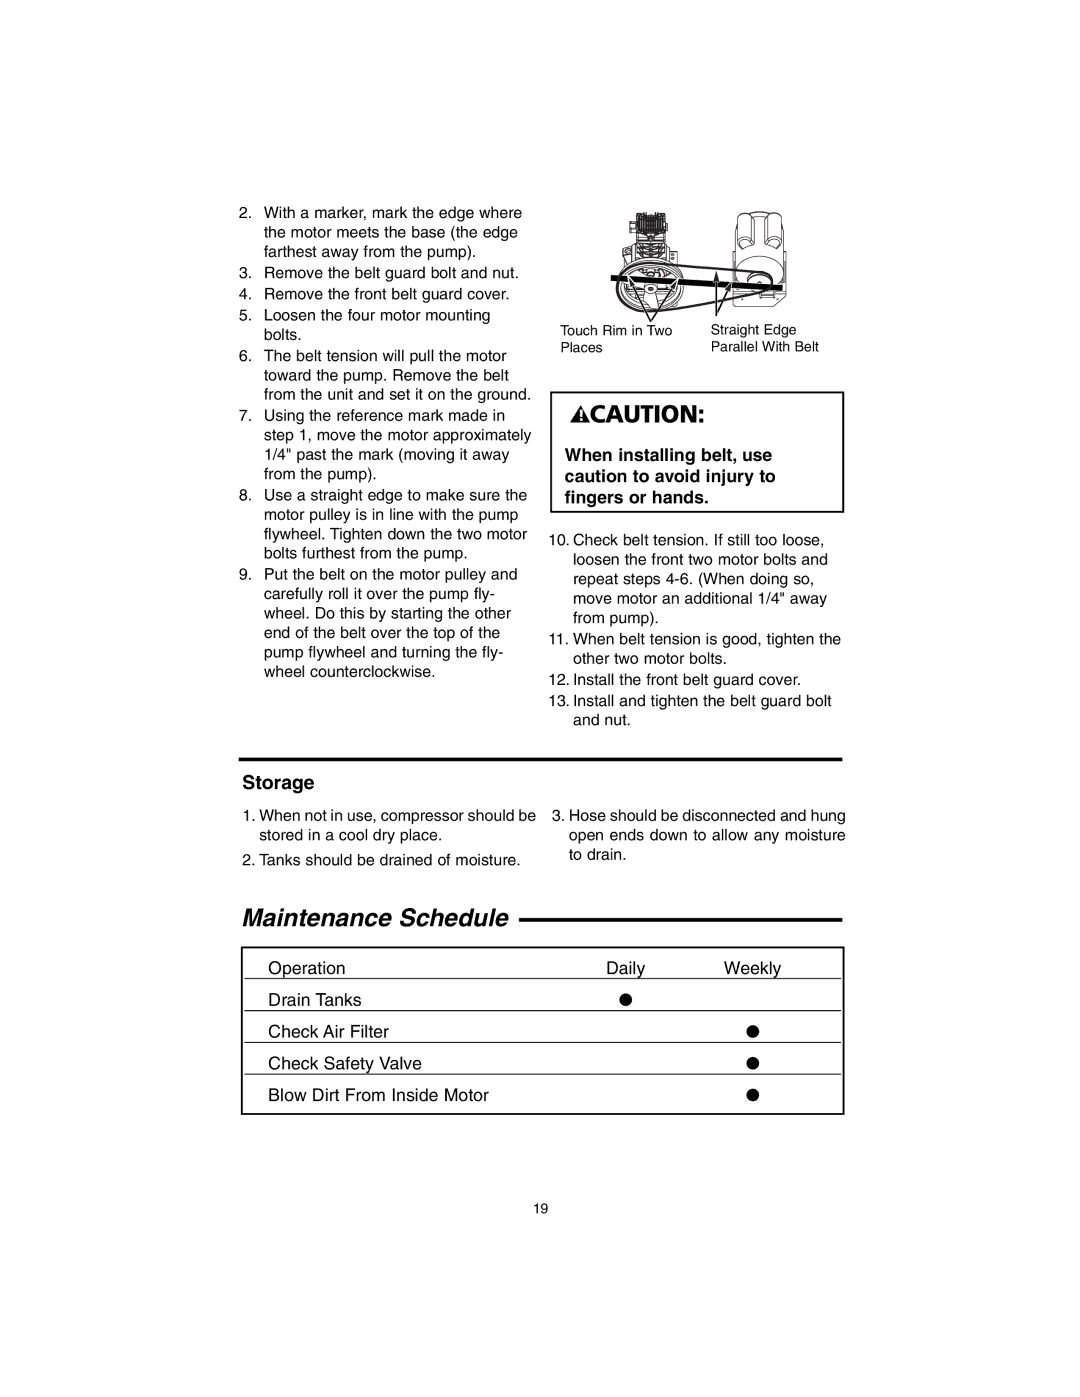
8.Use a straight edge to make sure the motor pulley is in line with the pump flywheel. Tighten down the two motor bolts furthest from the pump.
9.Put the belt on the motor pulley and carefully roll it over the pump fly- wheel. Do this by starting the other end of the belt over the top of the pump flywheel and turning the fly- wheel counterclockwise.
Touch Rim in Two | Straight Edge |
Places | Parallel With Belt |
!CAUTION:
When installing belt, use caution to avoid injury to fingers or hands.
10.Check belt tension. If still too loose, loosen the front two motor bolts and repeat steps
11.When belt tension is good, tighten the other two motor bolts.
12.Install the front belt guard cover.
13.Install and tighten the belt guard bolt and nut.
Storage
1.When not in use, compressor should be stored in a cool dry place.
2.Tanks should be drained of moisture.
3.Hose should be disconnected and hung open ends down to allow any moisture to drain.
Maintenance Schedule
| Operation | Daily | Weekly |
|
| Drain Tanks | ● |
|
|
| Check Air Filter |
| ● |
|
| Check Safety Valve |
| ● |
|
| Blow Dirt From Inside Motor |
| ● |
|
|
|
|
|
|
19