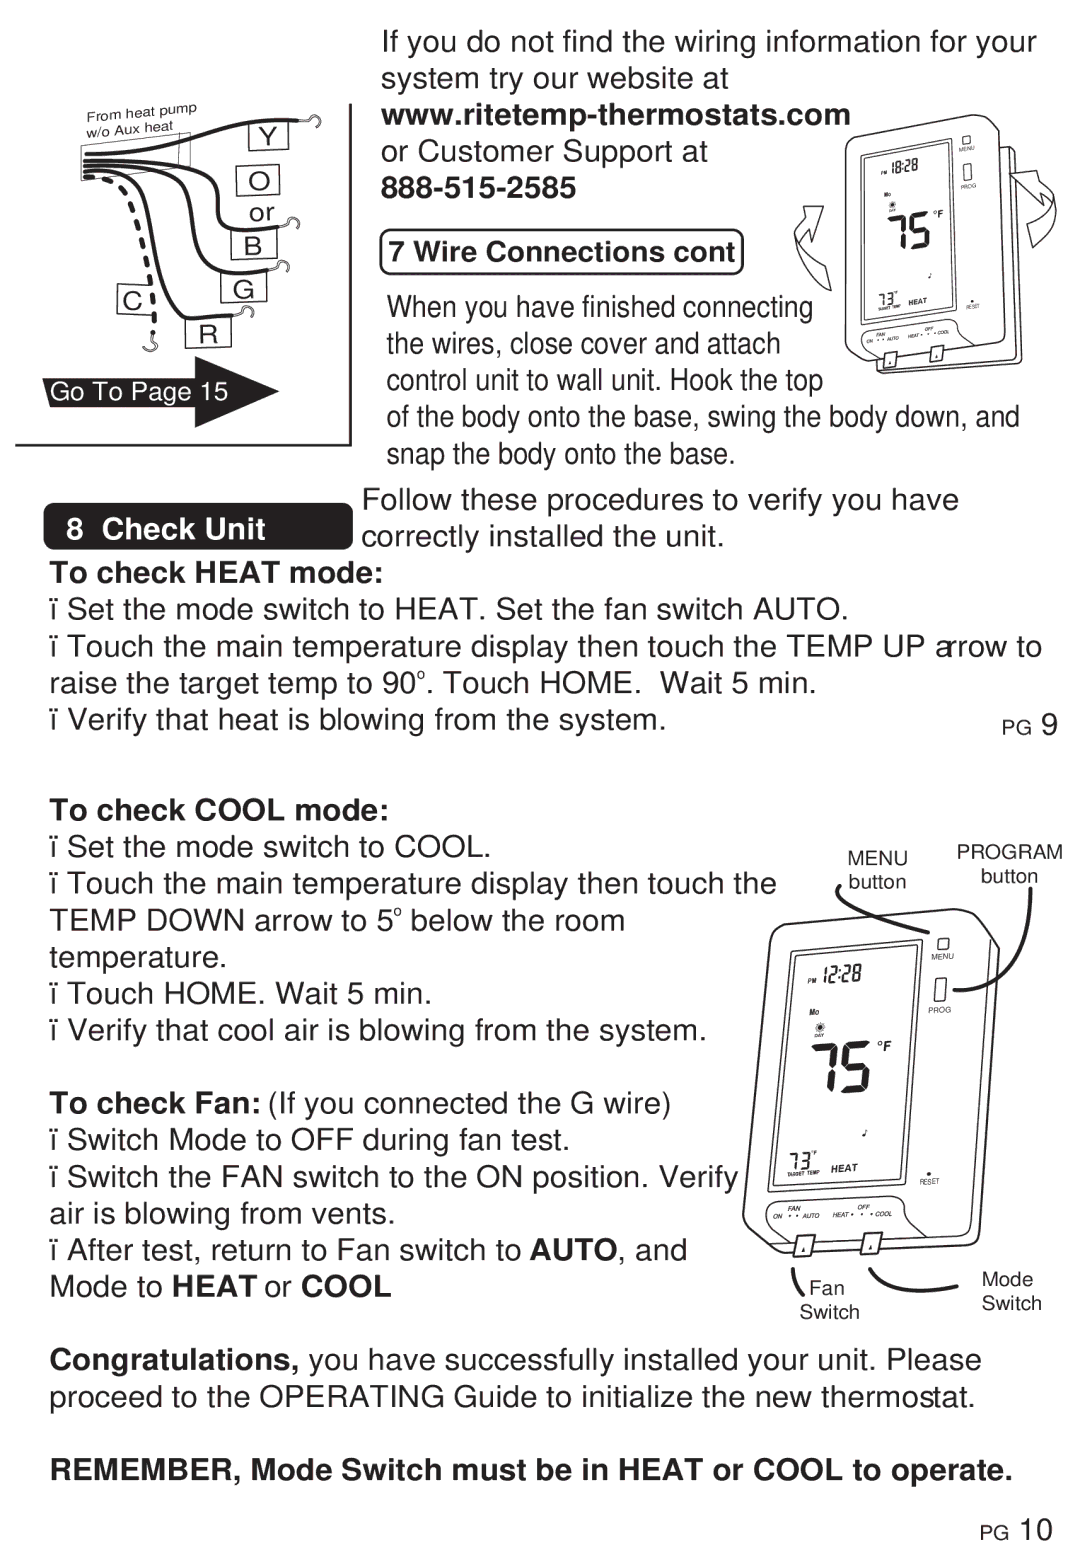
8035C specifications
The Ritetemp 8035C is a cutting-edge programmable thermostat designed to enhance comfort while maximizing energy efficiency in residential settings. This intuitive device offers a range of features that cater to both user convenience and effective climate control.One of the standout characteristics of the Ritetemp 8035C is its user-friendly interface. The large, easy-to-read digital display allows homeowners to quickly monitor and adjust temperature settings. With a simple touch of a button, users can navigate through various programming options, making it straightforward to set schedules that correspond with their daily routines.
The Ritetemp 8035C supports a 7-day programmable schedule, enabling users to customize heating and cooling settings for each day of the week. This flexibility ensures that energy usage is optimized, as the thermostat can be programmed to lower or increase temperatures during the night or when the home is unoccupied. This feature not only leads to comfort but also helps in reducing energy bills.
In terms of compatibility, the Ritetemp 8035C is versatile, as it works with both heating and cooling systems, including conventional and heat pump systems. This broad compatibility makes it an excellent choice for a variety of home heating and cooling set-ups.
The Ritetemp 8035C also boasts a built-in battery backup. This feature ensures that the thermostat maintains its settings during power outages, eliminating the need for reprogramming once the power is restored.
Another notable technology incorporated in the Ritetemp 8035C is its Smart Response technology. This innovative feature learns the user’s heating and cooling cycles to provide more efficient temperature control. By anticipating the user’s needs, it can adjust settings to ensure the desired comfort level is reached by the programmed time, effectively reducing energy consumption.
Beyond its technical capabilities, the Ritetemp 8035C is designed with aesthetic appeal in mind. Its sleek, modern design allows it to blend seamlessly into any home décor.
In summary, the Ritetemp 8035C is not just a thermostat but a comprehensive climate control solution that enhances comfort, promotes energy savings, and embraces modern design. Its programmable features, compatibility with various systems, and intelligent technology make it an ideal choice for homeowners seeking both functionality and ease of use.