Manuals
/
Roland
/
Musical Instruments & Equipment
/
Electronic Keyboard
Roland
HP-307
important safety instructions
For EU Countries
Models:
HP-307
1
87
88
88
Download
88 pages
38.23 Kb
81
82
83
84
85
86
87
88
Troubleshooting
Specification
Install
Error codes
Midi Implementation Chart
Split Point Power-up default F
Connecting the Speaker Cable
Maintenance
Setting up the Music Rest
Pedal connector
Page 87
Image 87
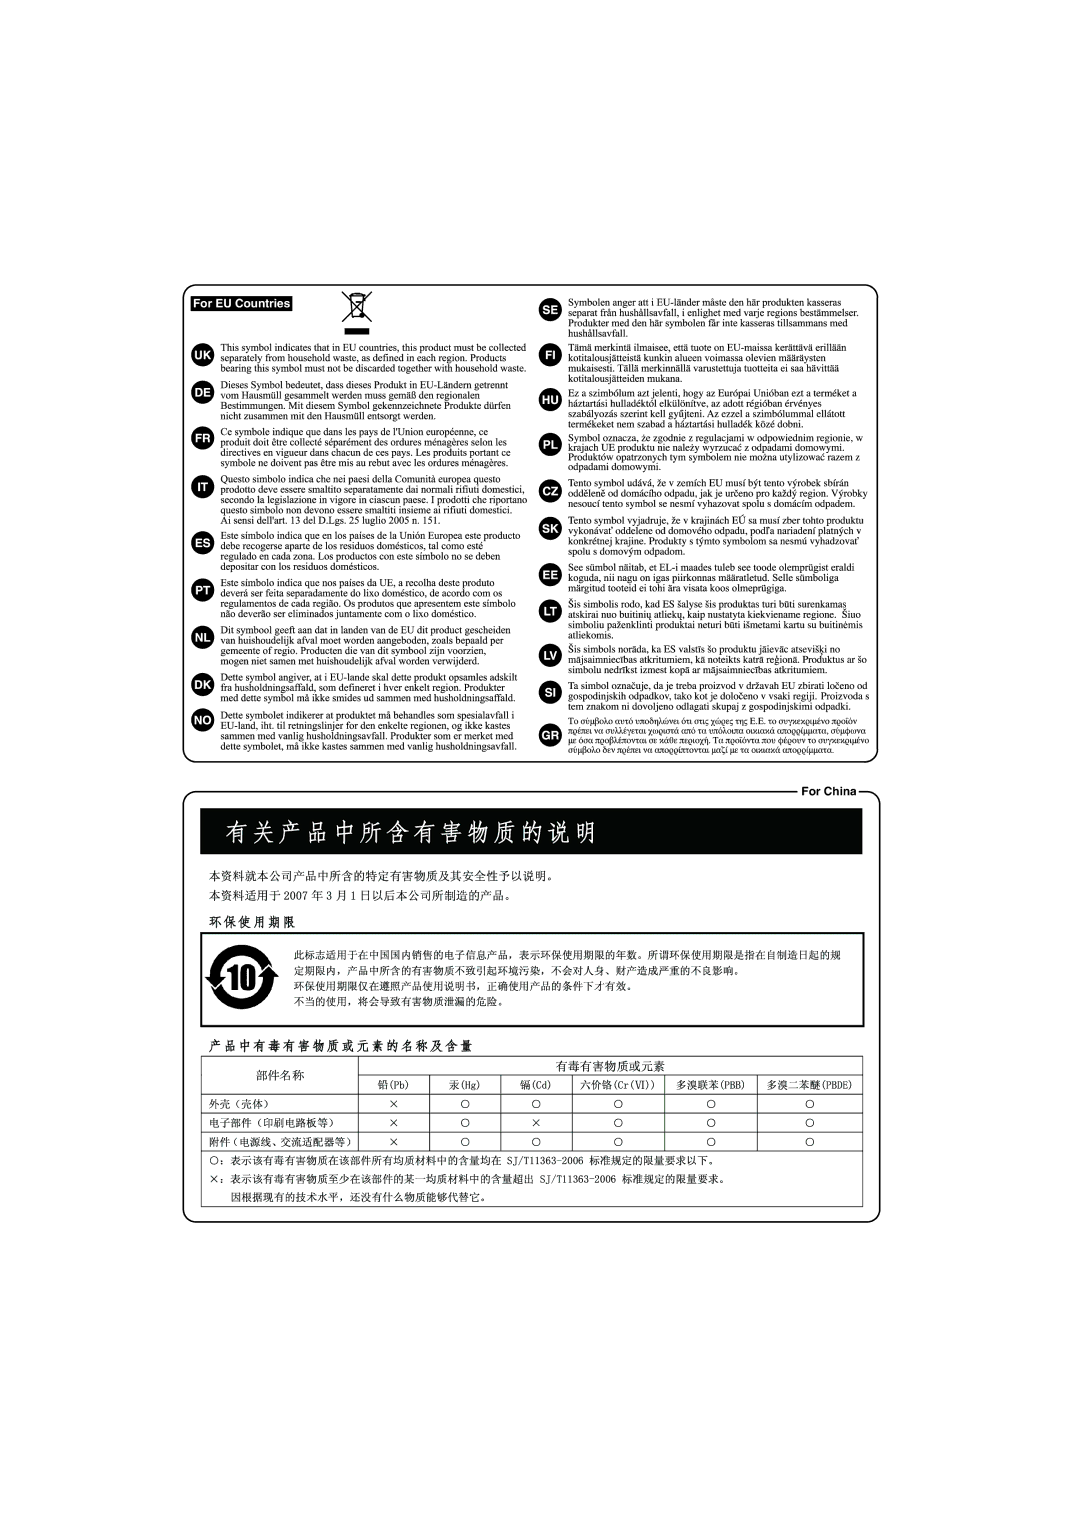
For EU Countries
For China
Page 86
Page 88
Page 87
Image 87
Page 86
Page 88
Contents
Important Safety Instructions
Use
Lessons at home
Now I can play it
Contents
Contents
Various Settings Connecting to Other Devices
Using the Unit Safely
Using the Unit Safely
Maintenance Polished-finish pianos
Power Supply
Placement
Maintenance
Handling USB Memory
Additional Precautions
Handling the Floppy Disk Drive
Handling Floppy Disks
Names of Things and What They Do
USB connector
Pedal connector
Midi Out/In connectors
Power switch
Before You Play
Connecting the Speaker Cable
Connecting the Pedal Cord
Connecting the Power Cord
Raising the music rest
Setting up the Music Rest
Using the music holders
Opening/Closing the Lid
Use the Volume slider to adjust the volume p
Turning the Power On/Off
Turning the Power On
Turning the Power Off
Turn the Display Contrast knob to adjust the brightness
Adjusting the Sound’s Volume
Adjusting the Brightness of the Display
Turn the Volume slider to adjust the overall volume
Attaching the Headphone Hook
Using the Headphones
Connecting the Headphones Using the Headphone Hook
Plug the headphones into the Phones jack
, press the Piano Designer button
Button with tone demo Demo content
Listening to Demo Songs
Listening to the Piano Designer demo songs
Sostenuto Pedal center pedal Soft Pedal left pedal
Using the Pedals
About the Adjuster
Damper Pedal right pedal
Press the Piano button
Performing
Performing with Various Sounds
About the tones you can select
Press the Metronome button
Performing with the Metronome
Changing the Metronome’s Tempo
Correspondence between beat and tempo display
Press the Song Tempo button
Adjusting the Metronome’s Volume
Metronome volume range
Changing the Metronome’s Time Signature
Press the button
Adding a Count-in to Synchronize Your Performance Count-in
Press the Reverb button
Adjusting the Depth of the Reverb Effect
Adding Reverberation to the Sound Reverb
What are Effects?
Hold down the Piano button and press the Strings button
Tone name Corresponding button How to select tones
Performing with Two layered Tones Dual Play
About the tones
Dividing the Keyboard for Two-person Performance Twin Piano
Press the Twin Piano button
Damper pedal
Hold down the Twin Piano button and press the or + button
Setting Description
Split Point Power-up default F
Press the Twin Piano button a number of times
Right-hand Tone
Press a tone button
Changing the Tones of the Left and Right Zones
Changing the right-hand tone
Changing the left-hand tone
Changing the Keyboard’s Split Point
Transposing the Keyboard Transpose
Transposition range
It will sound
Hold down the Right button for a while
Disabling the Buttons Panel Lock
Temperament
What is Piano Designer?
Using Piano Designer
Hammer Noise String Resonance Key Touch
Parameter Value Description
Piano Designer Settings
What is the Duplex Scale?
Temperaments
Temperament Qualities
About the display
Listening to Songs
Playing Back Songs
Fast-forward and rewind
Playing Parts Individually
Performance parts and tracks
Muting
Hold down the Song Tempo button and press the button
Adjusting the Volume of the Song Playback
Song volume range
Playing All Songs Consecutively All Songs Play
Changing the Pitch of the Song Playback Transpose
Changing the Song’s Tempo
Starting/stopping recording
Recording Your Performance
Recording Your Keyboard Performance
Getting ready to record
If the following indication appears
Listening to the recorded performance
Erasing Your Recorded Performance
Saving Your Recorded Performance
Getting ready to save
Press the Function button
Editing the song name
Selecting the save destination for the song
Character
Getting ready to delete
Deleting a Saved Song
Deleting the song
Choosing the song to delete
Track button Recorded performance
Advanced Recording Methods
Recording Each Hand Separately
Recorded performances and the track buttons
Recording and stopping
Additional recording
To stop recording, press the button
Fig.zu
When you re-record
Recording a Performance You Play Along with a Song
Getting ready to perform
Track button Performance part
Recording and stopping
Editing a setting
Various Settings
Basic Operation in Function Mode
Entering Function mode
Adjusting the Keyboard Sensitivity Key Touch
Settings you can change
Function
Changing the Equalizer Settings Equalizer
Sounds Settings
Adjusting the Sound’s Brilliance Brilliance
Matching the Pitch with Other Instruments Master Tuning
Using the Sound of a Specific Part as a Guide Mute Volume
Volume Settings
Adjusting the Dual Play Volume Balance Dual Balance
Adjusting the Volume Master Gain
Playing Back at a Fixed Tempo Tempo Mute
Metronome Setting
Performing Settings
Changing How the Metronome Marks the Beat Metronome Pattern
Pedal Settings
Switching On/Off the Display of Lyrics Lyrics
Changing How the Pedals Work Center/Left Pedal Func
Restoring the Factory Settings Factory Reset
Storing Your Settings Memory Backup
Installing the Floppy Disk Drive
Connecting to Other Devices
Connecting a Media
Installing the CD Drive
Display Description
Changing the External Memory Setting Ext. Memory Mode
If you change this setting, turn on the power once again
Initializing the Memory Format Media
Select a song that’s inside a folder
Playing Back Songs on External Media
Selecting a song
Button operations
Changing the Playback Pitch of a Song Playback Transpose
Adjusting the Volume of an Audio File or Music CD
Minimizing the Sounds in the Center Center Cancel
Changing the Tempo of an Audio File or Music CD
Choosing a save destination, and saving
Saving Your Recorded Performance on External Memory
Deleting a Song From External Memory
Changing the name of a song
Copying the song
Copying the Song
Getting ready to copy
Selecting the song to copy
Connecting to Audio Equipment
Connecting Speakers to the HP307 and Outputting Sounds
Turning Off the Power
Connecting to Midi Devices
Making the Connection
What’s MIDI?
Press Button p
Midi Transmit Channel Settings Midi Transmit Ch
Local On
Local Off
Connecting a Computer
Changing the USB Driver Settings USB Driver
Roland website
A0 B0 C1 D1 E1 F1 G1 A0 G#1
Using the V-LINK Function
Specifying the V-LINK Transmit Channel
Hold down the Reverb button and press Transpose button
Troubleshooting
Symptom Cause/Action
No sound
Troubleshooting
Song does not play correctly
Can’t record / play back
Functions that cannot be used with audio file playback
Indication Meaning
Error Messages
Others
Tone List
Piano
Strings
Tone List
228 Synth Mallet
Song Name Composer
Internal Song List
Parameter
Parameters Stored in Memory Backup
HP307 Allows You To Use the Following Music Files
Music Files That the HP307 Can Use
Recognized
Midi Implementation Chart
Transmitted
Remarks
Recorder
Main Specifications
HP307 Digital Piano Keyboard
Sound Generator Conforms to GM2/GS/XGlite
Internal Memory
CD/Audio Type 54, 58
Index
Index
Memo
Memo
Declaration of Conformity
For EU Countries
Information
Top
Page
Image
Contents