Operation

DVI SETUP

PLUG/PLAY

:

VIDEO

BLACK LEVEL

:

LOW


SET ENTER

MENU

EXIT


Use the left- or right-arrow buttons to select the desired amount of noise reduction, keeping in mind that higher settings (which reduce high frequencies) may also “soften” the image.

MPEG Filter: Use the MPEG Filter to reduce or eliminate so-called “mosquito noise” in MPEG-compressed video signals (digital broadcasts or DVDs). Set it to LOW, MIDDLE or HIGH, as needed to minimize distortion around the edges of moving objects, moving artifacts around edges and/or blotchy noise patterns superimposed over the objects.

Chroma EE: Use the Chroma EE control to correct chroma delay in a Composite, S-Video or Component video source. Chroma delay in an image causes color shifts to occur to the left of the vertical edge transitions, producing artificial shadows or a “halo” effect. If necessary, set Chroma EE to ON to eliminate them.

Film Mode: When you enable Film Mode, the CinemaWall automatically detects and optimizes the display of interlaced video signals that originated from film. To disable Film Mode, set it to OFF.

Film Mode can only be used on input signals with a 60-Hz refresh

Note rate.

Color Space: To ensure proper color reproduction, select Color Space from the Set-Up menu and set it as follows:

Select RGB for RGB input signals from a computer or video deck.

Select COMP. 1 for component input signals less than 720p, such as from a DVD player.

Select COMP. 2 for higher-resolution component input signals (720p or above, such as from an HD tuner).

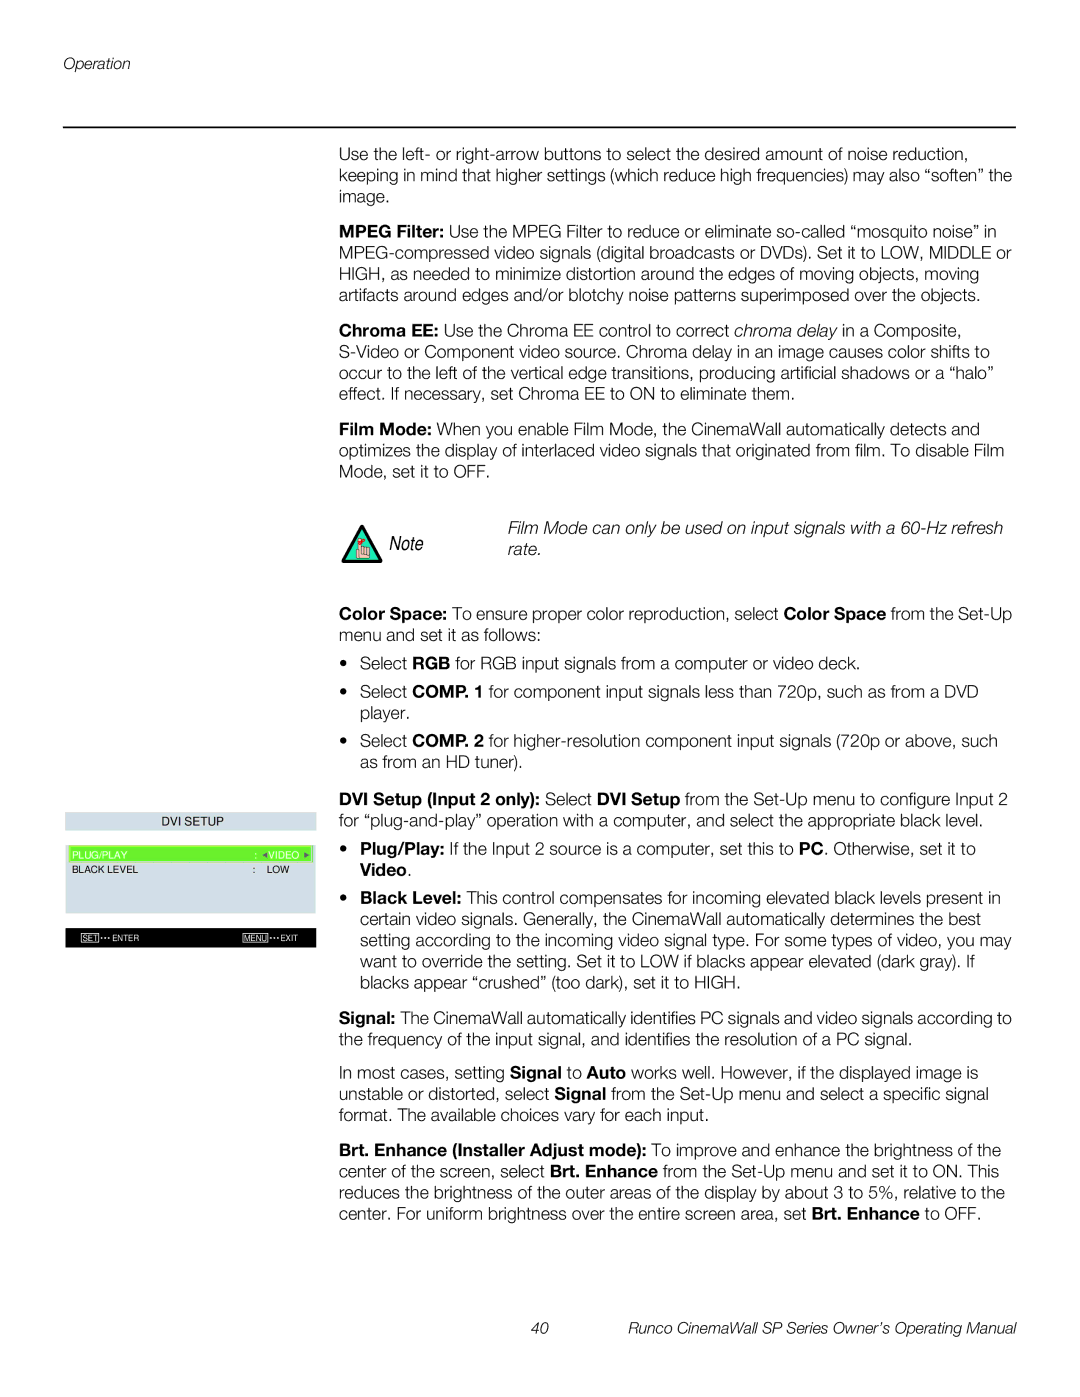
DVI Setup (Input 2 only): Select DVI Setup from the Set-Up menu to configure Input 2 for “plug-and-play” operation with a computer, and select the appropriate black level.

Plug/Play: If the Input 2 source is a computer, set this to PC. Otherwise, set it to Video.

Black Level: This control compensates for incoming elevated black levels present in certain video signals. Generally, the CinemaWall automatically determines the best setting according to the incoming video signal type. For some types of video, you may want to override the setting. Set it to LOW if blacks appear elevated (dark gray). If blacks appear “crushed” (too dark), set it to HIGH.

Signal: The CinemaWall automatically identifies PC signals and video signals according to the frequency of the input signal, and identifies the resolution of a PC signal.

In most cases, setting Signal to Auto works well. However, if the displayed image is unstable or distorted, select Signal from the Set-Up menu and select a specific signal format. The available choices vary for each input.

Brt. Enhance (Installer Adjust mode): To improve and enhance the brightness of the center of the screen, select Brt. Enhance from the Set-Up menu and set it to ON. This reduces the brightness of the outer areas of the display by about 3 to 5%, relative to the center. For uniform brightness over the entire screen area, set Brt. Enhance to OFF.

40

Runco CinemaWall SP Series Owner’s Operating Manual

Page 50
Image 50
Runco SP-50xa, SP-60xa, SP-42xa manual DVI Setup

SP-50xa, SP-60xa, SP-42xa specifications

Runco has long been recognized for its high-performance projection technologies, and the SP series, consisting of the SP-42xa, SP-50xa, and SP-60xa models, exemplifies this legacy. These projectors are designed for the discriminating home theater enthusiast who demands top-tier image quality, versatility, and innovative features.

The SP-42xa, with its 42-inch screen size, sets the stage for an immersive viewing experience. It boasts a native resolution of 1080p, delivering vibrant colors and extraordinary detail. This projector employs DLP technology, which enhances sharpness and clarity while minimizing motion blur. One notable feature of the SP-42xa is its Intelligent Lens System, which automatically adjusts the lens position to optimize the image based on the content being displayed.

The SP-50xa expands the capabilities with a larger 50-inch screen, perfect for medium-sized home theaters. It incorporates advanced color processing technology, which enhances color accuracy and brightness, providing a stunning visual experience for films and gaming. Additionally, the SP-50xa supports multiple aspect ratios, allowing users to enjoy content without letterboxing or cropping. Its built-in calibration settings facilitate precise adjustments suited to various lighting conditions, ensuring optimal performance in any environment.

The SP-60xa represents the pinnacle of the series with its impressive 60-inch display. This model features Runco's proprietary Vivix processing technology, which significantly enhances contrast and color depth. The SP-60xa provides support for high dynamic range (HDR), enabling deeper blacks and brighter highlights, which translates to a more lifelike picture. Furthermore, its CinemaScope aspect ratio capability offers an immersive cinematic experience, bridging the gap between home viewing and the theater.

All three models are equipped with extensive connectivity options, including HDMI and component inputs, making them compatible with a wide range of audio and video sources. User-friendly interfaces and remote controls simplify operation, allowing seamless integration with home automation systems.

In summary, the Runco SP-42xa, SP-50xa, and SP-60xa projectors collectively epitomize advanced projection technology combined with user-friendly features. With their focus on superior image quality, innovative adjustments, and versatility, these models are perfect for anyone seeking a premium home theater experience. Whether for movie nights or gaming marathons, the Runco SP series delivers an unparalleled visual feast that captivates and entertains.