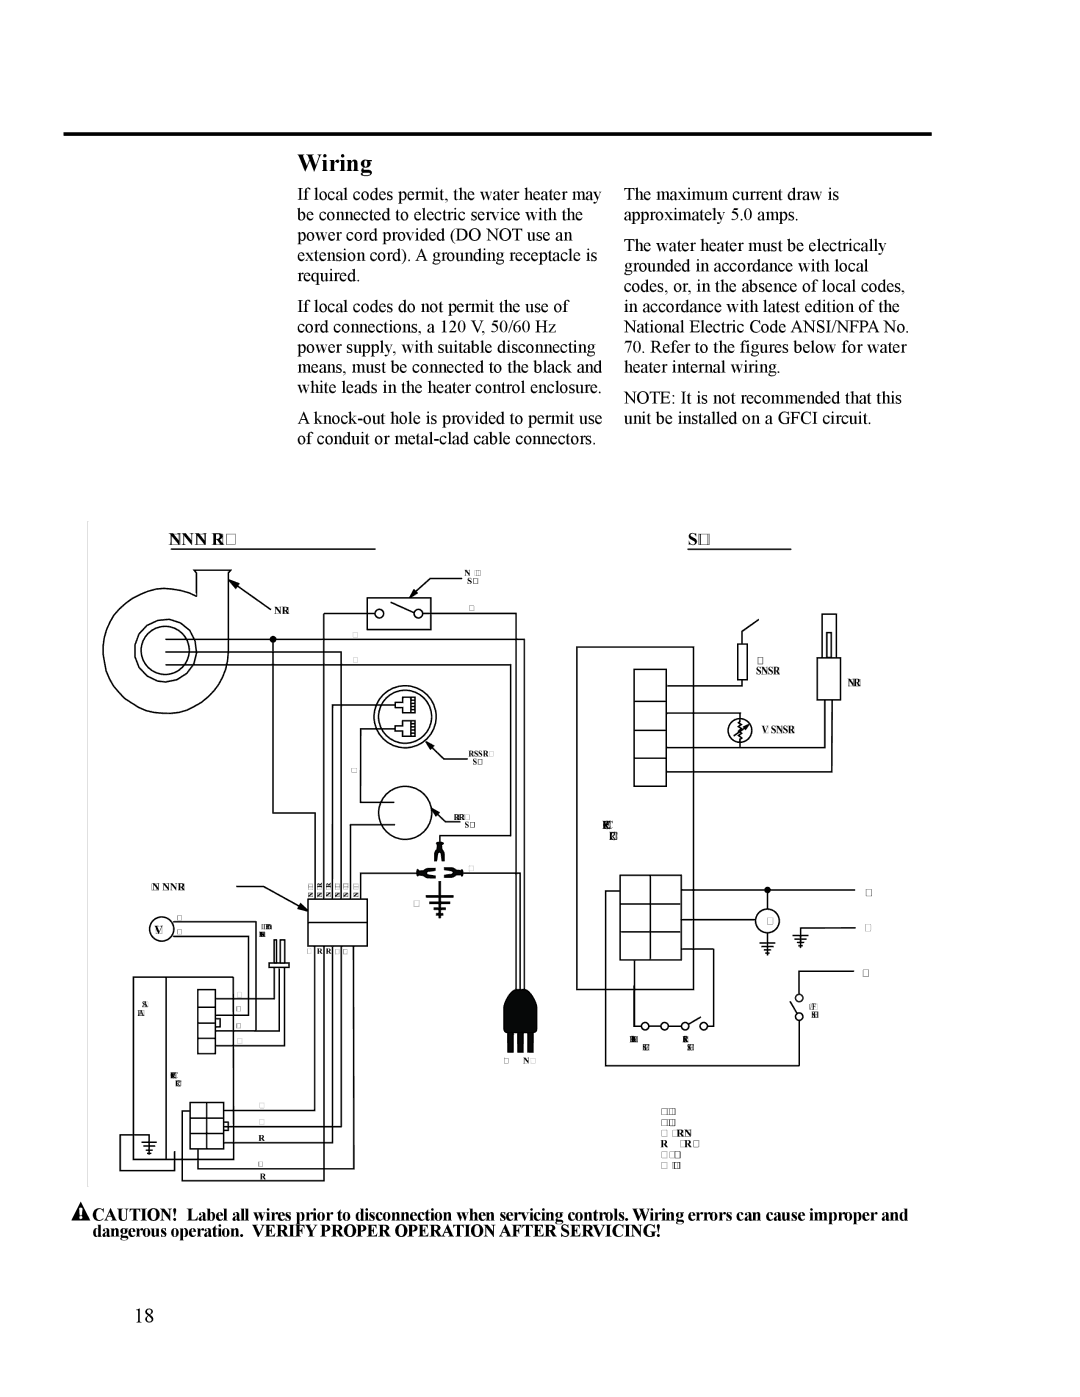
AP14236 specifications
Ruud AP14236 is a highly efficient air conditioning unit that stands out in the residential HVAC market for its remarkable performance and innovative technology. This model is specifically engineered to provide optimal cooling and heating solutions, offering homeowners comfort year-round while also emphasizing energy efficiency.One of the key features of the Ruud AP14236 is its efficiency rating, showcased by its SEER (Seasonal Energy Efficiency Ratio) rating, which provides users with an indication of energy consumption versus cooling output. With ratings often exceeding 14, the unit is designed to reduce energy bills significantly while maintaining a comfortable indoor environment. In addition to SEER, the unit boasts an HSPF (Heating Season Performance Factor) that guarantees excellent performance during colder months.
The Ruud AP14236 utilizes advanced inverter technology that allows for variable speed operation. This technology enables the air conditioner to adjust its cooling output based on the actual temperature in the home, leading to lower energy consumption while ensuring that the desired climate is reached swiftly and efficiently. This feature not only enhances comfort but also prolongs the lifespan of the unit, as it does not require the constant on-off cycling seen in traditional systems.
Equipped with an enhanced filtration system, the Ruud AP14236 significantly improves indoor air quality by capturing dust, allergens, and other particulates. This characteristic is particularly advantageous for those with allergies or respiratory conditions, as it creates a healthier living environment.
Durability is another hallmark of the Ruud AP14236, featuring robust construction materials designed to withstand the rigors of varied weather conditions. The unit's cabinet is often galvanized and treated to resist rust, ensuring longevity and reducing maintenance issues.
Noise reduction is also a primary focus in the design of Ruud AP14236. The unit operates quietly, allowing for comfortable living spaces without the disruptive sounds commonly associated with air conditioning systems. This is achieved through sound-dampening technology and acoustic insulation.
In summary, the Ruud AP14236 is engineered for energy efficiency, versatility, durability, and quiet operation. Homeowners seeking a reliable and efficient air conditioning solution will find that this unit meets their needs while providing year-round comfort and improved air quality.

