Setting Mono/Stereo
Press the MO/ST button. | MO/ST | |
D | ||
• Each time the button is pressed, the | ||
| ||
sound switches between STEREO |
| |
and MONO. |
|
•In a poor reception area, select
MONO for a clear,
Presetting Stations
Example : Presetting FM 89.10 into memory
1. | Press the FUNCTION button to select FM. | |||
2. | Press the TUNING/CH ( | ) button to select | ||
| <89.10>. |
|
| |
3. | Press the TUNER MEMORY button. TUNER | |||
| • NUMBER flashes on the display. | MEMORY | ||
| C | |||
4. | Press the # $ button to select | |||
| ||||
preset number.
•You can select between 1 and 15 presets.
5.Press the TUNER MEMORY button again.
•Press the TUNER MEMORY button before NUMBER disappears from the display.
•NUMBER disappears from the display and the station is stored in memory.
6.To preset another station, repeat steps 2 to 5.
•To tune in to a preset station, press the # $ button on the remote control to select a channel.
|
|
|
| 04 |
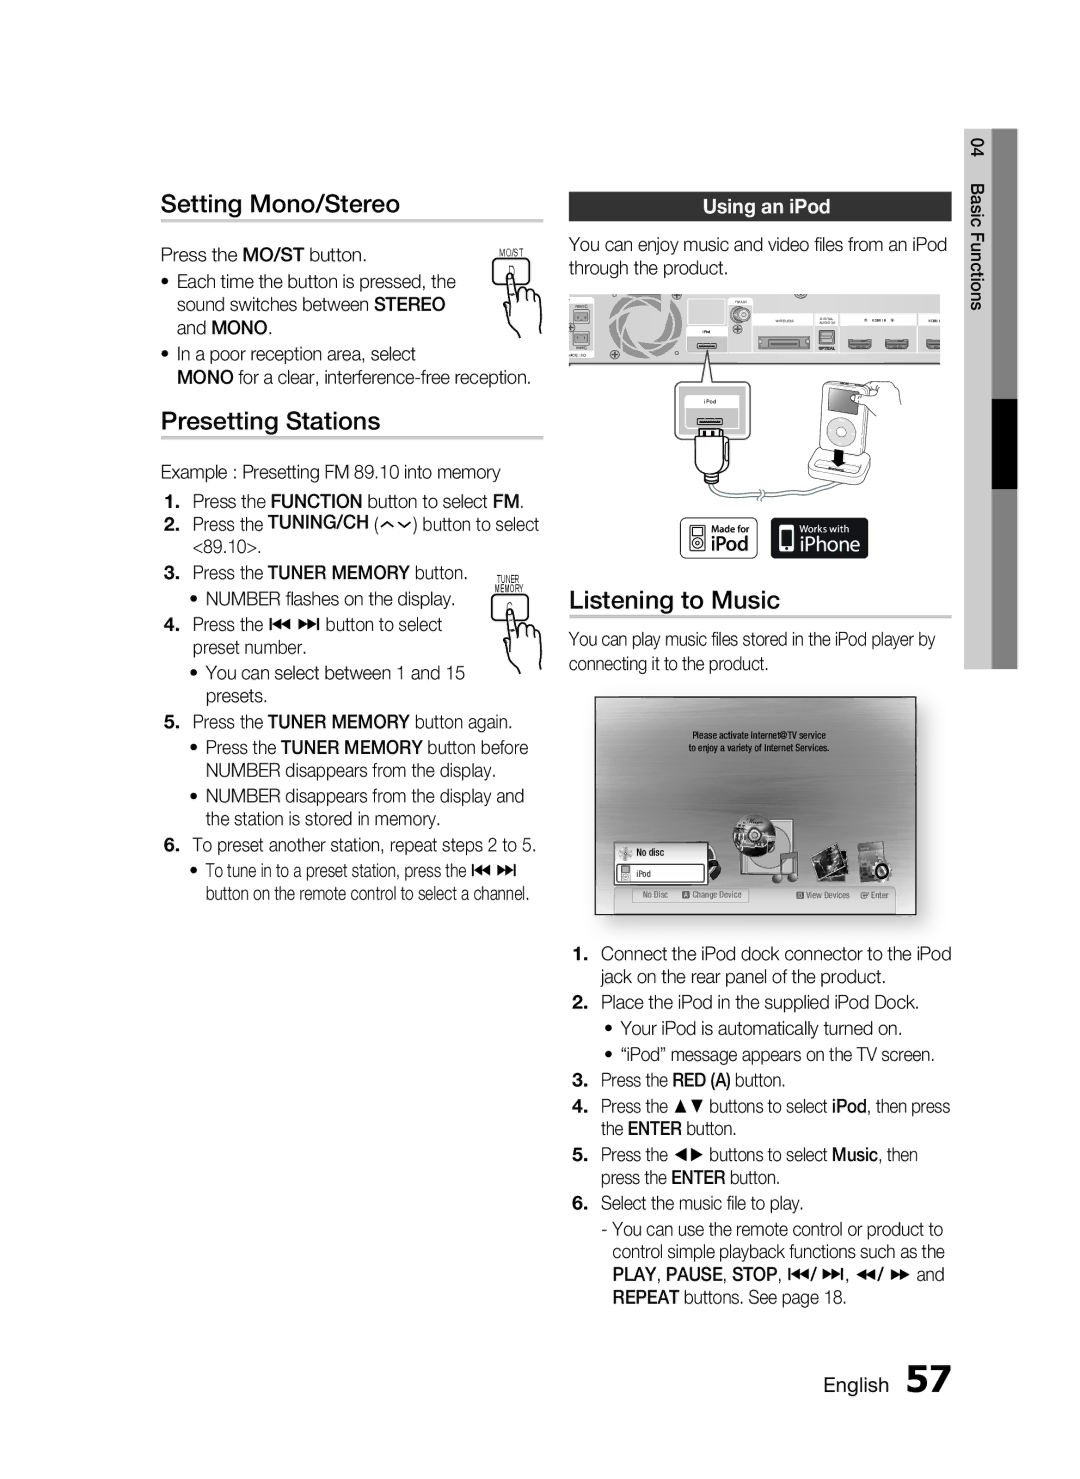
Using an iPod |
|
| Basic | |
You can enjoy music and video files from an iPod | Functions | |||
| ||||
through the product. |
|
|
|
|
FM ANT |
|
|
|
|
WIRELESS | DIGITAL | HDMI IN | HDMI O |
|
AUDIO IN |
| |||
iPod |
|
|
|
|
| OPTICAL |
|
|
|
ANCE : 3 |
|
|
|
|
iPod |
|
|
|
|
Listening to Music
You can play music files stored in the iPod player by connecting it to the product.
Please activate Internet@TV service | |
internet radio | YouTube |
to enjoy a variety of Internet Services.
No disc
iPodiPod![]()
No Disc a Change Device | d View Devices s Enter |
1.Connect the iPod dock connector to the iPod jack on the rear panel of the product.
2.Place the iPod in the supplied iPod Dock.
•Your iPod is automatically turned on.
•“iPod” message appears on the TV screen.
3.Press the RED (A) button.
4.Press the ▲▼ buttons to select iPod, then press the ENTER button.
5.Press the ◄► buttons to select Music, then press the ENTER button.
6.Select the music file to play.
-You can use the remote control or product to control simple playback functions such as the PLAY, PAUSE, STOP, #/ $, / and REPEAT buttons. See page 18.
