DVD-R120
Getting Started
FCC Note for U.S.A
Maintenance of Cabinet
Precaution
Important Safety Instructions
Handling Cautions
DVD-RW VR mode
Disc Specifications
Using CD-R/RW
Disc Storage
DVD-RW Video mode
Protection
Contents
Troubleshooting Specification Warranty
Using the Setup Menu System Setting
Language Setting Video Display Setting Parental Control
Before Playing
General Features
High quality digital audio and video recording and playback
Using a DVD-R
Using a DVD-RAM
Using a DVD-RW
Before reading the user’s
When using a DVD-RW disc in Video Mode
When using a DVD-RW disc in VR Mode
When using a DVD-R disc
Front panel
Description
Front Panel Display
Fan
Rear Panel
ANT IN/ANT OUT to TV Connects antenna cables
Tour of the Remote Control
Preparing the Remote Control
Connecting external devices
Connecting the Power cord
Initial Setup
Unpacking
Connecting the Antenna Cable
Accessories
Method 1 Antenna + DVD Recorder + TV No Cable box
Method 1 Connecting to a Video input jack
Connecting the Video cable
Video, Component video and Progressive Output Modes
Component video input
Method 3 Connecting to
JacksY,P B,P R
Connecting the Audio cable
This connection will use your TV’s speakers
Connecting external devices
Connecting the Power Cord
Method 3 Connecting a Camcorder to the DV in jack
Preparing the Remote Control
Setting the Remote Control
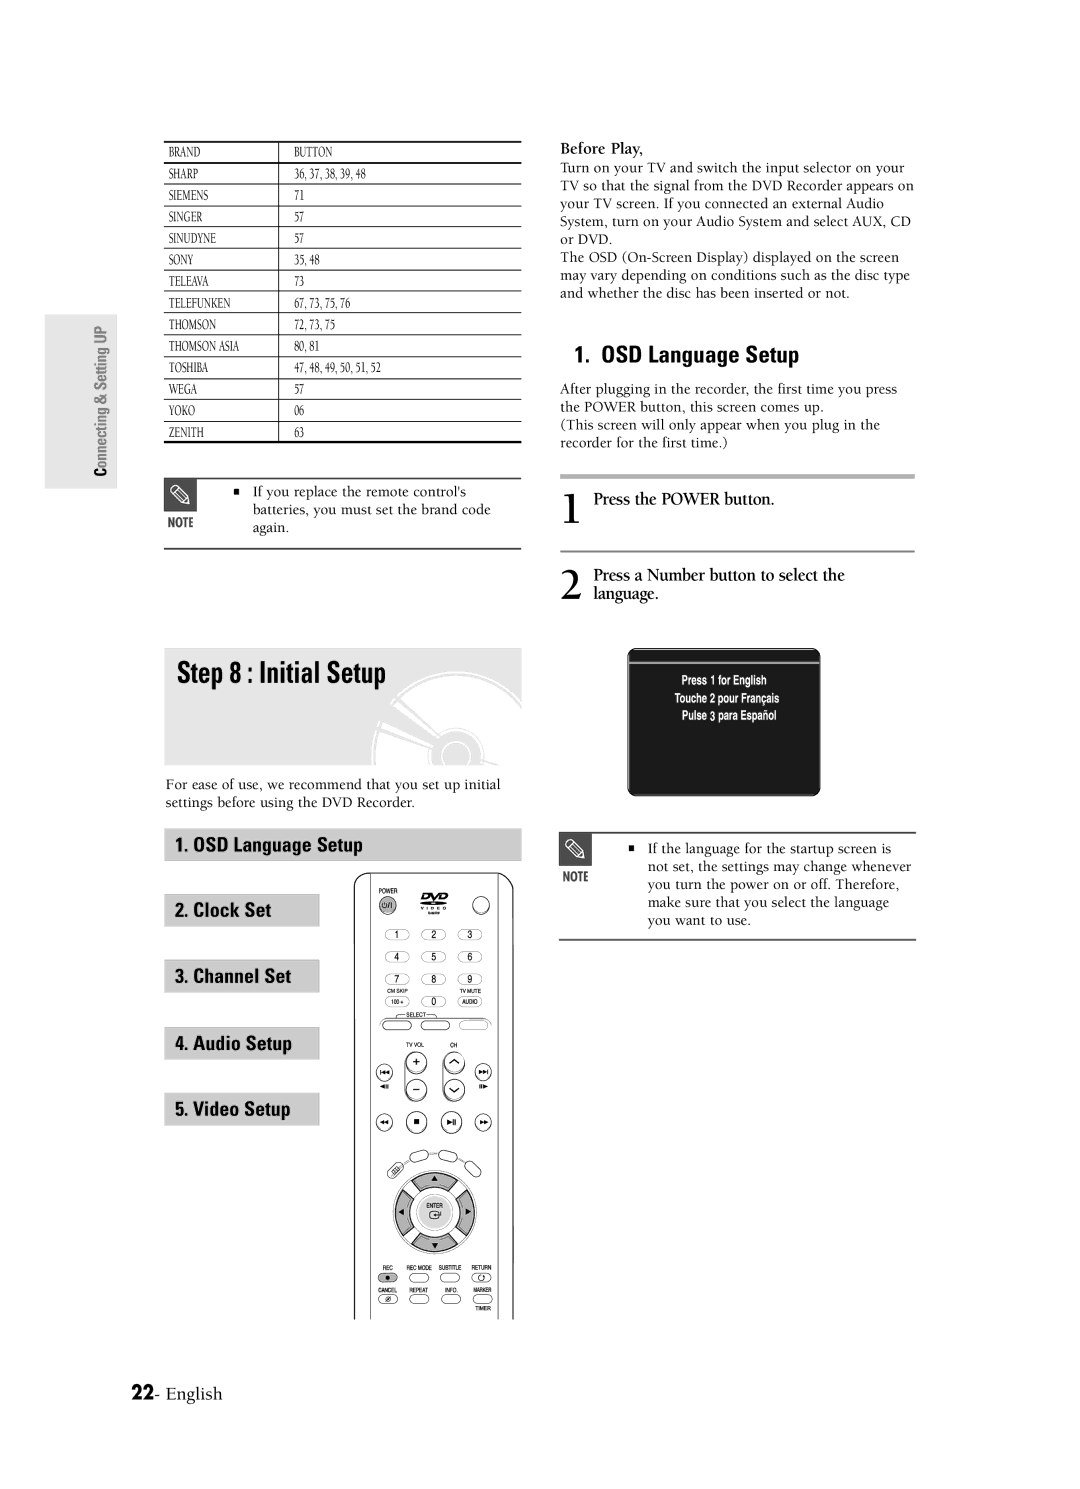
OSD Language Setup
Initial Setup
Before Play
Auto Clock Set
Clock Set
Method 1
Manual Clock Set
Method
Channel Set
You can set the Antenna/Cable TV settings automatically
Auto Channel Memory
Select Antenna or Cable TVdepending on
To setup, follow the steps 1 to 5
Manual Channel Set
Methods 1
Setting Up the Audio Options
You cant use the Setup functions while playing a disc
Digital Output
Then press the Enter or √ button
Dynamic Compression
This allows you to set up the TV screen settings
Setting Up the TV Aspect
If you have a 43 standard TV
This section shows various DVD recording methods
Before Recording
Recordable discs
This recorder can record on the following discs
Content Protection for Recordable Media Cprm
Recording Mode
Concerning Copy Control Signals
Recording Formats
Press the OPEN/CLOSE button to close the disc tray
About Info Key
Checking the available disc space Disc Information
Before you start
To stop recording
Press the REC button
Press the REC button To stop recording
Channel Number L1 L2 DV
Front panel display changes in the following sequence
Copying from a Camcorder
Press the Input button to select DV
Making a One Touch Recording OTR
Press the REC button to start recording
Press the Menu button in stop mode
Setting a Timer Recording
Press the Enter button
Edit and Delete items are displayed
Timer Record Input item is displayed
Press the Menu button after the operation is finished
Menu screen will disappear
Selected entry will be deleted from the list
You can not delete programs that are currently recording
Press the Stop button, and a message that asks
Recording the Scheduled
Record List
Whether to end recording or not will be displayed
CM Skip Time will be displayed
System Setting
CM Skip Time Setting
CM Skip can be performed only during
Automatic Chapter Creation
EP Mode Time Setting
EP Mode Time will be displayed
This function only works for DVD-RW Video and DVD-R discs
Language Setting
Language setup menu will be displayed
Black Level
Video Display Setting
TV Aspect see Input Level
3D Noise Reduction motion adaptive noise reduction
Parental Control
Adjust the brightness of the unit’s front panel display
Front Display
About the Rating Level
Select Rating Level using the …† buttons
Parental Control screen appears
Confirm the password. message will be displayed
Changing the Password
Select Change Password using the …† buttons
See page 87 if you forgot your password
Title List
Basic Editing Title List Advance Editing Play List
Play List
Basic Editing Title List
Using the Menu button
RenamingLabeling a Title
LockingProtecting a Title
Deleting a Title
This may depend on the type of disc
Deleting a Section of a Title
Press the œ √ buttons to select Yes, and then
You cannot delete a protected entry
Edit Title List Screen Elements
Press the Enter button at the start point
Creating a Playlist
Press the Enter button at the end point
To make a new playlist
Playing Entries in the Playlist
Playlist entries will be played VR mode
Follow these instructions to play the playlist entries
Enter or √ button
Press the Menu button in the stop mode
Renaming a Playlist Entry
Press the Enter or √ button
Playlist entry to be played is selected
Editing a Scene for the Playlist
Playing a Selected Scene
To stop scene play, press the Stop button
Press the Enter button at the start point of the scene
To setup, follow the steps 1 to 3
Modifying a Scene Replacing a Scene
Press the Enter button at the end point of the scene
Press the Enter button at the starting point of the scene
Adding a Scene
Selected scene is moved to the selected position
Edit Playlist menu is displayedPlay, Rename, Edit
Copying a Playlist Entry to the Playlist
Deleting a Scene
Scene, Copy, Delete
Deleting a Playlist Entry from the Playlist
Playlist can contain up to 99 playlist entries titles
Follow these instructions to give a name to a disc
Disc Manager
Editing the Disc Name
Disc name is given to the disc
Disc Protection
Formatting a Disc
Delete All Title Lists
All title lists are deleted
Finalizing a disc
DVD-RV
Unfinalizing a disc V/VR mode
DVD-RW can be finalized or unfinalized in VR mode
Recording
Troubleshooting
Power
Cannot record TV programs
Icon appears on the screen
Playback
Cannot play the disc
Your DVD disc restricts it
Video
Sound
Forget my password for parental supervision
Remote Control Unit
Other
Picture Compression format
Specifications
20 Hz ~ 20 kHz
Warranty
One 1 Year Parts / Ninety 90 Labor
Headquarters