O p e r a t i o n
Picture Control
You can use the
Customizing the Picture
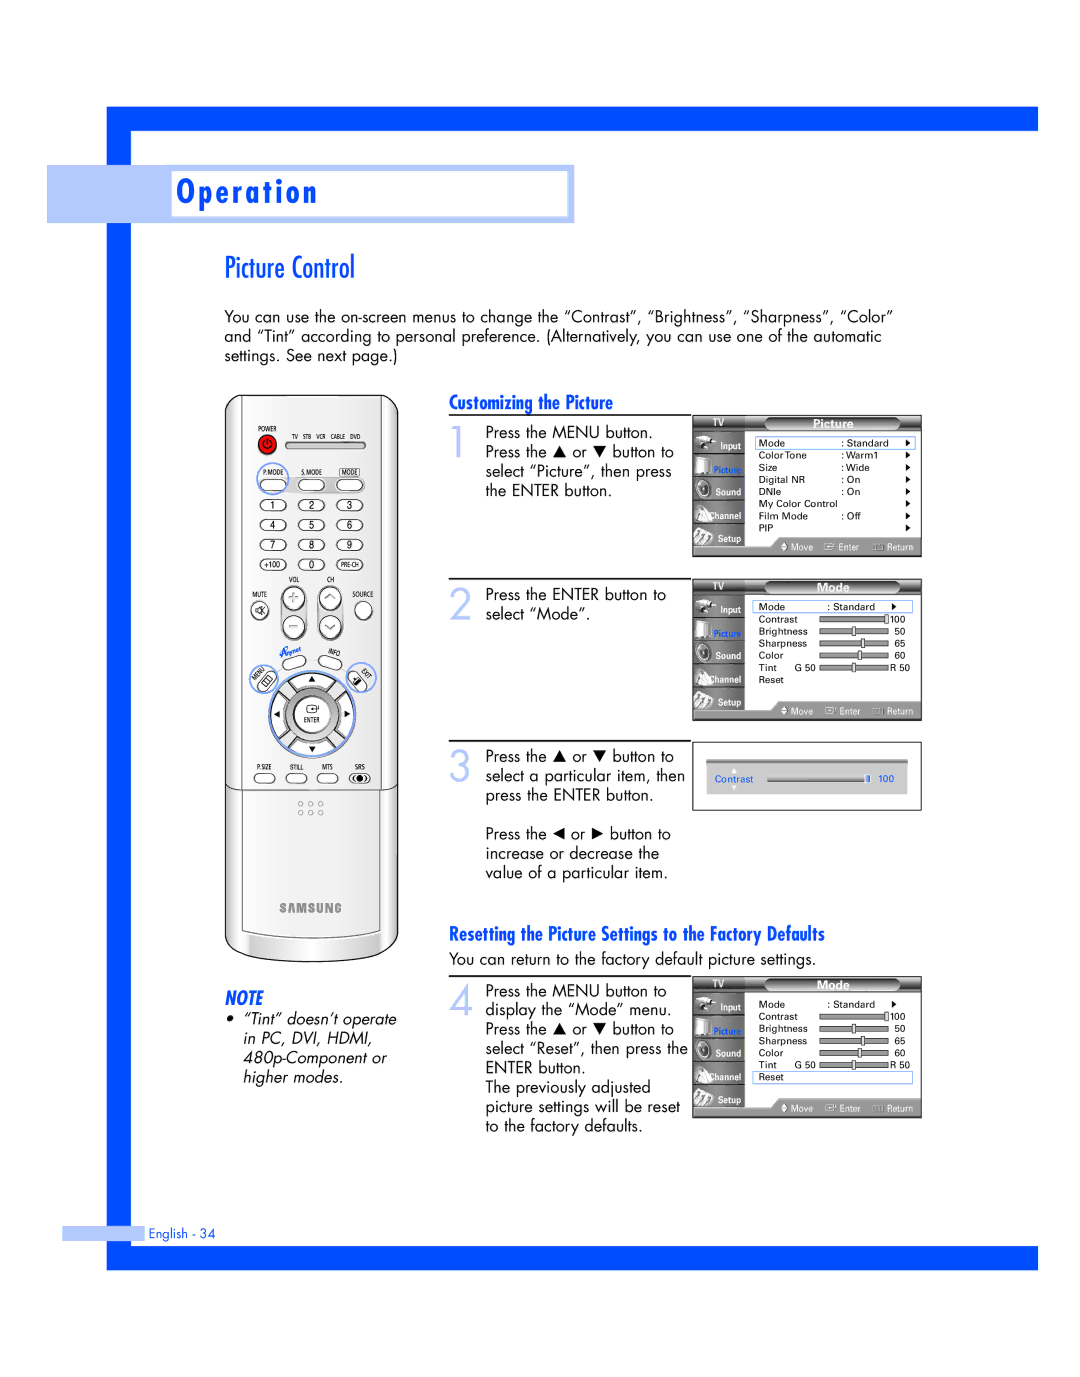
1 Press the MENU button. Press the … or † button to select “Picture”, then press the ENTER button.
Input
Picture
Sound
Channel
Setup
Picture
Mode | : Standard √ | |
Color Tone | : Warm1 | √ |
Size | : Wide | √ |
Digital NR | : On | √ |
DNIe | : On | √ |
My Color Control |
| √ |
Film Mode | : Off | √ |
PIP |
| √ |
Move | Enter | Return |
2 Press the ENTER button to select “Mode”.
Input
Picture
Sound
Channel
Setup
|
| Mode |
|
Mode |
| : Standard | √ |
Contrast |
| 100 | |
Brightness |
| 50 | |
Sharpness |
| 65 | |
Color |
|
| 60 |
Tint | G 50 |
| R 50 |
Reset |
|
|
|
| Move | Enter | Return |
3 Press the … or † button to select a particular item, then press the ENTER button.
Press the œ or √ button to increase or decrease the value of a particular item.
▲
Contrast
▼
100
Resetting the Picture Settings to the Factory Defaults
You can return to the factory default picture settings.
NOTE
•“Tint” doesn’t operate in PC, DVI, HDMI,
4 Press the MENU button to display the “Mode” menu. Press the … or † button to select “Reset”, then press the ENTER button.
The previously adjusted picture settings will be reset to the factory defaults.
Input
Picture
Sound
Channel
Setup
Mode
Mode |
| : Standard | √ |
Contrast |
| 100 | |
Brightness |
| 50 | |
Sharpness |
| 65 | |
Color |
|
| 60 |
Tint | G 50 |
| R 50 |
Reset |
|
|
|
| Move | Enter | Return |