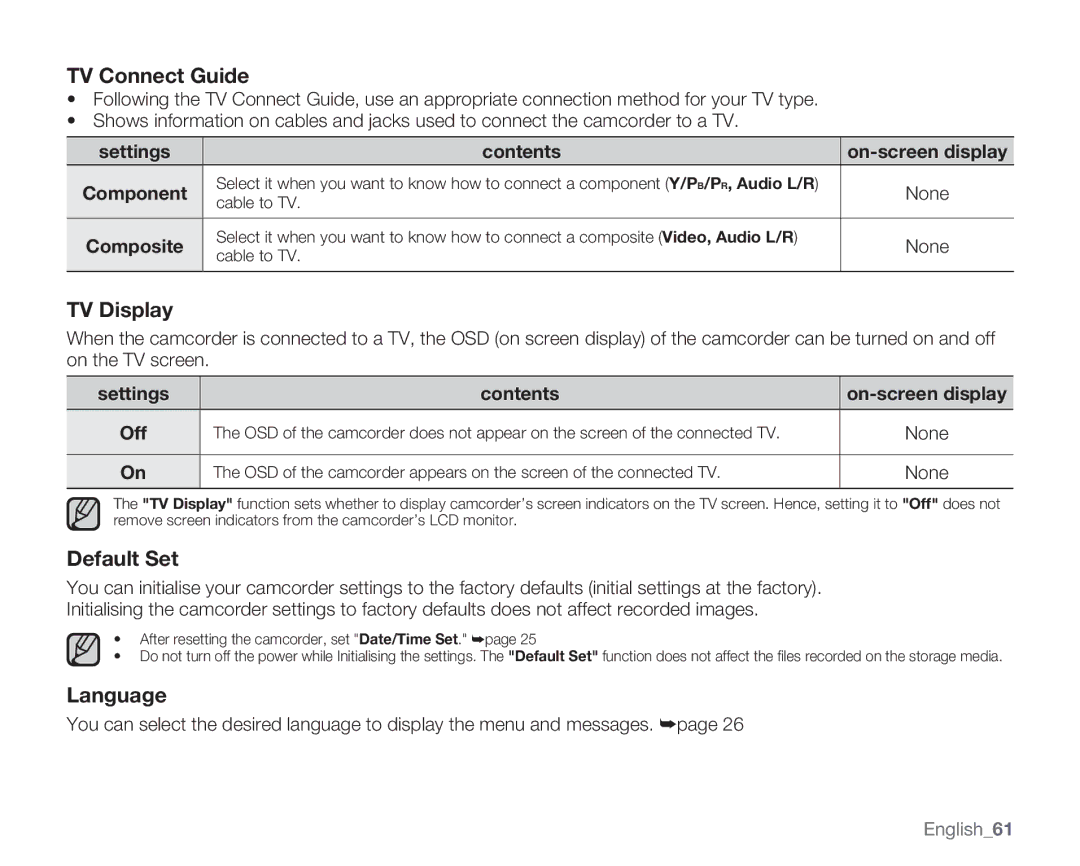
TV Connect Guide
•Following the TV Connect Guide, use an appropriate connection method for your TV type.
•Shows information on cables and jacks used to connect the camcorder to a TV.
settings | contents | ||
Component | Select it when you want to know how to connect a component (Y/PB/PR, Audio L/R) | None | |
cable to TV. | |||
|
| ||
|
|
| |
Composite | Select it when you want to know how to connect a composite (Video, Audio L/R) | None | |
cable to TV. | |||
|
| ||
|
|
|
TV Display
When the camcorder is connected to a TV, the OSD (on screen display) of the camcorder can be turned on and off on the TV screen.
settings | contents | |
|
|
|
Off | The OSD of the camcorder does not appear on the screen of the connected TV. | None |
|
|
|
On | The OSD of the camcorder appears on the screen of the connected TV. | None |
|
|
|
The "TV Display" function sets whether to display camcorder’s screen indicators on the TV screen. Hence, setting it to "Off" does not remove screen indicators from the camcorder’s LCD monitor.
Default Set
You can initialise your camcorder settings to the factory defaults (initial settings at the factory). Initialising the camcorder settings to factory defaults does not affect recorded images.
•After resetting the camcorder, set "Date/Time Set." ➥page 25
•Do not turn off the power while Initialising the settings. The "Default Set" function does not affect the files recorded on the storage media.
Language
You can select the desired language to display the menu and messages. ➥page 26
English_61
