LH70TCSMBG/EN, LH70TCUMBG/EN, LH70TCSMBG/XJ, LH70TCUMBG/XJ, LH82TCUMBG/EN specifications
Samsung's latest lineup of professional displays, including the LH82TCUMBG/EN, LH70TCUMBG/XJ, LH70TCSMBG/XJ, LH70TCUMBG/EN, and LH70TCSMBG/EN, represents a significant advancement in digital signage solutions, catering to a variety of commercial applications. These displays are designed to deliver exceptional visual performance, reliability, and flexibility for businesses looking to enhance their advertising and communication strategies.One of the standout features of these models is their high brightness levels, ensuring that content remains visible even in brightly lit environments. With brightness ratings that can reach up to 2500 nits, these displays are ideal for outdoor use or in environments with significant ambient light. This ensures that messages and visuals are perceivable from wide angles and distances.
Moreover, these Samsung displays utilize advanced UHD (Ultra High Definition) resolution, which allows for sharper images with stunning detail. The 4K resolution enhances the clarity of text, graphics, and videos, making them ideal for showcasing products or conveying important information.
To complement their outstanding visual capabilities, these models come equipped with Samsung's proprietary MagicINFO software. This innovative content management solution enables users to easily create, schedule, and manage content across multiple displays from a single interface. It supports a variety of media types, allowing businesses to engage customers with dynamic and interactive content.
The durability of these displays is another significant highlight. They are built to withstand continuous operation, making them suitable for 24/7 use in demanding environments. Their robust design minimizes the risk of damage and ensures a long operational lifespan, reducing maintenance costs for businesses.
Additionally, flexibility is a key characteristic of this lineup. The models support various installation methods, including portrait, landscape, and even video wall configurations, providing businesses with the adaptability needed to fit different space requirements.
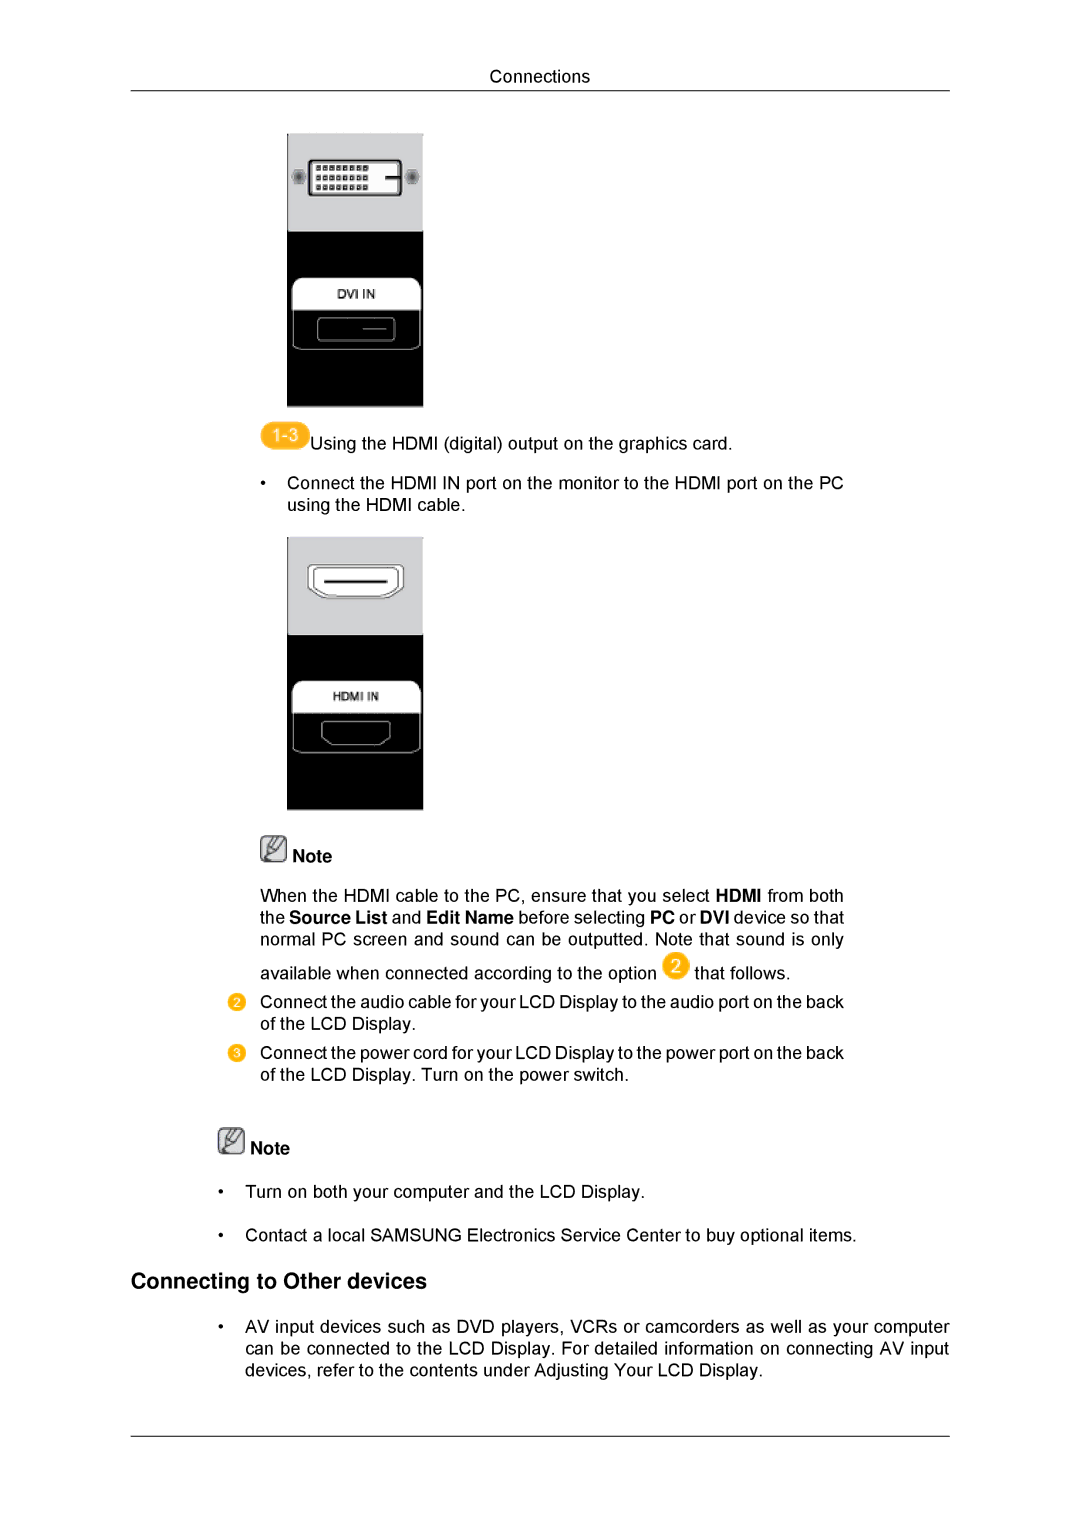
Connectivity options are also abundant, allowing for seamless integration with existing systems. HDMI, USB, and network connectivity ensure that content can be easily updated and managed, enhancing the user experience.
In summary, Samsung's LH82TCUMBG/EN, LH70TCUMBG/XJ, LH70TCSMBG/XJ, LH70TCUMBG/EN, and LH70TCSMBG/EN professional displays combine high brightness, UHD resolution, robust durability, and flexible installation options, making them ideal for various commercial settings. With advanced technologies and features, they empower businesses to deliver impactful visual experiences that engage and inform their audiences effectively.