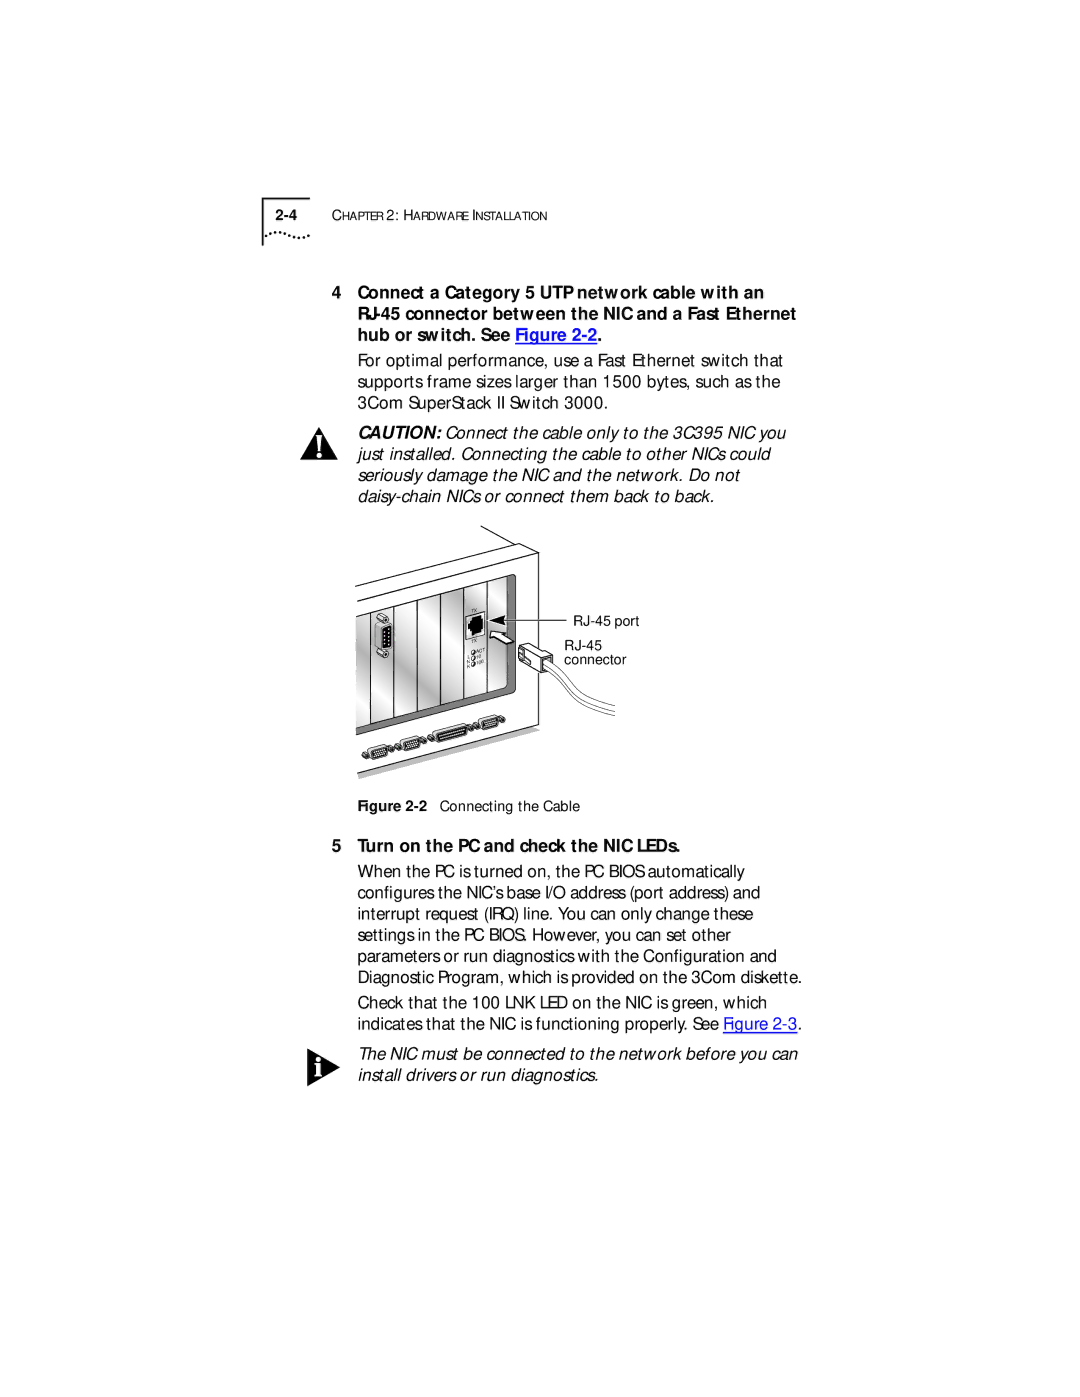
4Connect a Category 5 UTP network cable with an
For optimal performance, use a Fast Ethernet switch that supports frame sizes larger than 1500 bytes, such as the 3Com SuperStack II Switch 3000.
CAUTION: Connect the cable only to the 3C395 NIC you just installed. Connecting the cable to other NICs could seriously damage the NIC and the network. Do not
| TX |
| TX |
| ACT |
L | 10 |
N100
K
Figure 2-2 Connecting the Cable
5Turn on the PC and check the NIC LEDs.
When the PC is turned on, the PC BIOS automatically configures the NIC’s base I/O address (port address) and interrupt request (IRQ) line. You can only change these settings in the PC BIOS. However, you can set other parameters or run diagnostics with the Configuration and Diagnostic Program, which is provided on the 3Com diskette.
Check that the 100 LNK LED on the NIC is green, which indicates that the NIC is functioning properly. See Figure
The NIC must be connected to the network before you can install drivers or run diagnostics.