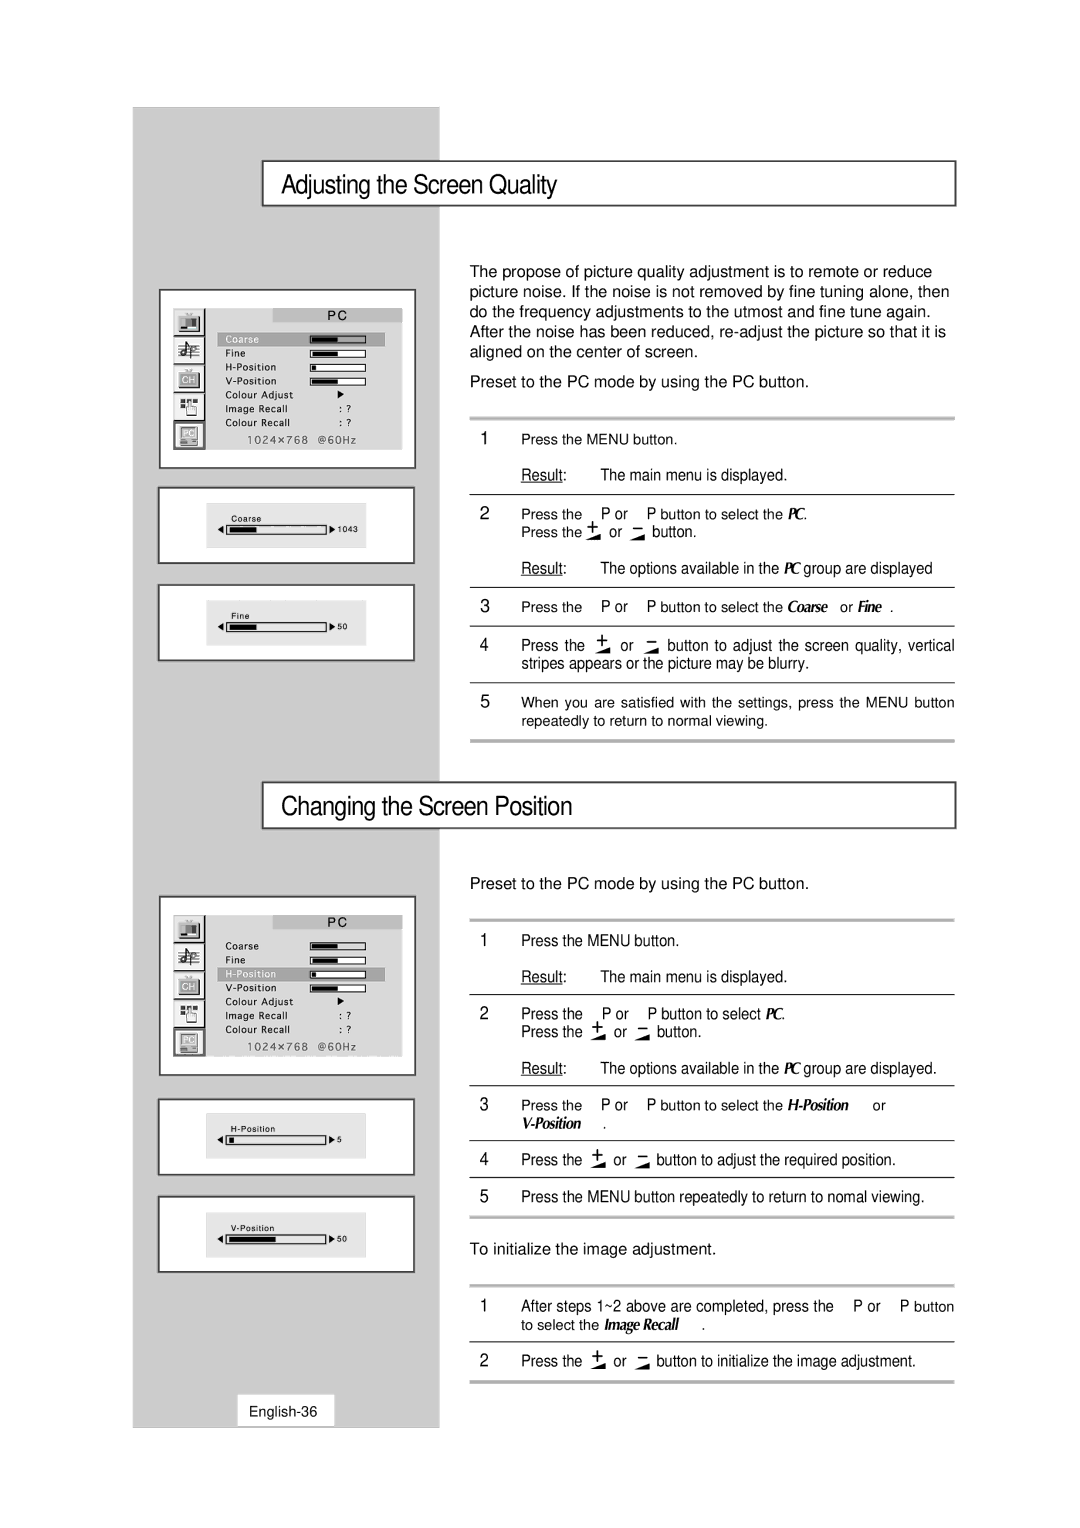
Adjusting the Screen Quality
The propose of picture quality adjustment is to remote or reduce picture noise. If the noise is not removed by fine tuning alone, then do the frequency adjustments to the utmost and fine tune again. After the noise has been reduced,
Preset to the PC mode by using the PC button.
1 | Press the MENU button. | ||
| Result: | The main menu is displayed. | |
|
| ||
2 | Press the ▲P or ▼P button to select the PC. | ||
| Press the | or | button. |
Result: The options available in the PC group are displayed
3Press the ▲P or ▼P button to select the Coarse or Fine.
4 | Press the | or | button to adjust the screen quality, vertical |
| stripes appears or the picture may be blurry. | ||
5When you are satisfied with the settings, press the MENU button repeatedly to return to normal viewing.
Changing the Screen Position
Preset to the PC mode by using the PC button.
1 | Press the MENU button. | ||
| Result: | The main menu is displayed. | |
|
| ||
2 | Press the ▲P or ▼P button to select PC. | ||
| Press the | or | button. |
Result: The options available in the PC group are displayed.
3Press the ▲P or ▼P button to select the
V-Position.
4 | Press the | or | button to adjust the required position. |
|
|
|
|
5Press the MENU button repeatedly to return to nomal viewing.
To initialize the image adjustment.
1After steps 1~2 above are completed, press the ▲P or ▼P button to select the Image Recall.
2 | Press the | or | button to initialize the image adjustment. |
|
|
|
|
