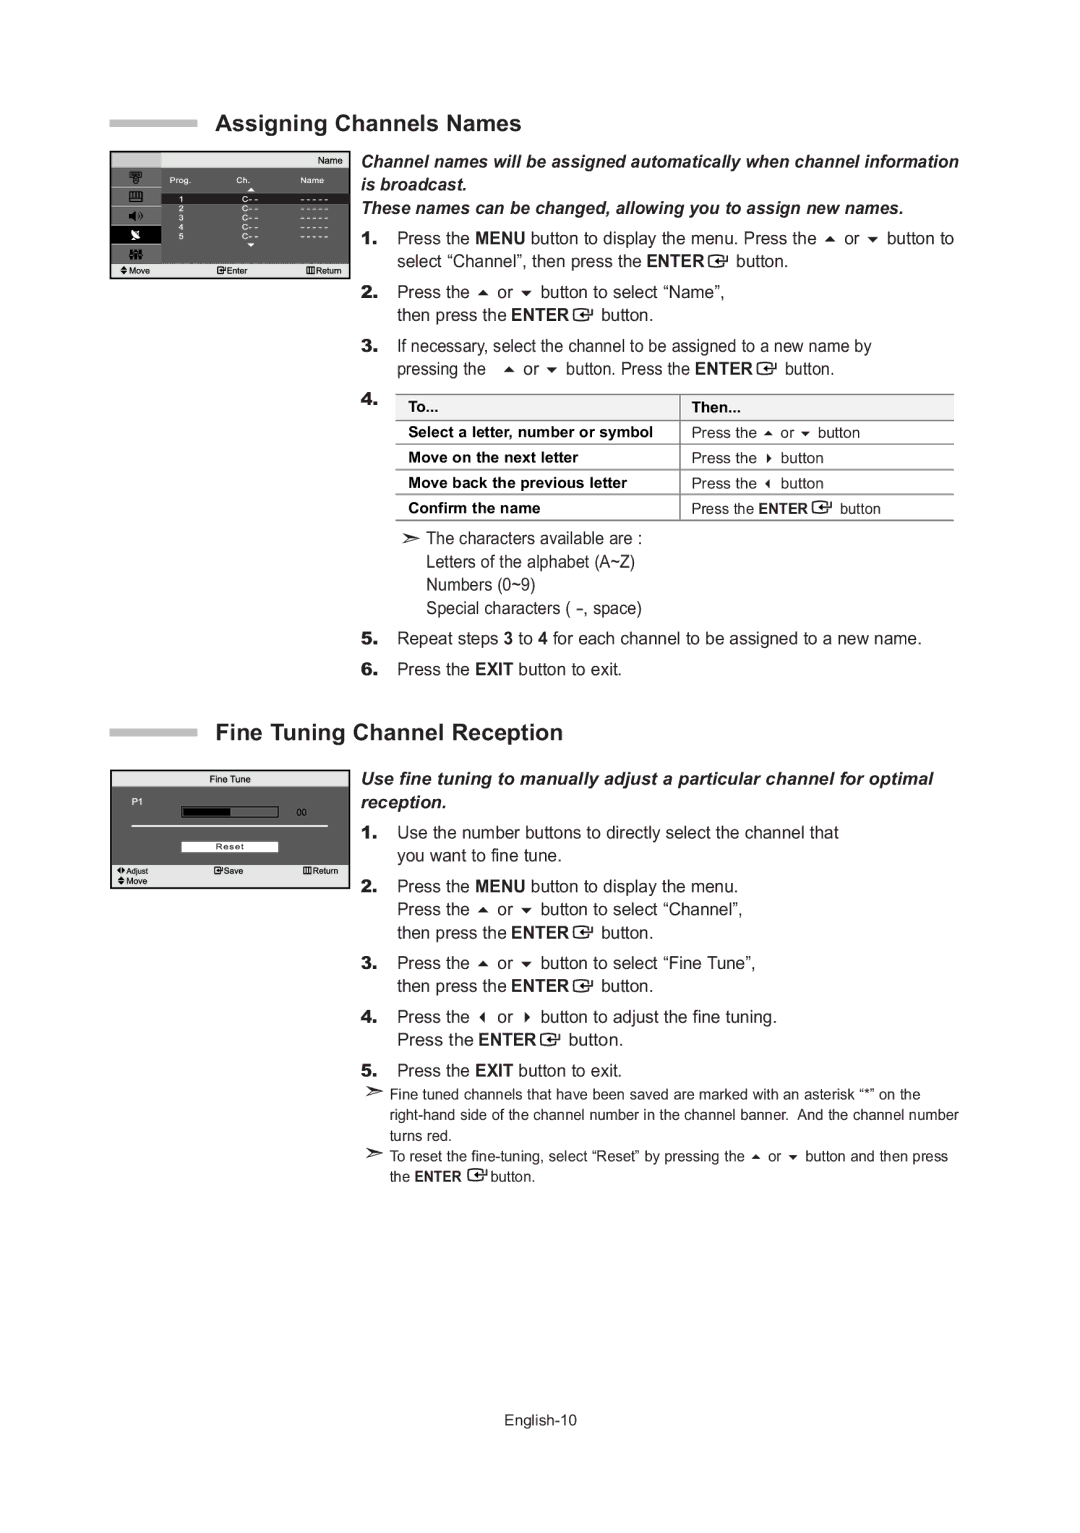
Assigning Channels Names
Channel names will be assigned automatically when channel information |
is broadcast. |
These names can be changed, allowing you to assign new names. |
1. | Press the MENU button to display the menu. Press the or button to | ||
| select “Channel”, then press the ENTER | button. | |
2. | Press the or button to select “Name”, |
| |
| then press the ENTER | button. |
|
3.If necessary, select the channel to be assigned to a new name by
| pressing the | or button. Press the ENTER | button. | |||
4. |
|
|
|
|
|
|
To... |
| Then... |
|
|
| |
|
|
|
|
| ||
| Select a letter, number or symbol | Press the | or | button | ||
| Move on the next letter | Press the | button | |||
| Move back the previous letter | Press the | button | |||
| Confirm the name | Press the ENTER |
| button | ||
|
| |||||
|
|
|
|
|
|
|
![]() The characters available are :
The characters available are :
Letters of the alphabet (A~Z)
Numbers (0~9)
Special characters (
5.Repeat steps 3 to 4 for each channel to be assigned to a new name.
6.Press the EXIT button to exit.
Fine Tuning Channel Reception
![]() Use fine tuning to manually adjust a particular channel for optimal
Use fine tuning to manually adjust a particular channel for optimal ![]()
 reception.
1.Use the number buttons to directly select the channel that you want to fine tune.
![]() 2. Press the MENU button to display the menu. Press the or button to select “Channel”, then press the ENTER
2. Press the MENU button to display the menu. Press the or button to select “Channel”, then press the ENTER ![]() button.
button.
3. | Press the | or | button to select “Fine Tune”, | |
| then press the ENTER | button. | ||
4. | Press the | or | button to adjust the fine tuning. | |
| Press the ENTER | button. | ||
5.Press the EXIT button to exit.
![]() Fine tuned channels that have been saved are marked with an asterisk “*” on the
Fine tuned channels that have been saved are marked with an asterisk “*” on the
![]() To reset the
To reset the
the ENTER | button. |