Manuals
/
Samsung
/
TV and Video
/
Flat Panel Television
Samsung
NC191, NC190-T, NC241T
user manual
15PCoIP Processor
Models:
NC241T
NC190-T
NC191
NC241
1
49
115
115
Download
115 pages
1.48 Kb
46
47
48
49
50
51
52
53
Troubleshooting
Specs
Install
Standard Signal Mode Table
Password
Keyboard Repeat Delay
Symbols for safety precautions
Connecting USB Devices
Configuration Window
Source device issue
Page 49
Image 49
2
Using "PCoIP"
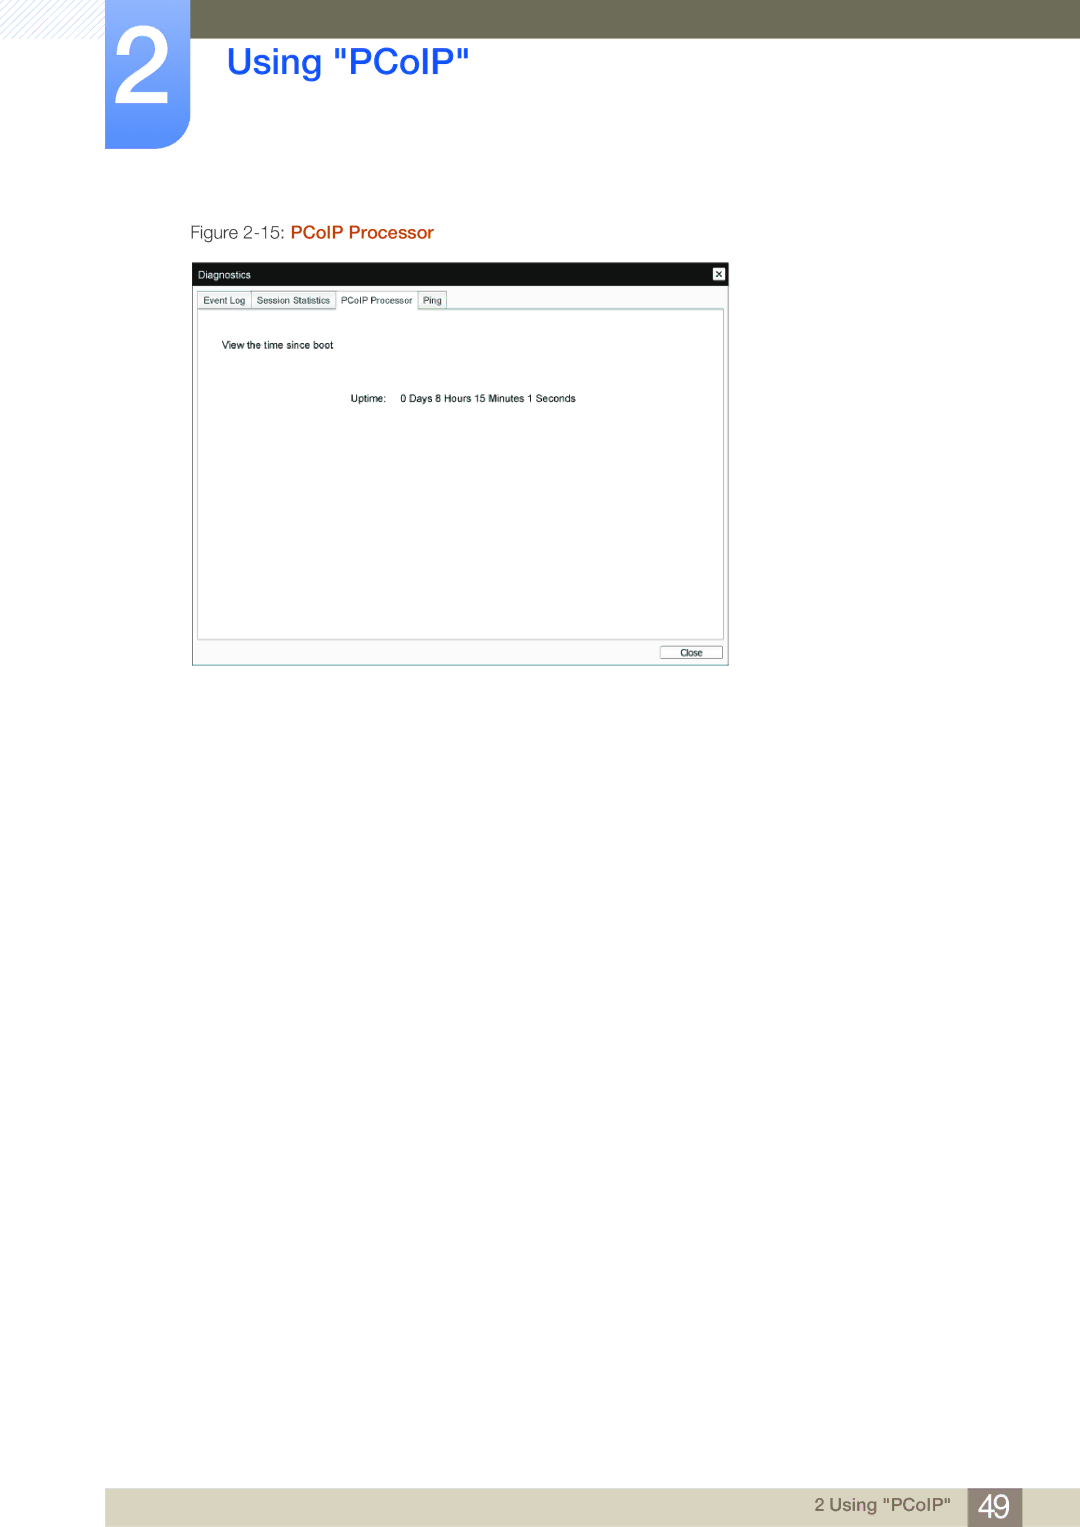
Figure
2-15:
PCoIP Processor
2 Using "PCoIP"
49
Page 48
Page 50
Page 49
Image 49
Page 48
Page 50
Contents
NC191 NC241
Table Of Contents
Connecting and Using 65 a Source Device Screen Setup
Configuring Tint Resizing or Relocating the Screen
Information
Appendix
Symbols for safety precautions
Before Using the Product
Copyright
Icons used in this manual
Cleaning
Cleaning
Precautions for storage
Securing the Installation Space
Electricity and Safety
Safety Precautions
Installation and Safety
Drips, etc., oil, or smoke
Operation and Safety
GAS
Before Using the Product
Correct posture to use the product
Preparations
Checking the Contents
Components
Checking the Components
Items sold separately
Frontal Buttons
Parts
Power Key
Go to SETUP&RESET Power Key and select Power Off or
Port Description
Reverse Side
Connect to the power cable
Attaching the cradle
Installation
Rotating the Monitor
Adjusting the Product Tilt and Height
Installing a Wall-mount Kit or Desktop Stand
Anti-theft Lock
What is a PC over IP?
Using PCoIP
Connection to Use PCoIP
Connecting USB Devices
LAN Connection
Connecting to Headphones or Speakers
Connecting a Microphone
Connecting a Serial cable
Connecting the Power
Connecting to a Secondary Monitor
Connect to the host PC using a LAN cable
Installing a USB-to-Serial Driver
Using PCoIP
On Screen Display OSD
PCoIP
Connect Screen
Connect Button
OSD Options Menu
Configuration Window
Network Tab
Enable Dhcp
IP Address
Subnet Mask
IPv6 Tab
Enable DHCPv6
Enable IPv6
Link Local Address
Secondary DNS
Label Tab
Discovery Tab
Enable Discovery
Connection Type
Session Tab
DNS Name or IP Address
Advanced
Keyboard Layout
Language Tab
OSD Tab
Screen-Saver Timeout
Display Tab
Enable display override
11 Display Configuration
Reset Tab
Diagnostics Window
Event Log Tab
View event log message
Session Statistics Tab
† Refresh
† Clear
PCoIP Processor Tab
15PCoIP Processor
Ping Tab
Information Window
† Firmware Part Number
† MAC Address
† Hardware Version
† Firmware Version
† Bootloader Version
User Settings Window
† Bootloader Build ID
† Bootloader Build Date
Reject the unverifiable connection
VMware View Tab
Allow the unverifiable connection
Mouse Speed
Mouse Tab
Keyboard Tab
Keyboard Repeat Delay
Image Quality Preference
Image
Display Layout
Display Topology
Alignment
Resolution
Primary
Position
Right click delay
Enable right click on hold
Touch Screen
Touch screen calibration
24Change Password Old Password
Password Window
25Authorized Password Reset
Wake On LAN
Wake on USB
OSD Logo Upload
Before Connecting
Connecting and Using a Source Device
Pre-connection Checkpoints
Connecting to a PC
Connecting and Using a PC
Connection Using the D-SUB Cable Analogue Type
Connecting a Stereo Cable
Windows Driver Installation
NC191
Setting Optimum Resolution
Changing the Resolution Using a PC
Changing the Resolution on Windows
Configuring Brightness
Screen Setup
Brightness
Contrast
Configuring Contrast
Sharpness
Configuring Sharpness
Samsung Magic Bright
Configuring Samsung Magic Bright
Coarse
Adjusting Coarse
Fine
Adjusting Fine
Configuring Samsung Magic Color
Configuring Tint
Samsung Magic Color
Red
Configuring Red
Green
Configuring Green
Blue
Configuring Blue
Color Tone
Configuring the Color Tone Settings
Gamma
Configuring Gamma
Resizing or Relocating the Screen
Configuring H-Position & V-Position
Position & V-Position
Press to configure Menu H-Position or Menu V-Position
Configuring Menu H-Position & Menu V-Position
Menu H-Position & Menu V-Position
Reset
Setup and Reset
Initializing Settings Reset
Changing the Language
Language
Display Time
Configuring Display Time
Changing Menu Transparency
Menu Transparency
Enabling Power Key
Power Key
Information Menu and Others
Configuring Volume in the Initial Screen
Displaying Information
What is Natural Color?
Installing the Software
Natural Color
Restrictions and Problems with the Installation MultiScreen
Installing the Software
MultiScreen
Removing the Software
Testing the Product
Troubleshooting Guide
Checking the Resolution and Frequency
Check the following
Source device issue
Not Optimum Mode is displayed
Question Answer
10.2 Q & a
Troubleshooting Guide
General
Specifications
Environme Operating
PowerSaver
Standard Signal Mode Table
49.702 59.810 83.500
65.290 59.954 146.250
Contact Samsung World Wide
Appendix
Europe
Denmark
Asia Pacific
India
Africa
Product damage caused by customers fault
Responsibility for the Pay Service Cost to Customers
Not a product defect
Others
Correct disposal of batteries in this product
Correct Disposal
OSD On Screen Display
Terminology
Vertical Frequency
Index
Terminology What is a PC over IP?
Top
Page
Image
Contents