Viewing an External Signal Source
TVInput
Source List : TV
Edit Name
Move | Enter | Return |
|
|
|
|
|
|
TV | Source List |
|
TV |
|
|
Ext.1 | : - - - - |
|
Ext.2 | : - - - - |
|
AV | : - - - - |
|
: - - - - |
| |
Component | : - - - - |
|
PC | : - - - - |
|
HDMI | : - - - - |
|
Move | Enter | Return |
|
|
|
TVInput
Source List : TV
Edit Name
![]() Move
Move ![]() Enter
Enter ![]() Return
Return
TV | Edit Name |
|
Ext.1 | : - - | |
Ext.2 | : - - - - |
|
AV | VCR |
|
: - - - - |
| |
DVD |
| |
: - - - - |
| |
Component | ||
: - - - - |
| |
PC | Cable STB | |
: - - - - |
| |
HDMI | : - - - - |
|
Move | Enter | Return |
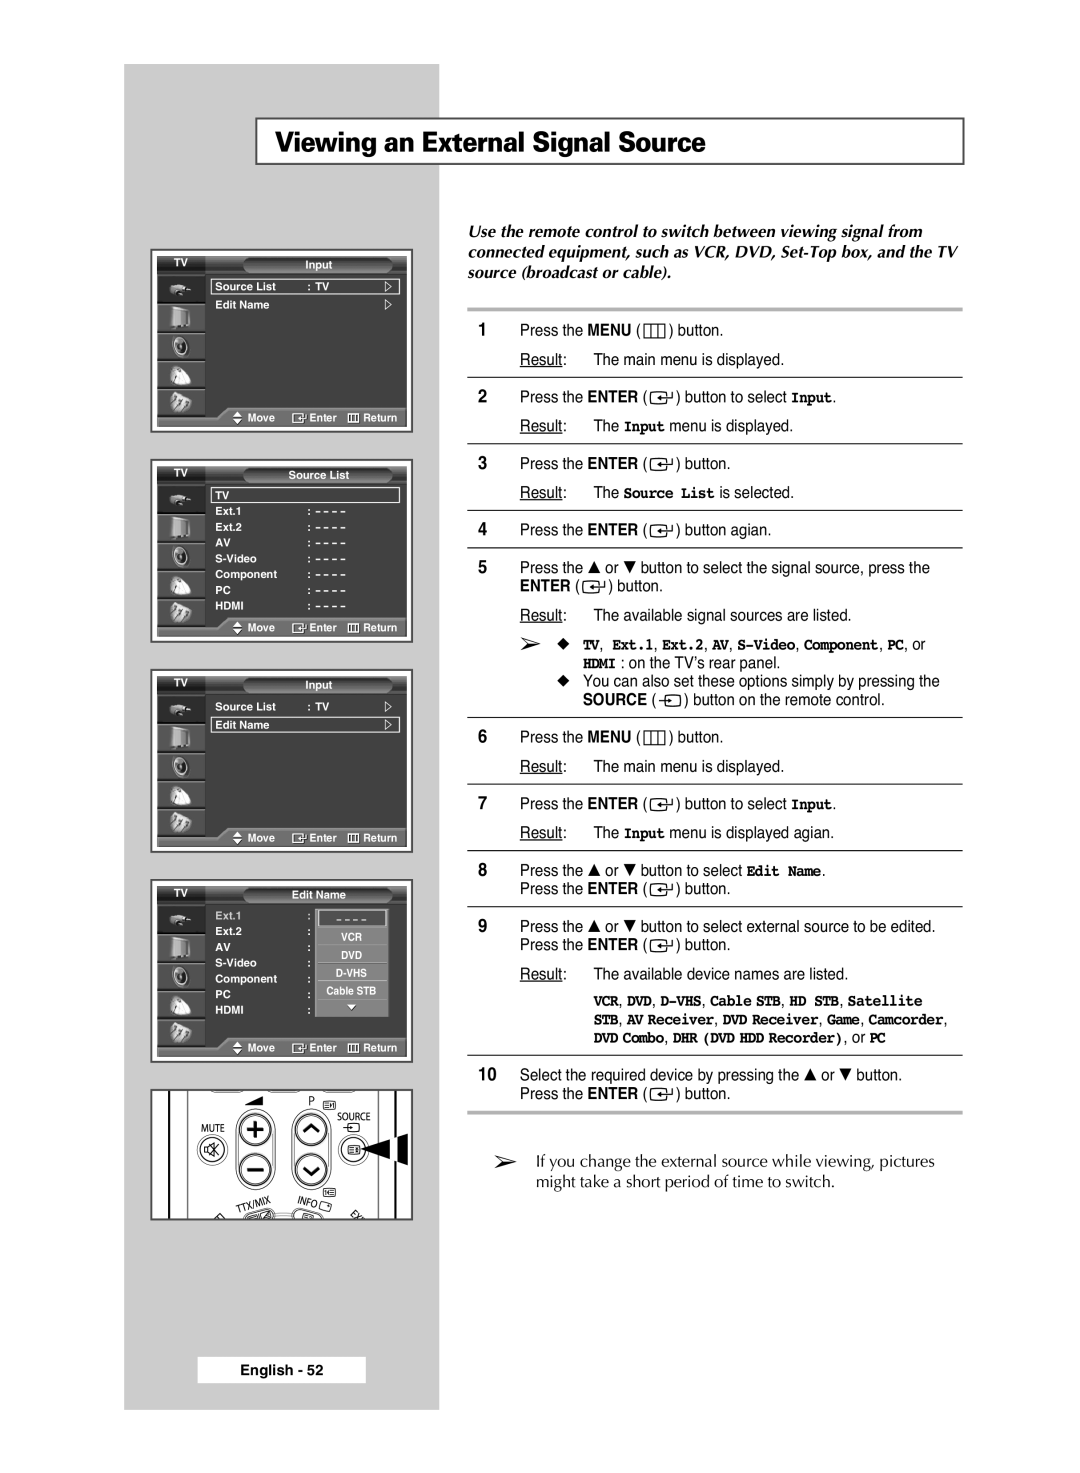
Use the remote control to switch between viewing signal from connected equipment, such as VCR, DVD,
1Press the MENU (  ) button.
Result: The main menu is displayed.
2Press the ENTER (![]() ) button to select Input. Result: The Input menu is displayed.
) button to select Input. Result: The Input menu is displayed.
3Press the ENTER (![]() ) button.
) button.
Result: The Source List is selected.
4Press the ENTER (![]() ) button agian.
) button agian.
5Press the … or † button to select the signal source, press the ENTER (![]() ) button.
) button.
Result: The available signal sources are listed.
➢◆ TV, Ext.1, Ext.2, AV, S-Video, Component, PC, or
HDMI : on the TV’s rear panel.
◆You can also set these options simply by pressing the SOURCE ( ![]() ) button on the remote control.
) button on the remote control.
6Press the MENU (  ) button.
Result: The main menu is displayed.
7Press the ENTER (![]() ) button to select Input. Result: The Input menu is displayed agian.
) button to select Input. Result: The Input menu is displayed agian.
8Press the … or † button to select Edit Name. Press the ENTER (![]() ) button.
) button.
9Press the … or † button to select external source to be edited. Press the ENTER (![]() ) button.
) button.
Result: The available device names are listed.
VCR, DVD,
STB, AV Receiver, DVD Receiver, Game, Camcorder,
DVD Combo, DHR (DVD HDD Recorder), or PC
10Select the required device by pressing the … or † button. Press the ENTER (![]() ) button.
) button.
➢If you change the external source while viewing, pictures might take a short period of time to switch.
English - 52