3. CAMERA SETUP
You can change the Camera ID, LOSS DETECT, MOTION DETECT and Camera Preset values.
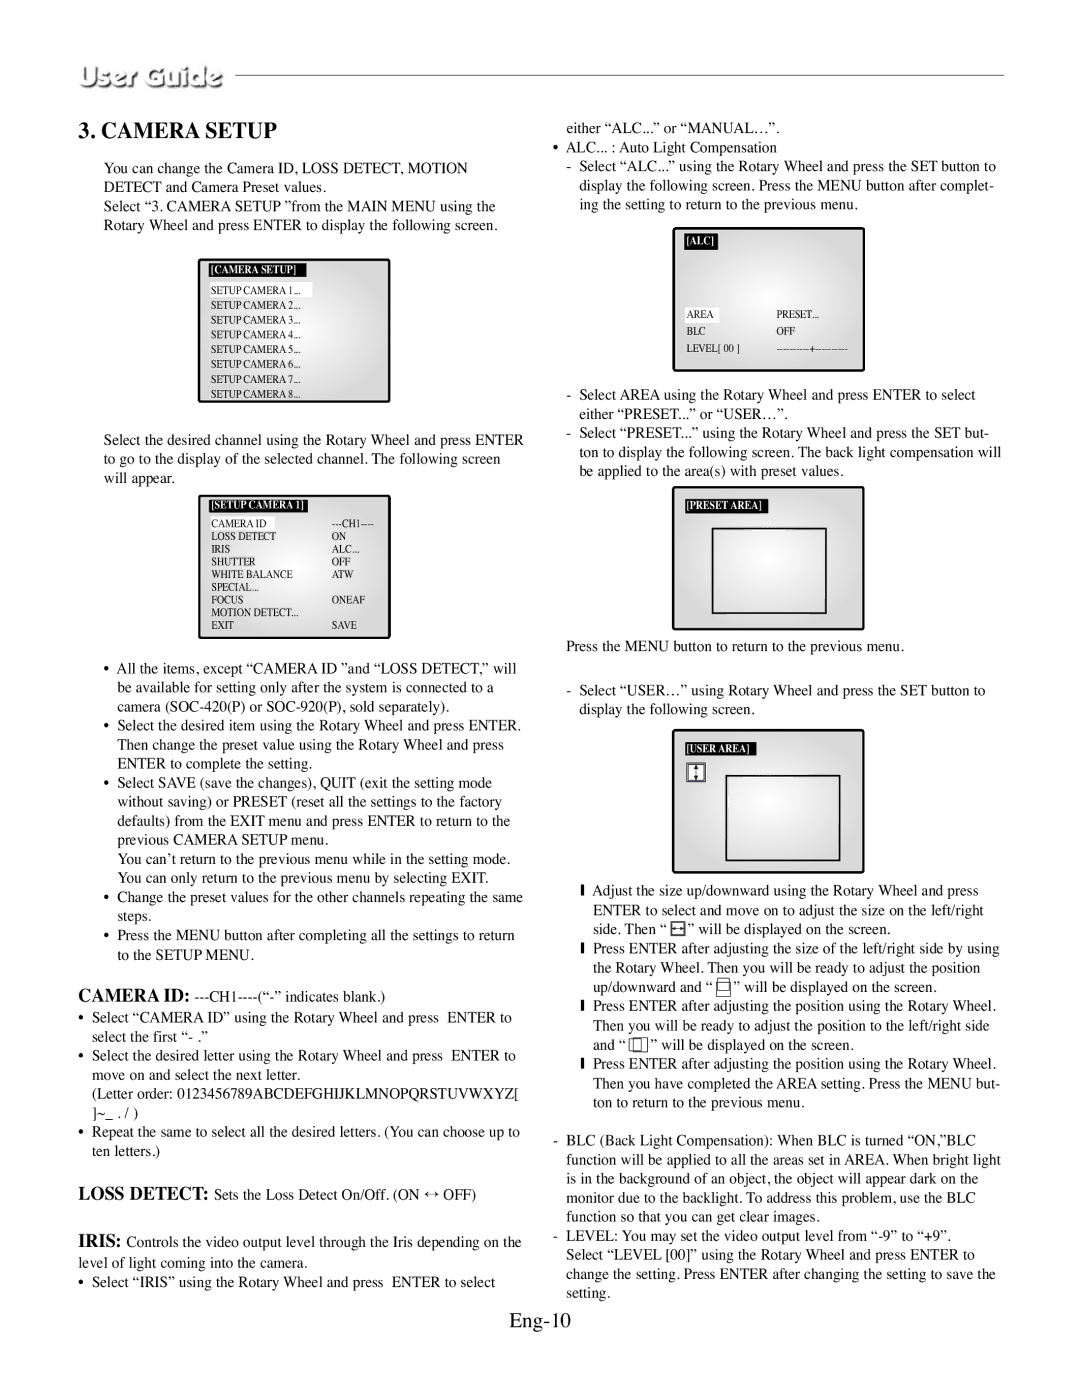
Select “3. CAMERA SETUP ”from the MAIN MENU using the Rotary Wheel and press ENTER to display the following screen.
[CAMERA SETUP]
SETUP CAMERA 1...
SETUP CAMERA 2...
SETUP CAMERA 3...
SETUP CAMERA 4...
SETUP CAMERA 5...
SETUP CAMERA 6...
SETUP CAMERA 7...
SETUP CAMERA 8...
Select the desired channel using the Rotary Wheel and press ENTER to go to the display of the selected channel. The following screen will appear.
| [SETUP CAMERA 1] |
| |
| CAMERA ID |
| |
| LOSS DETECT |
| ON |
| IRIS | ALC... | |
| SHUTTER | OFF | |
| WHITE BALANCE | ATW | |
| SPECIAL... |
| |
| FOCUS | ONEAF | |
| MOTION DETECT... |
| |
| EXIT | SAVE | |
|
|
|
|
•All the items, except “CAMERA ID ”and “LOSS DETECT,” will be available for setting only after the system is connected to a camera
•Select the desired item using the Rotary Wheel and press ENTER. Then change the preset value using the Rotary Wheel and press ENTER to complete the setting.
•Select SAVE (save the changes), QUIT (exit the setting mode without saving) or PRESET (reset all the settings to the factory defaults) from the EXIT menu and press ENTER to return to the previous CAMERA SETUP menu.
You can’t return to the previous menu while in the setting mode. You can only return to the previous menu by selecting EXIT.
•Change the preset values for the other channels repeating the same steps.
•Press the MENU button after completing all the settings to return to the SETUP MENU.
CAMERA ID:
•Select “CAMERA ID” using the Rotary Wheel and press ENTER to select the first
•Select the desired letter using the Rotary Wheel and press ENTER to move on and select the next letter.
(Letter order: 0123456789ABCDEFGHIJKLMNOPQRSTUVWXYZ[ ]~_ . / )
•Repeat the same to select all the desired letters. (You can choose up to ten letters.)
LOSS DETECT: Sets the Loss Detect On/Off. (ON ↔ OFF)
IRIS: Controls the video output level through the Iris depending on the level of light coming into the camera.
• Select “IRIS” using the Rotary Wheel and press ENTER to select
either “ALC...” or “MANUAL…”.
•ALC... : Auto Light Compensation
-Select “ALC...” using the Rotary Wheel and press the SET button to display the following screen. Press the MENU button after complet- ing the setting to return to the previous menu.
[ALC]
AREA PRESET...
BLC OFF
LEVEL[ 00 ] |
-Select AREA using the Rotary Wheel and press ENTER to select either “PRESET...” or “USER…”.
-Select “PRESET...” using the Rotary Wheel and press the SET but- ton to display the following screen. The back light compensation will be applied to the area(s) with preset values.
[PRESET AREA]
Press the MENU button to return to the previous menu.
-Select “USER…” using Rotary Wheel and press the SET button to display the following screen.
[USER AREA]
❙Adjust the size up/downward using the Rotary Wheel and press
ENTER to select and move on to adjust the size on the left/right side. Then “ ![]() ” will be displayed on the screen.
” will be displayed on the screen.
❙Press ENTER after adjusting the size of the left/right side by using
the Rotary Wheel. Then you will be ready to adjust the position up/downward and “ ![]() ” will be displayed on the screen.
” will be displayed on the screen.
❙Press ENTER after adjusting the position using the Rotary Wheel. Then you will be ready to adjust the position to the left/right side and “ ![]() ” will be displayed on the screen.
” will be displayed on the screen.
❙Press ENTER after adjusting the position using the Rotary Wheel. Then you have completed the AREA setting. Press the MENU but- ton to return to the previous menu.
-BLC (Back Light Compensation): When BLC is turned “ON,”BLC function will be applied to all the areas set in AREA. When bright light is in the background of an object, the object will appear dark on the monitor due to the backlight. To address this problem, use the BLC function so that you can get clear images.
-LEVEL: You may set the video output level from