[PATTERN A] |
|
|
| |
CH | MOTION | ALARM | ||
CH1 | OFF | OFF | ||
CH2 | OFF | |||
CH3 |
| OFF | OFF | |
CH4 | OFF | OFF | OFF | |
CH5 | OFF | OFF | OFF | |
CH6 | OFF | OFF | OFF | |
CH7 | OFF | OFF | OFF | |
CH8 | OFF | OFF | OFF | |
•Choose On/Off for the Motion, Alarm and
•Press the MENU button after completing the settings to return to the ALARM Menu.
•Repeat the same for PATTERN B.
•The
•Turn the Hidden Camera On/OFF of in LIVE Mode and P.B. MODE for each channel.
•Press the MENU button after completing the settings to return to the SYSTEM SETTING Menu.
SEQUENCE
•Set the Switching Interval for Sequence Mode. You can set the time between 1 sec and 30 sec.
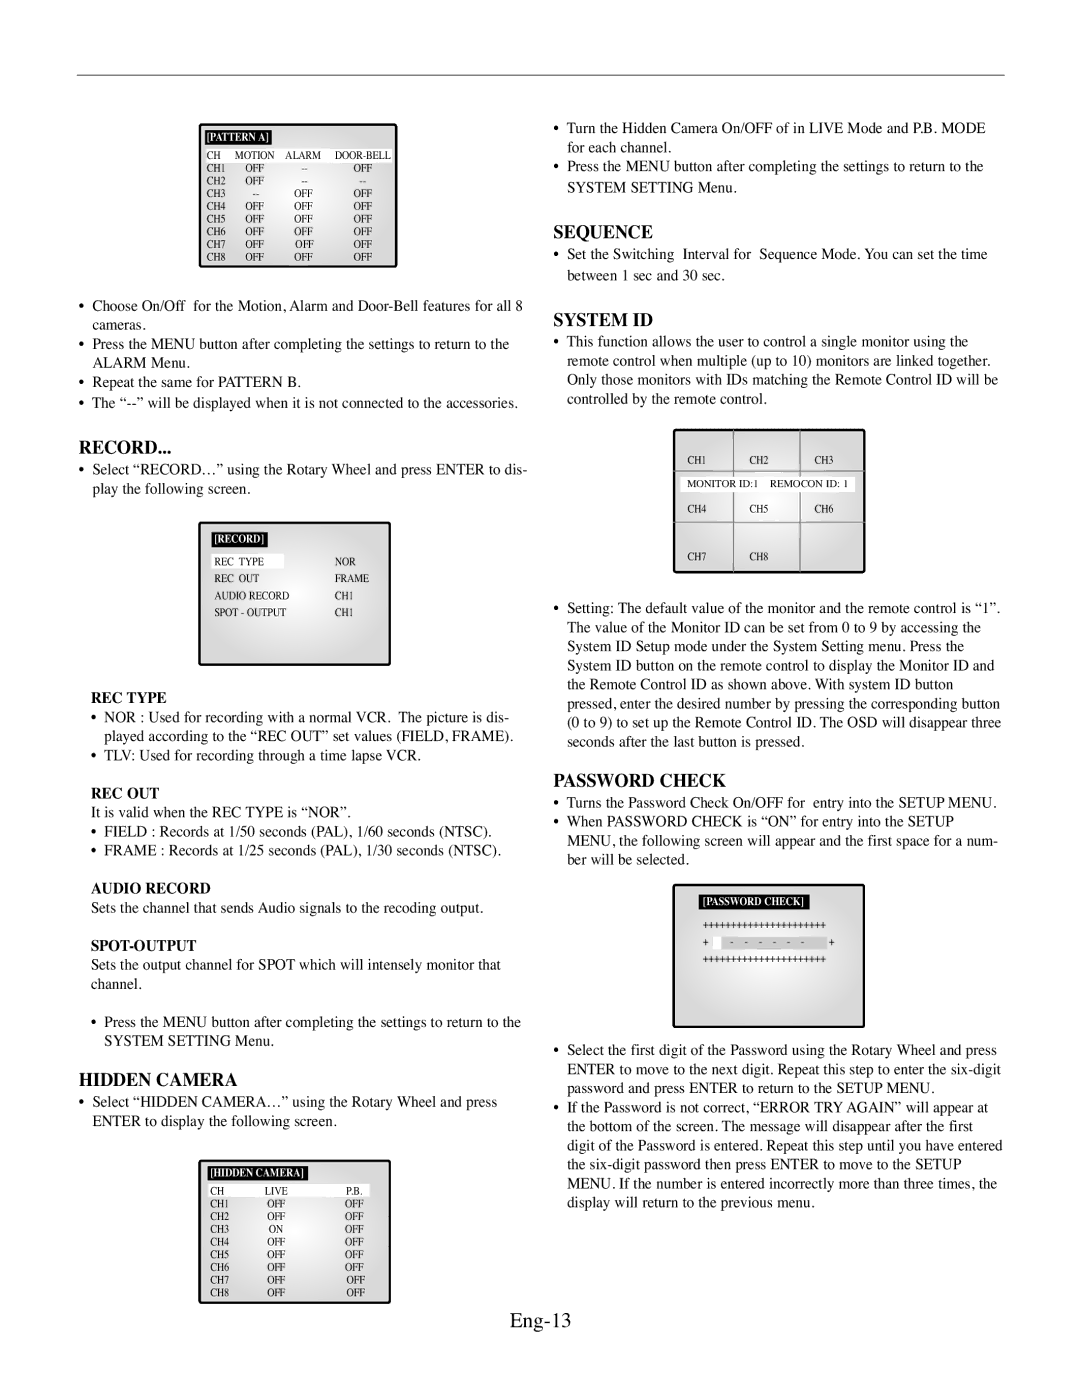
SYSTEM ID
•This function allows the user to control a single monitor using the remote control when multiple (up to 10) monitors are linked together. Only those monitors with IDs matching the Remote Control ID will be controlled by the remote control.
RECORD...
•Select “RECORD…” using the Rotary Wheel and press ENTER to dis- play the following screen.
| [RECORD] |
|
|
|
|
|
| ||
| REC TYPE |
| NOR | |
| REC OUT | FRAME | ||
| AUDIO RECORD | CH1 | ||
| SPOT - OUTPUT | CH1 | ||
|
|
|
|
|
REC TYPE
•NOR : Used for recording with a normal VCR. The picture is dis- played according to the “REC OUT” set values (FIELD, FRAME).
•TLV: Used for recording through a time lapse VCR.
REC OUT
It is valid when the REC TYPE is “NOR”.
•FIELD : Records at 1/50 seconds (PAL), 1/60 seconds (NTSC).
•FRAME : Records at 1/25 seconds (PAL), 1/30 seconds (NTSC).
AUDIO RECORD
Sets the channel that sends Audio signals to the recoding output.
SPOT-OUTPUT
Sets the output channel for SPOT which will intensely monitor that channel.
•Press the MENU button after completing the settings to return to the SYSTEM SETTING Menu.
HIDDEN CAMERA
•Select “HIDDEN CAMERA…” using the Rotary Wheel and press ENTER to display the following screen.
| [HIDDEN CAMERA] |
|
| |
| CH | LIVE | P.B. |
|
| CH1 | OFF | OFF | |
| CH2 | OFF | OFF | |
| CH3 | ON | OFF | |
| CH4 | OFF | OFF | |
| CH5 | OFF | OFF | |
| CH6 | OFF | OFF | |
| CH7 | OFF | OFF | |
| CH8 | OFF | OFF | |
|
|
|
|
|
| CH1 | CH2 |
| CH3 |
| |
| MONITOR ID:1 | REMOCON ID: 1 |
|
| ||
|
|
|
|
|
|
|
| CH4 | CH5 |
| CH6 |
| |
|
|
|
|
|
|
|
| CH7 | CH8 |
|
|
|
|
|
|
|
|
|
|
|
•Setting: The default value of the monitor and the remote control is “1”. The value of the Monitor ID can be set from 0 to 9 by accessing the System ID Setup mode under the System Setting menu. Press the System ID button on the remote control to display the Monitor ID and the Remote Control ID as shown above. With system ID button pressed, enter the desired number by pressing the corresponding button (0 to 9) to set up the Remote Control ID. The OSD will disappear three seconds after the last button is pressed.
PASSWORD CHECK
•Turns the Password Check On/OFF for entry into the SETUP MENU.
•When PASSWORD CHECK is “ON” for entry into the SETUP MENU, the following screen will appear and the first space for a num- ber will be selected.
[PASSWORD CHECK]
++++++++++++++++++++++ |
| ||
+ |
|
| + |
| - - - - - - | ||
++++++++++++++++++++++ |
| ||
•Select the first digit of the Password using the Rotary Wheel and press ENTER to move to the next digit. Repeat this step to enter the
•If the Password is not correct, “ERROR TRY AGAIN” will appear at the bottom of the screen. The message will disappear after the first digit of the Password is entered. Repeat this step until you have entered the