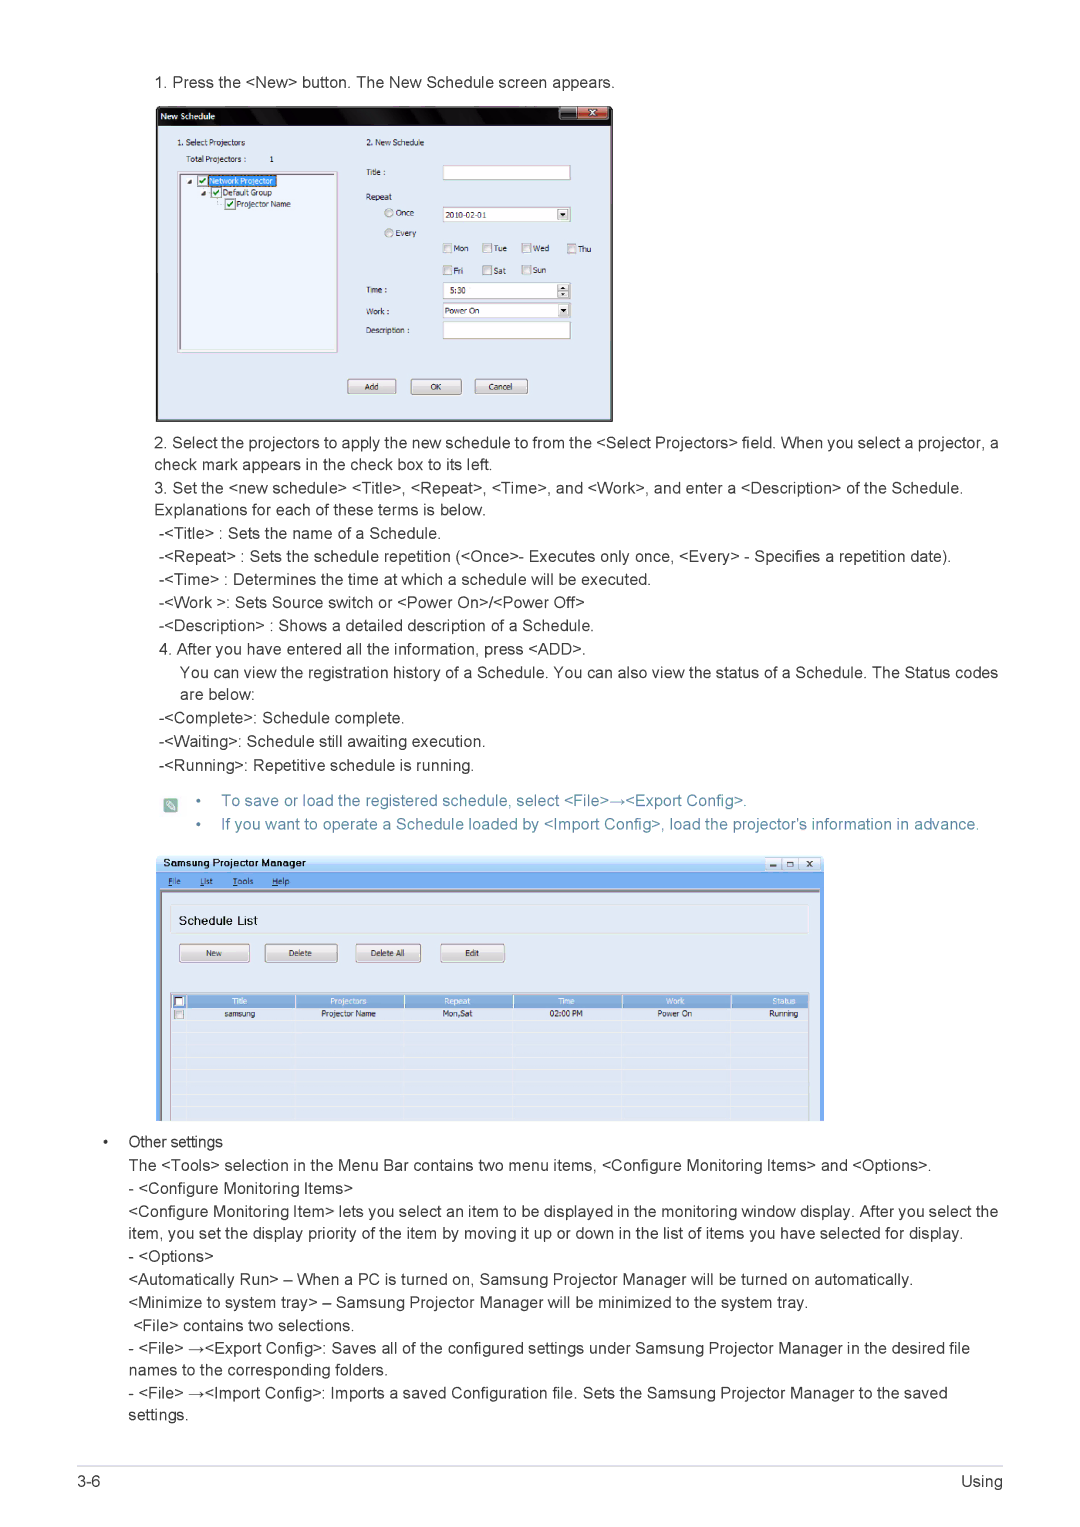
1. Press the <New> button. The New Schedule screen appears.
2.Select the projectors to apply the new schedule to from the <Select Projectors> field. When you select a projector, a check mark appears in the check box to its left.
3.Set the <new schedule> <Title>, <Repeat>, <Time>, and <Work>, and enter a <Description> of the Schedule. Explanations for each of these terms is below.
4.After you have entered all the information, press <ADD>.
You can view the registration history of a Schedule. You can also view the status of a Schedule. The Status codes are below:
• To save or load the registered schedule, select <File>→<Export Config>.
•If you want to operate a Schedule loaded by <Import Config>, load the projector's information in advance.
•Other settings
The <Tools> selection in the Menu Bar contains two menu items, <Configure Monitoring Items> and <Options>. - <Configure Monitoring Items>
<Configure Monitoring Item> lets you select an item to be displayed in the monitoring window display. After you select the item, you set the display priority of the item by moving it up or down in the list of items you have selected for display.
- <Options>
<Automatically Run> – When a PC is turned on, Samsung Projector Manager will be turned on automatically. <Minimize to system tray> – Samsung Projector Manager will be minimized to the system tray.
<File> contains two selections.
-<File> →<Export Config>: Saves all of the configured settings under Samsung Projector Manager in the desired file names to the corresponding folders.
-<File> →<Import Config>: Imports a saved Configuration file. Sets the Samsung Projector Manager to the saved settings.
Using |
