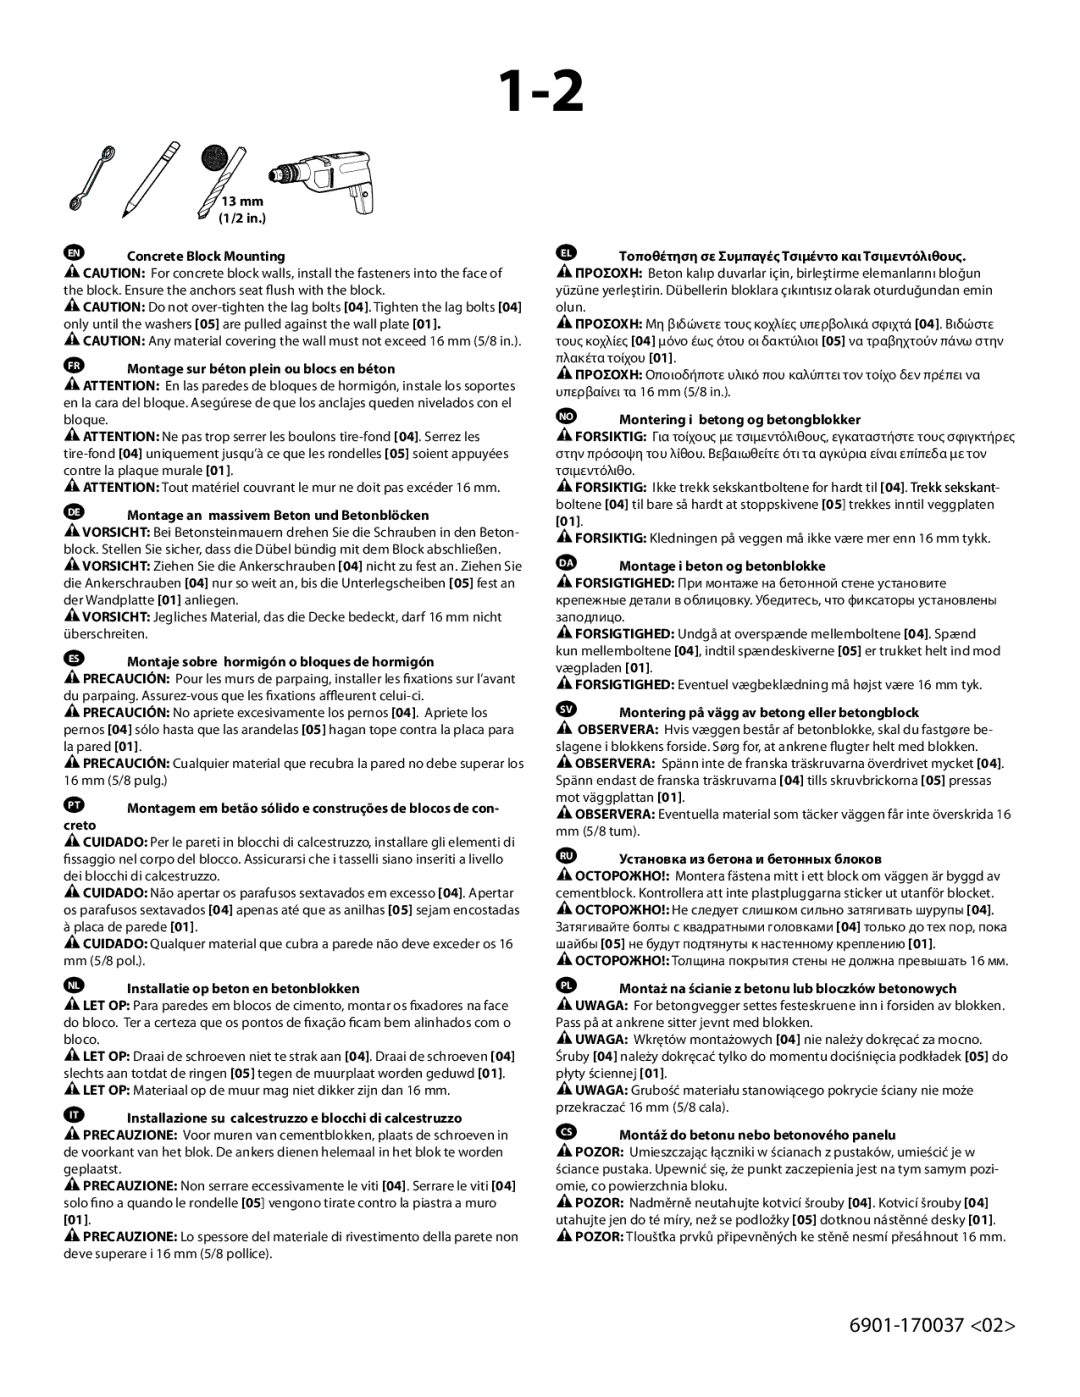
| 13 mm |
| (1/2 in.) |
EN | Concrete Block Mounting |
| CAUTION: For concrete block walls, install the fasteners into the face of |
the block. Ensure the anchors seat flush with the block. |
| CAUTION: Do not over-tighten the lag bolts [04]. Tighten the lag bolts [04] |
only until the washers [05] are pulled against the wall plate [01]. |
| CAUTION: Any material covering the wall must not exceed 16 mm (5/8 in.). |
FR | Montage sur béton plein ou blocs en béton |
| ATTENTION: En las paredes de bloques de hormigón, instale los soportes |
en la cara del bloque. Asegúrese de que los anclajes queden nivelados con el bloque.
 ATTENTION: Ne pas trop serrer les boulons tire-fond [04]. Serrez les tire-fond [04] uniquement jusqu’à ce que les rondelles [05] soient appuyées contre la plaque murale [01].
| ATTENTION: Tout matériel couvrant le mur ne doit pas excéder 16 mm. |
DE | Montage an massivem Beton und Betonblöcken |
| VORSICHT: Bei Betonsteinmauern drehen Sie die Schrauben in den Beton- |
block. Stellen Sie sicher, dass die Dübel bündig mit dem Block abschließen.
 VORSICHT: Ziehen Sie die Ankerschrauben [04] nicht zu fest an. Ziehen Sie die Ankerschrauben [04] nur so weit an, bis die Unterlegscheiben [05] fest an der Wandplatte [01] anliegen.
| VORSICHT: Jegliches Material, das die Decke bedeckt, darf 16 mm nicht |
überschreiten. |
ES | Montaje sobre hormigón o bloques de hormigón |
 PRECAUCIÓN: Pour les murs de parpaing, installer les fixations sur l’avant du parpaing. Assurez-vous que les fixations affleurent celui-ci.
 PRECAUCIÓN: No apriete excesivamente los pernos [04]. Apriete los pernos [04] sólo hasta que las arandelas [05] hagan tope contra la placa para la pared [01].
| PRECAUCIÓN: Cualquier material que recubra la pared no debe superar los |
16 mm (5/8 pulg.) |
PT | Montagem em betão sólido e construções de blocos de con- |
creto
 CUIDADO: Per le pareti in blocchi di calcestruzzo, installare gli elementi di fissaggio nel corpo del blocco. Assicurarsi che i tasselli siano inseriti a livello dei blocchi di calcestruzzo.
 CUIDADO: Não apertar os parafusos sextavados em excesso [04]. Apertar os parafusos sextavados [04] apenas até que as anilhas [05] sejam encostadas à placa de parede [01].
 CUIDADO: Qualquer material que cubra a parede não deve exceder os 16 mm (5/8 pol.).
NL | Installatie op beton en betonblokken |
| LET OP: Para paredes em blocos de cimento, montar os fixadores na face |
do bloco. Ter a certeza que os pontos de fixação ficam bem alinhados com o bloco.
 LET OP: Draai de schroeven niet te strak aan [04]. Draai de schroeven [04] slechts aan totdat de ringen [05] tegen de muurplaat worden geduwd [01].
| LET OP: Materiaal op de muur mag niet dikker zijn dan 16 mm. |
IT | Installazione su calcestruzzo e blocchi di calcestruzzo |
 PRECAUZIONE: Voor muren van cementblokken, plaats de schroeven in de voorkant van het blok. De ankers dienen helemaal in het blok te worden geplaatst.
 PRECAUZIONE: Non serrare eccessivamente le viti [04]. Serrare le viti [04] solo fino a quando le rondelle [05] vengono tirate contro la piastra a muro [01].
 PRECAUZIONE: Lo spessore del materiale di rivestimento della parete non deve superare i 16 mm (5/8 pollice).
EL | Τοποθέτηση σε Συμπαγές Τσιμέντο και Τσιμεντόλιθους. |
| ΠΡΟΣΟΧΗ: Beton kalıp duvarlar için, birleştirme elemanlarını bloğun |
yüzüne yerleştirin. Dübellerin bloklara çıkıntısız olarak oturduğundan emin olun.
 ΠΡΟΣΟΧΗ: Μη βιδώνετε τους κοχλίες υπερβολικά σφιχτά [04]. Βιδώστε τους κοχλίες [04] μόνο έως ότου οι δακτύλιοι [05] να τραβηχτούν πάνω στην πλακέτα τοίχου [01].
| ΠΡΟΣΟΧΗ: Οποιοδήποτε υλικό που καλύπτει τον τοίχο δεν πρέπει να |
υπερβαίνει τα 16 mm (5/8 in.). |
NO | Montering i betong og betongblokker |
 FORSIKTIG: Για τοίχους με τσιμεντόλιθους, εγκαταστήστε τους σφιγκτήρες στην πρόσοψη του λίθου. Βεβαιωθείτε ότι τα αγκύρια είναι επίπεδα με τον τσιμεντόλιθο.
 FORSIKTIG: Ikke trekk sekskantboltene for hardt til [04]. Trekk sekskant-
boltene [04] til bare så hardt at stoppskivene [05] trekkes inntil veggplaten [01].
| FORSIKTIG: Kledningen på veggen må ikke være mer enn 16 mm tykk. |
DA | Montage i beton og betonblokke |
| FORSIGTIGHED: При монтаже на бетонной стене установите |
крепежные детали в облицовку. Убедитесь, что фиксаторы установлены заподлицо.
 FORSIGTIGHED: Undgå at overspænde mellemboltene [04]. Spænd kun mellemboltene [04], indtil spændeskiverne [05] er trukket helt ind mod vægpladen [01].
| FORSIGTIGHED: Eventuel vægbeklædning må højst være 16 mm tyk. |
SV | Montering på vägg av betong eller betongblock |
 OBSERVERA: Hvis væggen består af betonblokke, skal du fastgøre be- slagene i blokkens forside. Sørg for, at ankrene flugter helt med blokken.
 OBSERVERA: Spänn inte de franska träskruvarna överdrivet mycket [04]. Spänn endast de franska träskruvarna [04] tills skruvbrickorna [05] pressas mot väggplattan [01].
| OBSERVERA: Eventuella material som täcker väggen får inte överskrida 16 |
mm (5/8 tum). |
RU | Установка из бетона и бетонных блоков |
| ОСТОРОЖНО!: Montera fästena mitt i ett block om väggen är byggd av |
cementblock. Kontrollera att inte plastpluggarna sticker ut utanför blocket.
 ОСТОРОЖНО!: Не следует слишком сильно затягивать шурупы [04]. Затягивайте болты с квадратными головками [04] только до тех пор, пока шайбы [05] не будут подтянуты к настенному креплению [01].
| ОСТОРОЖНО!: Толщина покрытия стены не должна превышать 16 мм. |
PL | Montaż na ścianie z betonu lub bloczków betonowych |
| UWAGA: For betongvegger settes festeskruene inn i forsiden av blokken. |
Pass på at ankrene sitter jevnt med blokken.
 UWAGA: Wkrętów montażowych [04] nie należy dokręcać za mocno. Śruby [04] należy dokręcać tylko do momentu dociśnięcia podkładek [05] do płyty ściennej [01].
| UWAGA: Grubość materiału stanowiącego pokrycie ściany nie może |
przekraczać 16 mm (5/8 cala). |
CS | Montáž do betonu nebo betonového panelu |
 POZOR: Umieszczając łączniki w ścianach z pustaków, umieścić je w ściance pustaka. Upewnić się, że punkt zaczepienia jest na tym samym pozi- omie, co powierzchnia bloku.
 POZOR: Nadměrně neutahujte kotvicí šrouby [04]. Kotvicí šrouby [04] utahujte jen do té míry, než se podložky [05] dotknou nástěnné desky [01].
 POZOR: Tloušťka prvků připevněných ke stěně nesmí přesáhnout 16 mm.