Setting
Ceiling
When this function is set to On, the picture will be top/ bottom and left/right reversed. This function is used to project the image from a
Rear
When this function is set to On, the picture will be left/right reversed. This function is used to project the image from rear of the screen.
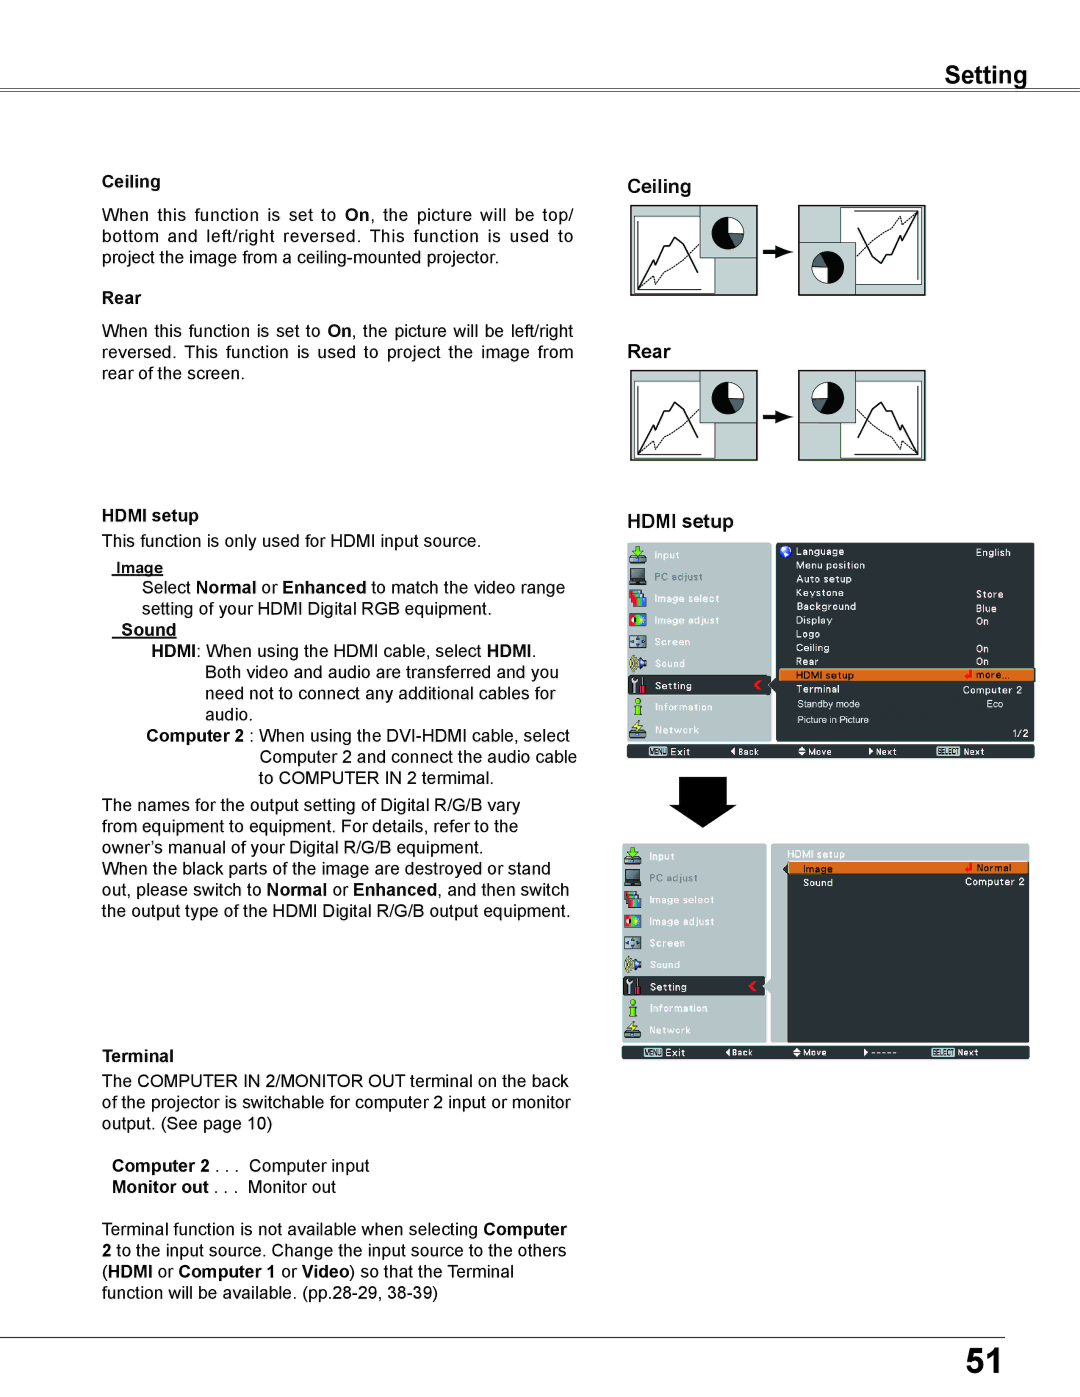
HDMI setup
This function is only used for HDMI input source.
Image
Select Normal or Enhanced to match the video range setting of your HDMI Digital RGB equipment.
Sound
HDMI: When using the HDMI cable, select HDMI. Both video and audio are transferred and you need not to connect any additional cables for audio.
Computer 2 : When using the
The names for the output setting of Digital R/G/B vary from equipment to equipment. For details, refer to the owner’s manual of your Digital R/G/B equipment.
When the black parts of the image are destroyed or stand out, please switch to Normal or Enhanced, and then switch the output type of the HDMI Digital R/G/B output equipment.
Terminal
The COMPUTER IN 2/MONITOR OUT terminal on the back of the projector is switchable for computer 2 input or monitor output. (See page 10)
Computer 2 . . . Computer input
Monitor out . . . Monitor out
Terminal function is not available when selecting Computer 2 to the input source. Change the input source to the others (HDMI or Computer 1 or Video) so that the Terminal function will be available.
Ceiling |
Rear |
HDMI setup
51