Chapter 3 Basic Setting and Operation
Network Configuration
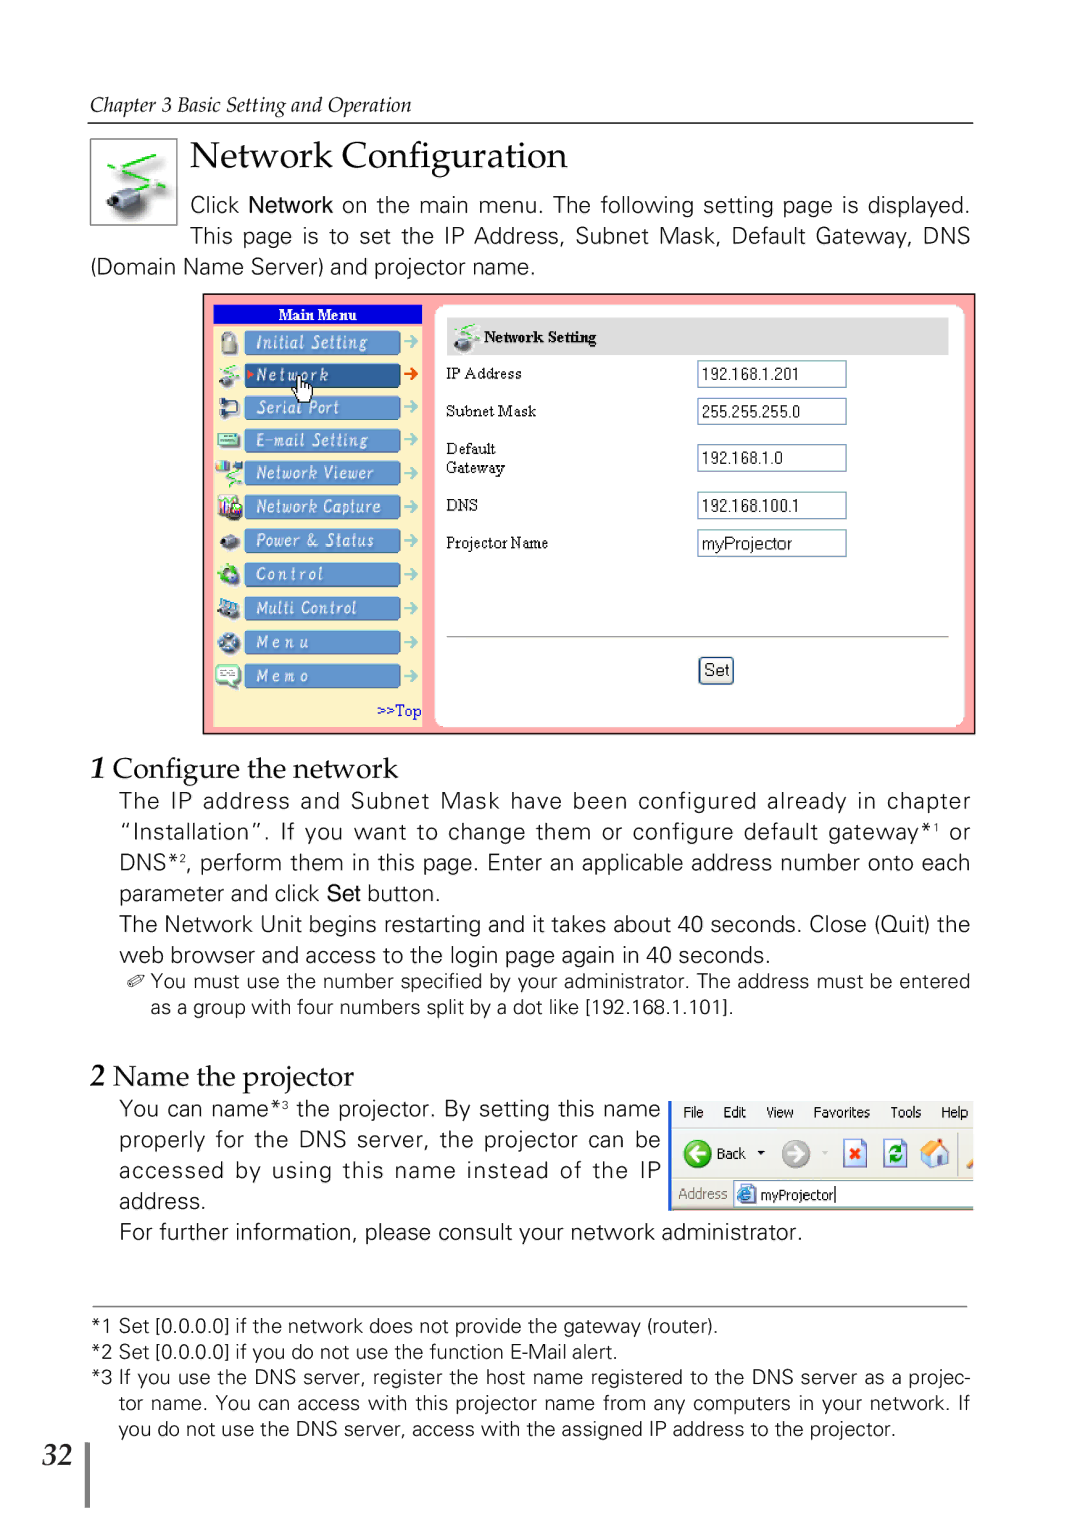
Click Network on the main menu. The following setting page is displayed. This page is to set the IP Address, Subnet Mask, Default Gateway, DNS
(Domain Name Server) and projector name.
1 Configure the network
The IP address and Subnet Mask have been configured already in chapter “Installation”. If you want to change them or configure default gateway*1 or DNS*2, perform them in this page. Enter an applicable address number onto each parameter and click Set button.
The Network Unit begins restarting and it takes about 40 seconds. Close (Quit) the web browser and access to the login page again in 40 seconds.
✐You must use the number specified by your administrator. The address must be entered as a group with four numbers split by a dot like [192.168.1.101].
2 Name the projector
You can name*3 the projector. By setting this name properly for the DNS server, the projector can be accessed by using this name instead of the IP address.
For further information, please consult your network administrator.
*1 Set [0.0.0.0] if the network does not provide the gateway (router).
*2 Set [0.0.0.0] if you do not use the function
*3 If you use the DNS server, register the host name registered to the DNS server as a projec- tor name. You can access with this projector name from any computers in your network. If you do not use the DNS server, access with the assigned IP address to the projector.
32