Section 3. Configuration

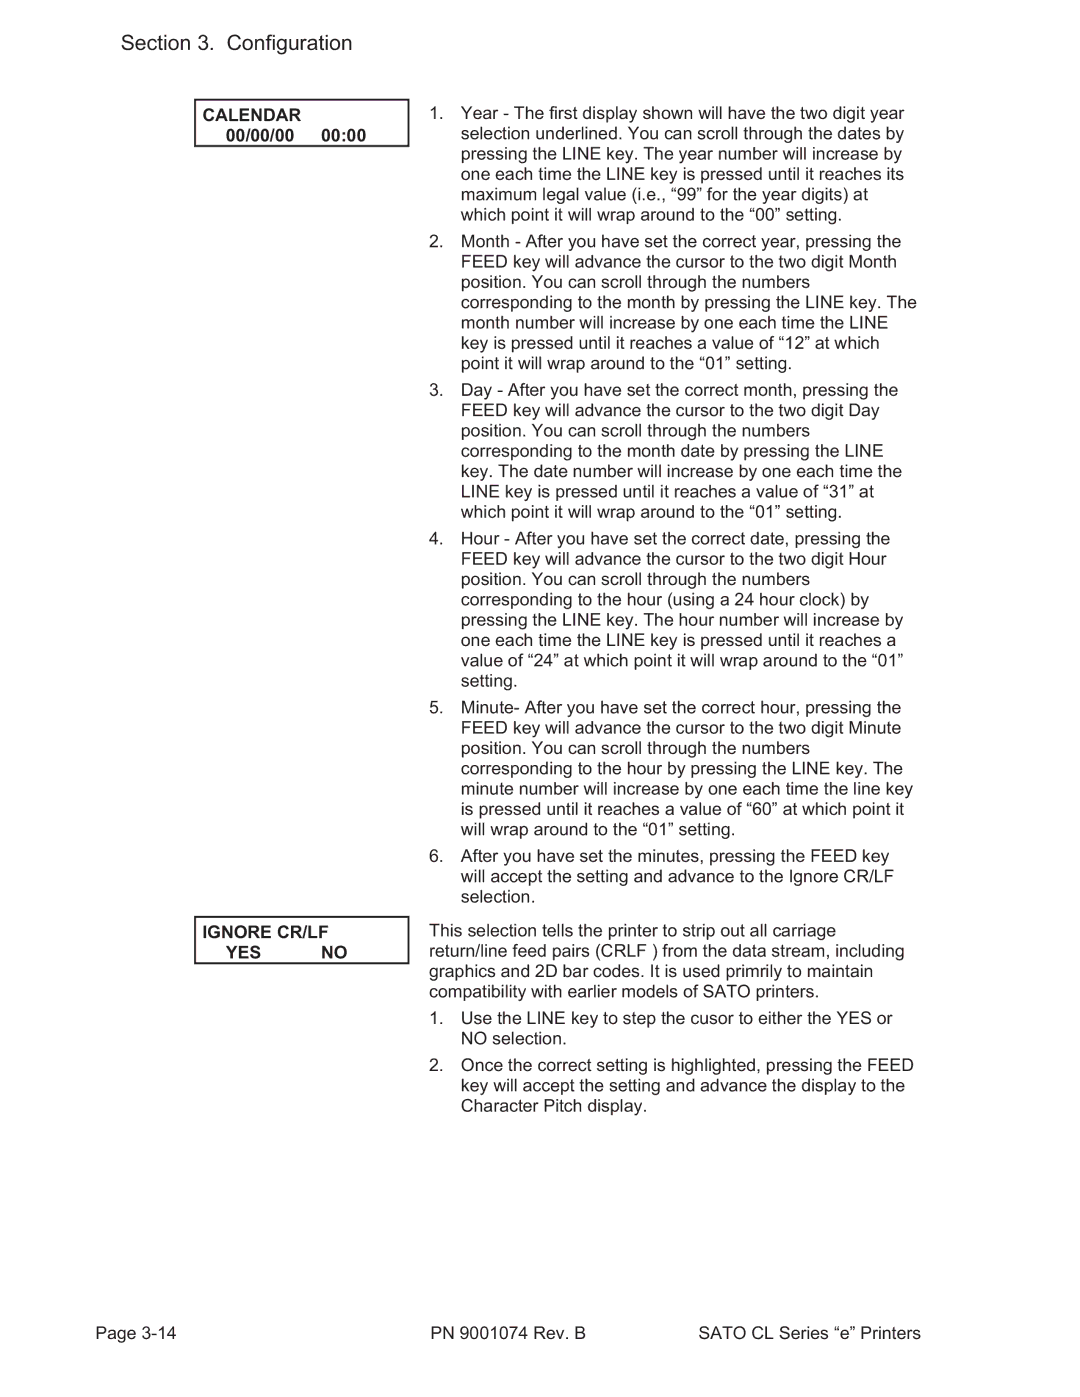
CALENDAR 00/00/00 00:00

IGNORE CR/LF

YES NO

1.Year - The first display shown will have the two digit year selection underlined. You can scroll through the dates by pressing the LINE key. The year number will increase by one each time the LINE key is pressed until it reaches its maximum legal value (i.e., “99” for the year digits) at which point it will wrap around to the “00” setting.

2.Month - After you have set the correct year, pressing the FEED key will advance the cursor to the two digit Month position. You can scroll through the numbers corresponding to the month by pressing the LINE key. The month number will increase by one each time the LINE key is pressed until it reaches a value of “12” at which point it will wrap around to the “01” setting.

3.Day - After you have set the correct month, pressing the FEED key will advance the cursor to the two digit Day position. You can scroll through the numbers corresponding to the month date by pressing the LINE key. The date number will increase by one each time the LINE key is pressed until it reaches a value of “31” at which point it will wrap around to the “01” setting.

4.Hour - After you have set the correct date, pressing the FEED key will advance the cursor to the two digit Hour position. You can scroll through the numbers corresponding to the hour (using a 24 hour clock) by pressing the LINE key. The hour number will increase by one each time the LINE key is pressed until it reaches a value of “24” at which point it will wrap around to the “01” setting.

5.Minute- After you have set the correct hour, pressing the FEED key will advance the cursor to the two digit Minute position. You can scroll through the numbers corresponding to the hour by pressing the LINE key. The minute number will increase by one each time the line key is pressed until it reaches a value of “60” at which point it will wrap around to the “01” setting.

6.After you have set the minutes, pressing the FEED key will accept the setting and advance to the Ignore CR/LF selection.

This selection tells the printer to strip out all carriage return/line feed pairs (CRLF ) from the data stream, including graphics and 2D bar codes. It is used primrily to maintain compatibility with earlier models of SATO printers.

1.Use the LINE key to step the cusor to either the YES or NO selection.

2.Once the correct setting is highlighted, pressing the FEED key will accept the setting and advance the display to the Character Pitch display.

Page 3-14

PN 9001074 Rev. B

SATO CL Series “e” Printers

Page 50
Image 50
SATO 408e manual Ignore CR/LF YES no

408e specifications

The SATO 408e is a high-performance thermal transfer printer that stands out in the world of barcode and label printing, particularly known for its reliability and versatility. Designed for various industrial applications, this printer is well-suited for environments that require durable and efficient printing solutions.

One of the main features of the SATO 408e is its superior print quality. It utilizes advanced thermal transfer technology, allowing for crisp and clear printing at speeds of up to 10 inches per second. The printer is capable of producing sharp barcodes, text, and graphics, ensuring that labels meet high standards for readability and durability.

The SATO 408e supports a wide range of media types and sizes, accommodating labels from 0.63 inches to 4.1 inches in width. This flexibility makes it an ideal choice for industries such as manufacturing, logistics, healthcare, and retail, where diverse labeling needs may arise. Whether you need labels for shipping, inventory management, or patient identification, the SATO 408e can handle it all.

Another significant characteristic of the SATO 408e is its user-friendly interface. The printer features an intuitive LCD screen that simplifies navigation through the printer’s settings. Additionally, it includes easy-to-access components for media and ribbon loading, allowing for quick replacement and minimal downtime. This ergonomic design caters to various user levels, from novices to seasoned operators.

Connectivity options are also a strong point for the SATO 408e. It comes equipped with multiple connectivity interfaces, including USB, Ethernet, and serial ports, providing flexibility in how the printer can be integrated into existing systems. This seamless integration allows for enhanced workflow efficiency and adaptability to different business setups.

Furthermore, the SATO 408e incorporates advanced monitoring and maintenance features. It supports real-time monitoring of printer status and media usage, enabling proactive management and reducing the risk of interruptions during print runs.

In conclusion, the SATO 408e thermal transfer printer is characterized by its high print quality, versatility in media handling, user-friendly design, and robust connectivity options. It is a reliable solution for businesses that demand precision and efficiency in their labeling processes, making it a leading choice among industrial printers in the market today.