OPERATION
•This TREADMILL is intended for home use only.
Be sure your TREADMILL is sitting on a level surface.
The TREADMILL should be plugged into a three prong (grounded) outiet in a 115/120
GROUNDING INSTRUCTIONS
This product must be grounded. If it should malfunction or breakdown, grounding provides a path of least resistance for electric current to reduce the risk of electric shock. The plug must be plugged into an appropriate outlet that is properly installed and grounded in accordance with all local codes and ordinances.
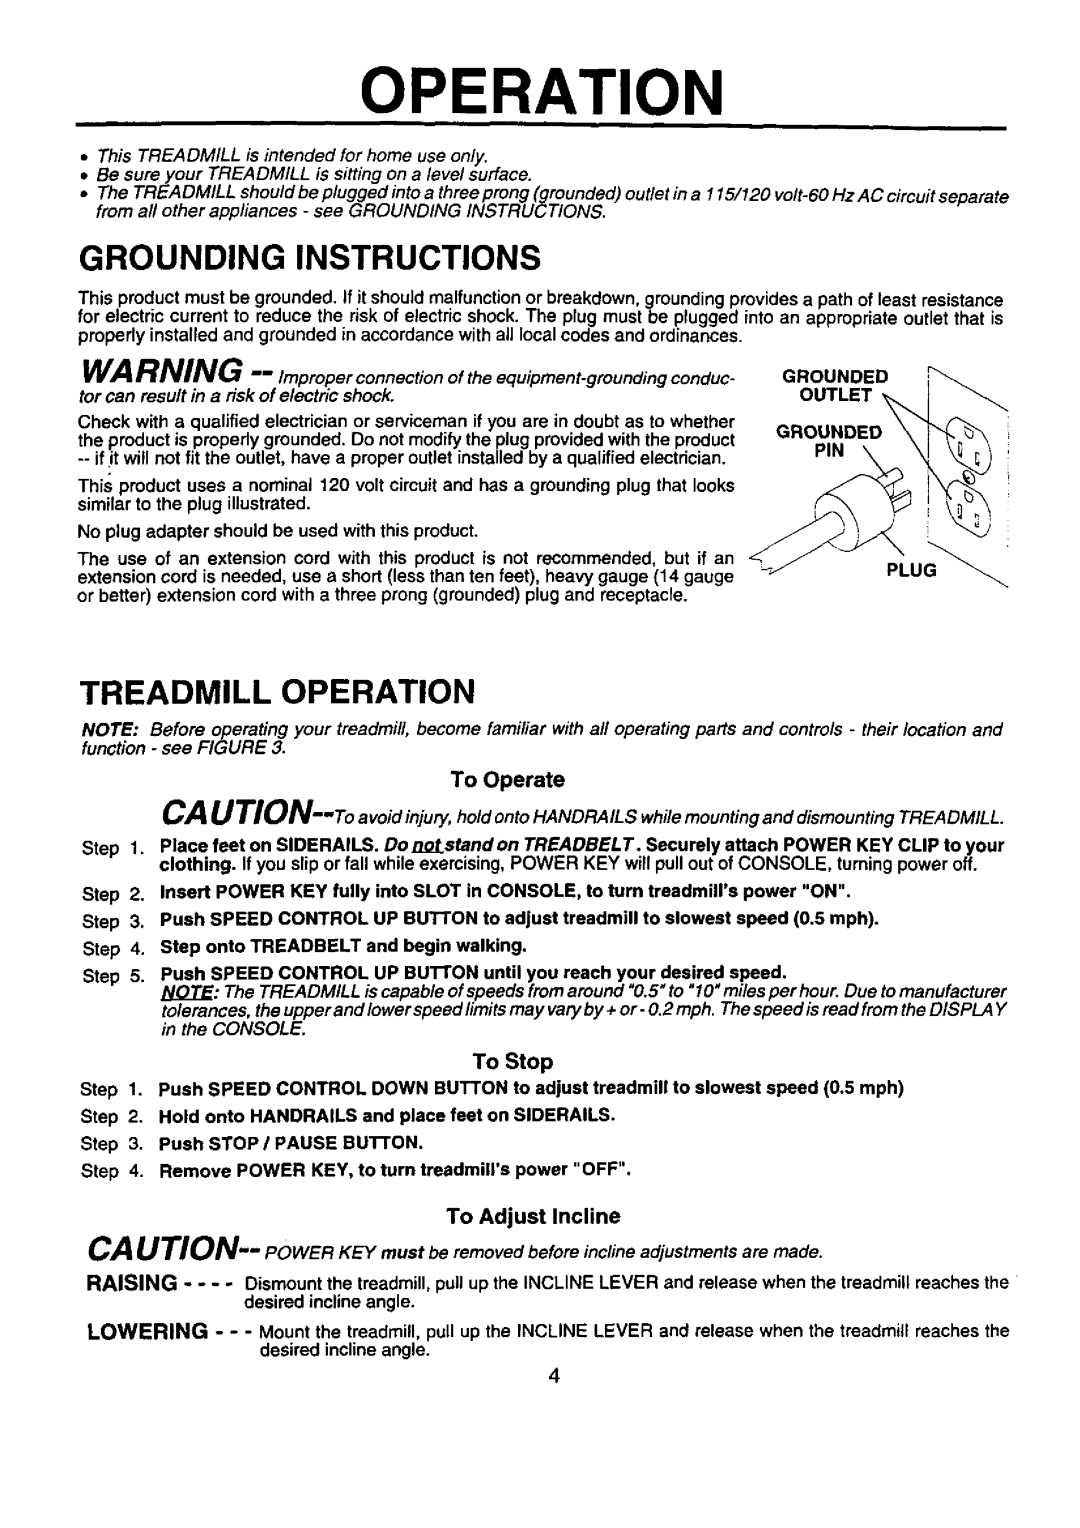
WARNING | conduc- | GROUNDED | |||
tor can result in a risk | of electric shock. |
| OUTLET | ||
Check with a qualified electrician or serviceman if you are in doubt as to whether |
|
| |||
the product is properly grounded. Do not modify the plug provided with the product | GROUNDED | ||||
the outlet, have a proper outlet installed by a qualified electrician. | PIN | __ | |||
This product uses a nominal 120 volt circuit and has a grounding plug that looks |
|
| |||
similar to the plug illustrated. |
|
|
| ||
The use of an extension cord with this product is not recommended, but if an | __,_pL | :G_ _ | |||
No plug adapter | should be used with this product. | (14 gauge | |||
extension cord | is needed, use a short (less than ten feet), heavy gauge |
| U | ||
or better) extension cord with a three prong (grounded) plug and receptacle.
TREADMILL OPERATION
NOTE: Before operating your treadmill, become familiar with all operating parts and controls - their location and function - see FIGURE 3.
To Operate
| CA | avoid injury, hold onto HANDRAILS | while mounting and dismounting TREADMILL. | ||||
Step 1. | Place | feet on SlDERAILS. | Do notatand on TREADBELT. | Securely attach POWER KEY CLIP to your | |||
| clothing. If you slip or fall while exercising, POWER KEY will pull out of CONSOLE, turning power off. | ||||||
Step 2. | Insert | POWER | KEY fully | into SLOT in CONSOLE, to turn | treadmill's power | "ON". | |
Step 3. | Push | SPEED | CONTROL | UP BUTTON to adjust treadmill | to slowest speed | (0.5 mph). | |
Step 4. | Step onto TREADBELT |
| and begin walking. |
|
| ||
Step 5. | Push | SPEED | CONTROL | UP BUTTON until you reach your desired speed. |
| ||
NOTE: The TREADMILL is capable of speeds from around "0.5" to "10" miles per hour. Due to manufacturer
tolerances, the upper and lower speed limits may vary by + or - 0.2 mph. The speed is read from the DISPLAY in the CONSOLE.
To Stop
Step 1. Push SPEED CONTROL DOWN BUTTON to adjust treadmill to slowest speed (0.5 mph) Step 2. Hold onto HANDRAILS and place feet on SIDERAILS.
Step 3. Push STOP / PAUSE BUTTON.
Step 4. Remove POWER KEY, to turn treadmill's power "OFF".
To Adjust Incline
CA
RAISING .... Dismount the treadmill, pull up the INCLINE LEVER and release when the treadmill reaches the
desired incline angle.
LOWERING - - - Mount the treadmill, pull up the INCLINE LEVER and release when the treadmill reaches the desired incline angle.
4