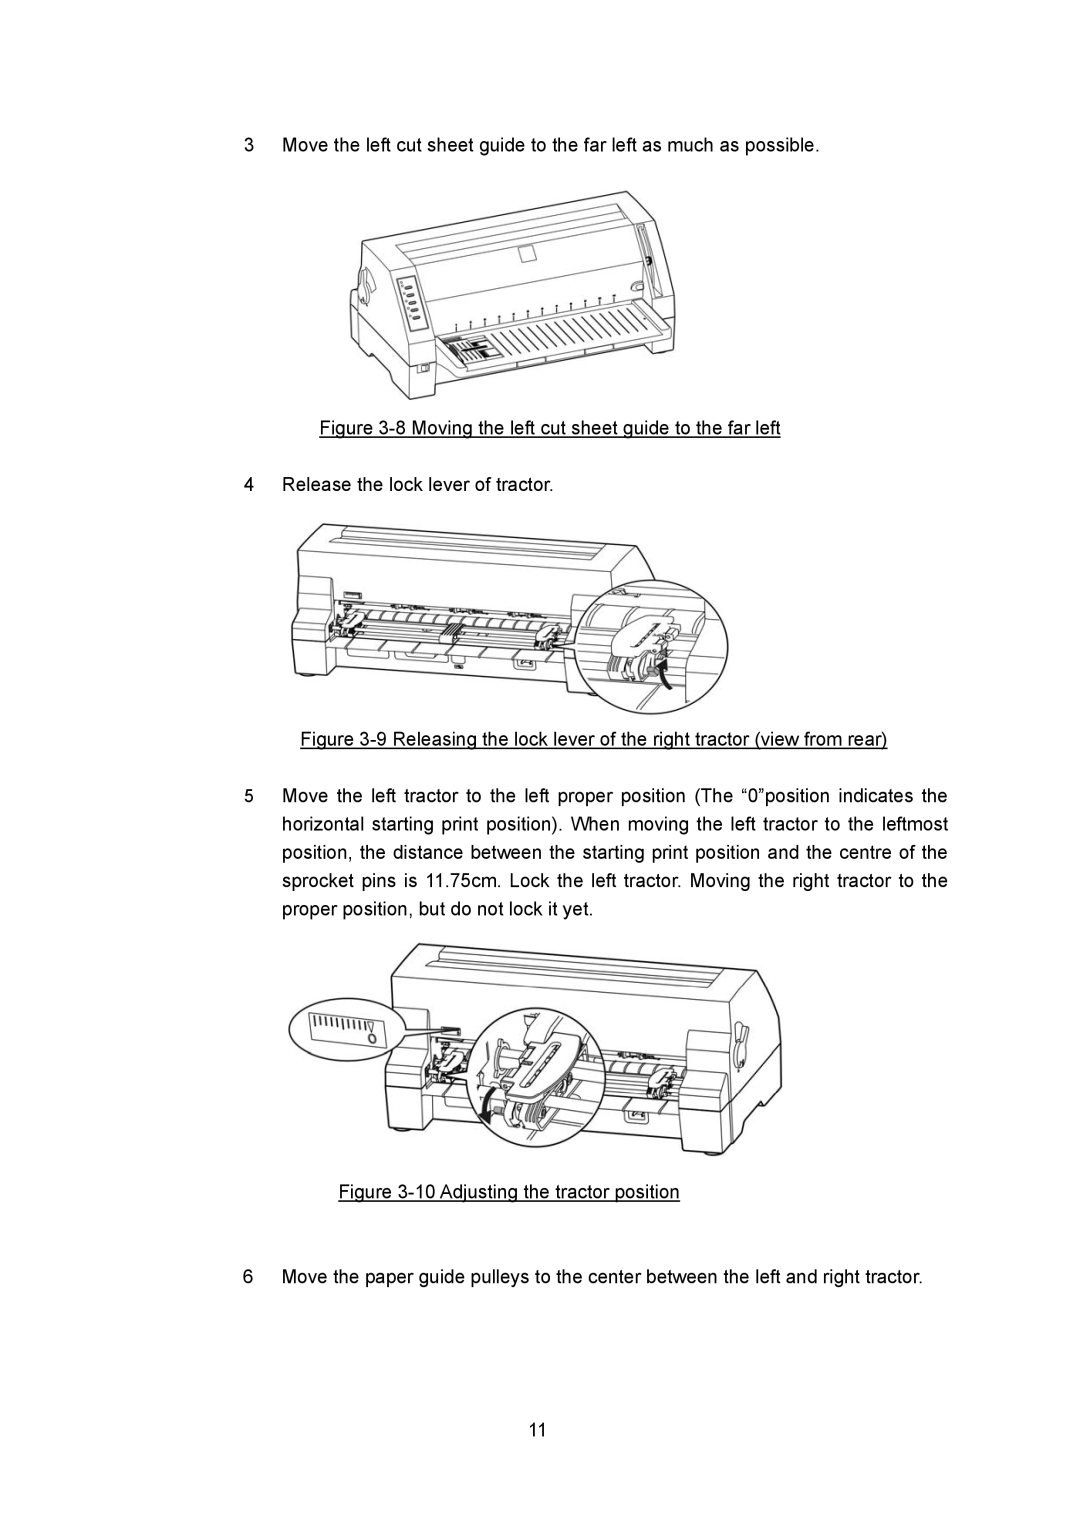
3 Move the left cut sheet guide to the far left as much as possible.
Figure 3-8 Moving the left cut sheet guide to the far left
4 Release the lock lever of tractor.
Figure 3-9 Releasing the lock lever of the right tractor (view from rear)
5Move the left tractor to the left proper position (The “0”position indicates the horizontal starting print position). When moving the left tractor to the leftmost position, the distance between the starting print position and the centre of the sprocket pins is 11.75cm. Lock the left tractor. Moving the right tractor to the proper position, but do not lock it yet.
Figure 3-10 Adjusting the tractor position
6 Move the paper guide pulleys to the center between the left and right tractor.
11
