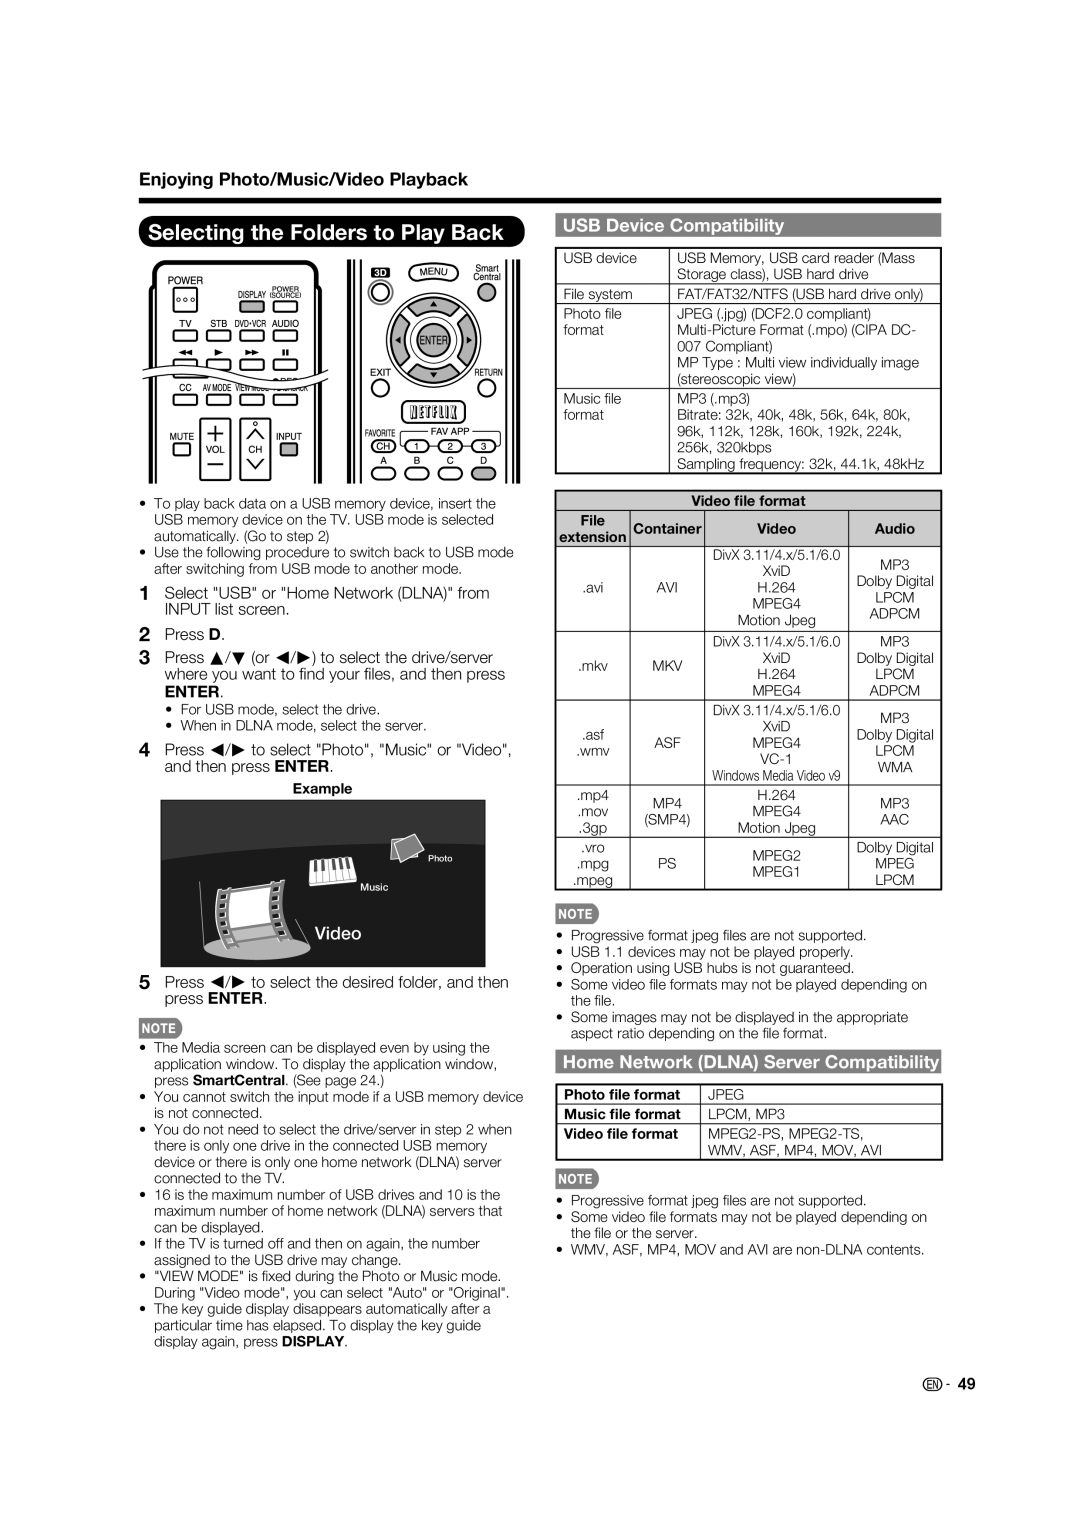
Enjoying Photo/Music/Video Playback
Selecting the Folders to Play Back
•To play back data on a USB memory device, insert the USB memory device on the TV. USB mode is selected automatically. (Go to step 2)
•Use the following procedure to switch back to USB mode after switching from USB mode to another mode.
1Select "USB" or "Home Network (DLNA)" from INPUT list screen.
2Press D.
3Press a/b (or c/d) to select the drive/server where you want to fi nd your fi les, and then press
ENTER.
•For USB mode, select the drive.
•When in DLNA mode, select the server.
4Press c/d to select "Photo", "Music" or "Video", and then press ENTER.
Example
Photo
Music
Video
5Press c/d to select the desired folder, and then press ENTER.
•The Media screen can be displayed even by using the application window. To display the application window, press SmartCentral. (See page 24.)
•You cannot switch the input mode if a USB memory device is not connected.
•You do not need to select the drive/server in step 2 when there is only one drive in the connected USB memory device or there is only one home network (DLNA) server connected to the TV.
•16 is the maximum number of USB drives and 10 is the maximum number of home network (DLNA) servers that can be displayed.
•If the TV is turned off and then on again, the number assigned to the USB drive may change.
•"VIEW MODE" is fi xed during the Photo or Music mode. During "Video mode", you can select "Auto" or "Original".
•The key guide display disappears automatically after a particular time has elapsed. To display the key guide display again, press DISPLAY.
USB Device Compatibility
USB device |
| USB Memory, USB card reader (Mass | ||||
|
|
|
| Storage class), USB hard drive | ||
File system |
|
| FAT/FAT32/NTFS (USB hard drive only) | |||
Photo fi le |
|
| JPEG (.jpg) (DCF2.0 compliant) | |||
format |
|
| ||||
|
|
|
| 007 Compliant) |
| |
|
|
|
| MP Type : Multi view individually image | ||
|
|
|
| (stereoscopic view) |
| |
Music fi le |
|
| MP3 (.mp3) |
| ||
format |
|
| Bitrate: 32k, 40k, 48k, 56k, 64k, 80k, | |||
|
|
|
| 96k, 112k, 128k, 160k, 192k, 224k, | ||
|
|
|
| 256k, 320kbps |
| |
|
|
|
| Sampling frequency: 32k, 44.1k, 48kHz | ||
|
|
|
|
|
|
|
|
|
|
| Video file format |
| |
File |
| Container | Video | Audio | ||
extension |
| |||||
|
|
|
|
| DivX 3.11/4.x/5.1/6.0 | MP3 |
|
|
|
|
| XviD | |
|
|
|
|
| Dolby Digital | |
.avi |
|
| AVI | H.264 | ||
|
| LPCM | ||||
|
|
|
|
| MPEG4 | |
|
|
|
|
| ADPCM | |
|
|
|
|
| Motion Jpeg | |
|
|
|
|
|
| |
|
|
|
|
|
|
|
|
|
|
|
| DivX 3.11/4.x/5.1/6.0 | MP3 |
.mkv |
|
| MKV | XviD | Dolby Digital | |
|
| H.264 | LPCM | |||
|
|
|
|
| ||
|
|
|
|
| MPEG4 | ADPCM |
|
|
|
|
| DivX 3.11/4.x/5.1/6.0 | MP3 |
|
|
|
|
| XviD | |
.asf |
|
|
|
| Dolby Digital | |
|
| ASF | MPEG4 | |||
.wmv |
|
| LPCM | |||
|
|
|
| |||
|
|
|
|
| WMA | |
|
|
|
|
| Windows Media Video v9 | |
|
|
|
|
|
| |
.mp4 |
|
| MP4 | H.264 | MP3 | |
.mov |
|
| MPEG4 | |||
|
| (SMP4) | AAC | |||
.3gp |
|
| Motion Jpeg | |||
|
|
|
|
| ||
.vro |
|
|
|
| MPEG2 | Dolby Digital |
.mpg |
|
| PS | MPEG | ||
|
| MPEG1 | ||||
.mpeg |
|
|
|
| LPCM | |
|
|
|
|
| ||
•Progressive format jpeg fi les are not supported.
•USB 1.1 devices may not be played properly.
•Operation using USB hubs is not guaranteed.
•Some video fi le formats may not be played depending on the fi le.
•Some images may not be displayed in the appropriate aspect ratio depending on the fi le format.
Home Network (DLNA) Server Compatibility
Photo file format | JPEG |
Music file format | LPCM, MP3 |
Video file format | |
| WMV, ASF, MP4, MOV, AVI |
•Progressive format jpeg fi les are not supported.
•Some video fi le formats may not be played depending on the fi le or the server.
•WMV, ASF, MP4, MOV and AVI are
![]()
![]() 49
49
