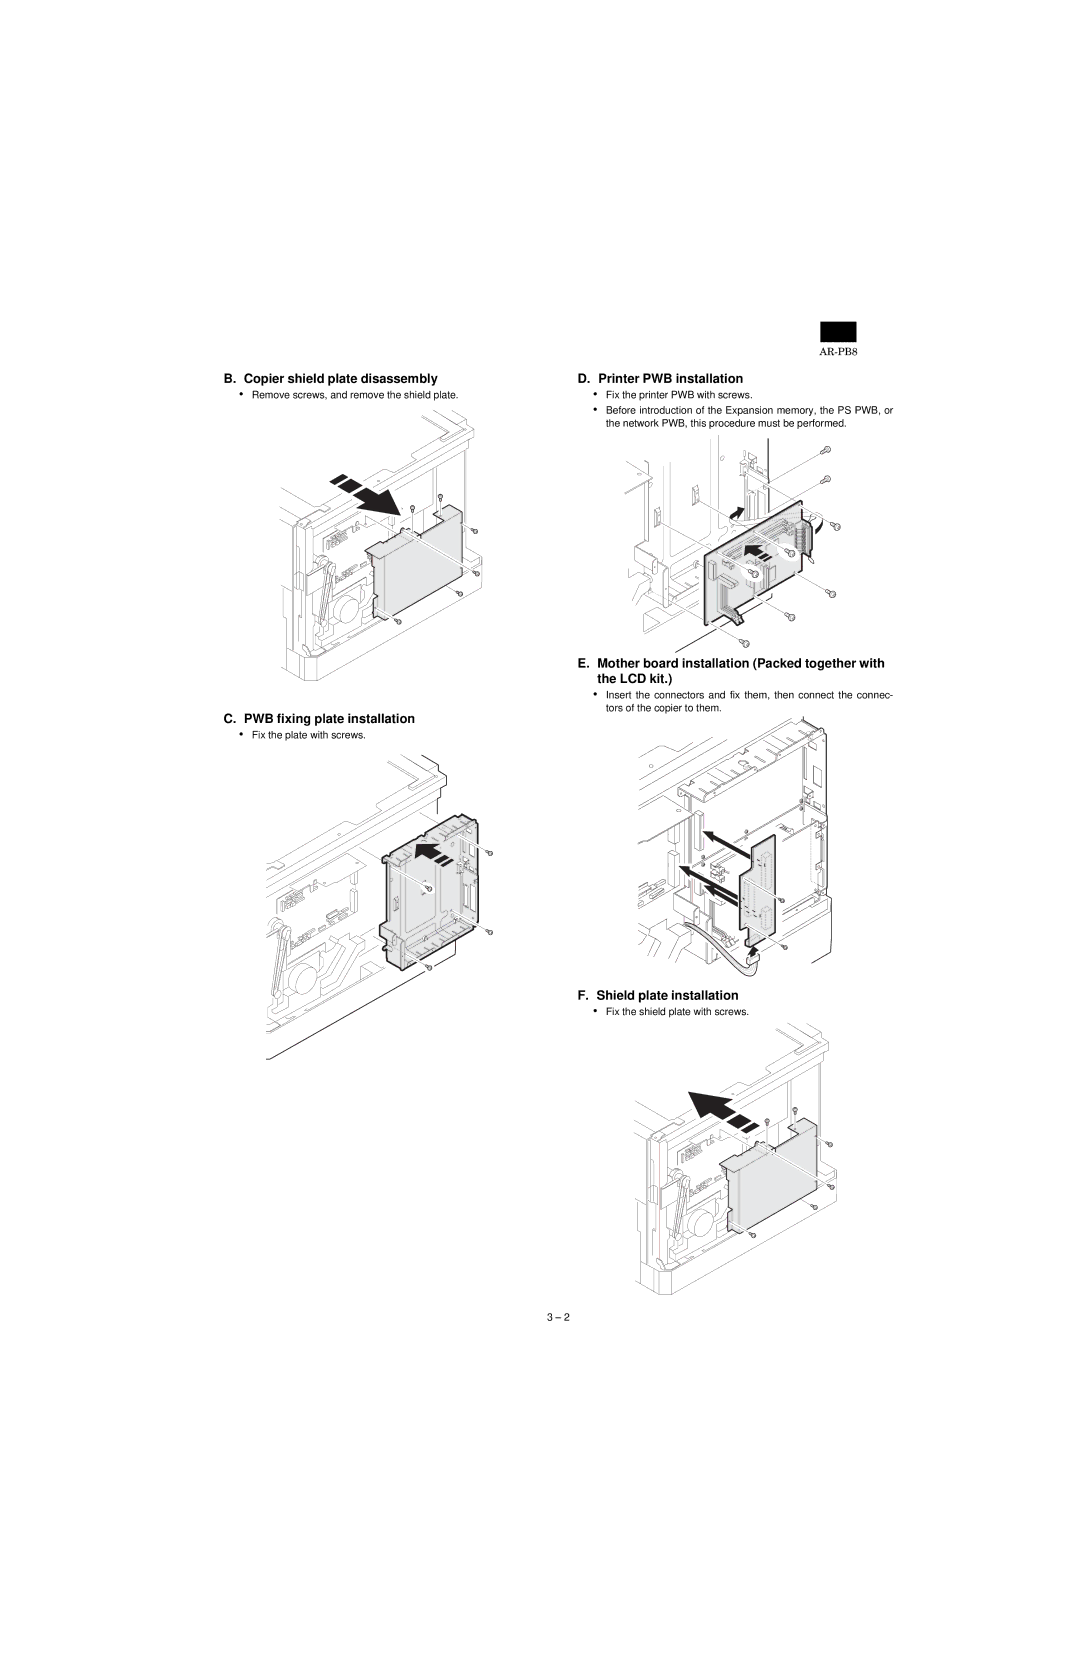
AR-PB8 specifications
The Sharp AR-PB8 is a versatile and innovative peripheral designed to enhance the functionality of Sharp's MFP (multi-function printer) series. Specific to models such as the AR-6020N, AR-6031N, and AR-6041N, the AR-PB8 offers robust performance tailored for office environments aiming for increased productivity and efficiency.One of the main features of the AR-PB8 is its impressive paper handling capacity. It can accommodate an additional paper tray, allowing users to extend their workflow without constant interruptions for paper replenishment. This feature is especially beneficial in high-volume printing environments where operational efficiency is crucial. The AR-PB8 can hold various paper sizes, including A4 and A5, catering to a wide range of printing needs.
Additionally, the AR-PB8 boasts advanced print management technologies. It supports both color and monochrome printing, delivering sharp text and vivid images. The printer's high-resolution output ensures that every printed document is professional and meets quality standards required in corporate settings. Furthermore, the AR-PB8 is equipped with advanced security features to protect sensitive information during print jobs. This includes user authentication protocols, ensuring that only authorized personnel can access the printer's functionalities.
The usability of the AR-PB8 is enhanced by its user-friendly interface. Featuring an intuitive control panel, even those unfamiliar with advanced printing technologies can operate the device with minimal training. Furthermore, the integration of networking capabilities allows the printer to be easily connected to different workstations within an office, facilitating efficient document sharing and collaboration among team members.
Energy efficiency is another critical characteristic of the AR-PB8. Designed with a low power consumption profile, it helps businesses reduce their energy costs while minimizing environmental impact. This commitment to sustainability resonates well with modern enterprises focused on corporate responsibility.
In conclusion, the Sharp AR-PB8 is an essential addition to any office looking to streamline its printing processes. With its advanced paper handling, professional quality output, enhanced security features, user-friendly operation, and energy efficiency, the AR-PB8 stands out as a reliable solution for managing document workflows effectively. By choosing the AR-PB8, organizations can expect improved productivity and a more organized printing strategy, making it an indispensable tool in the modern workplace.

