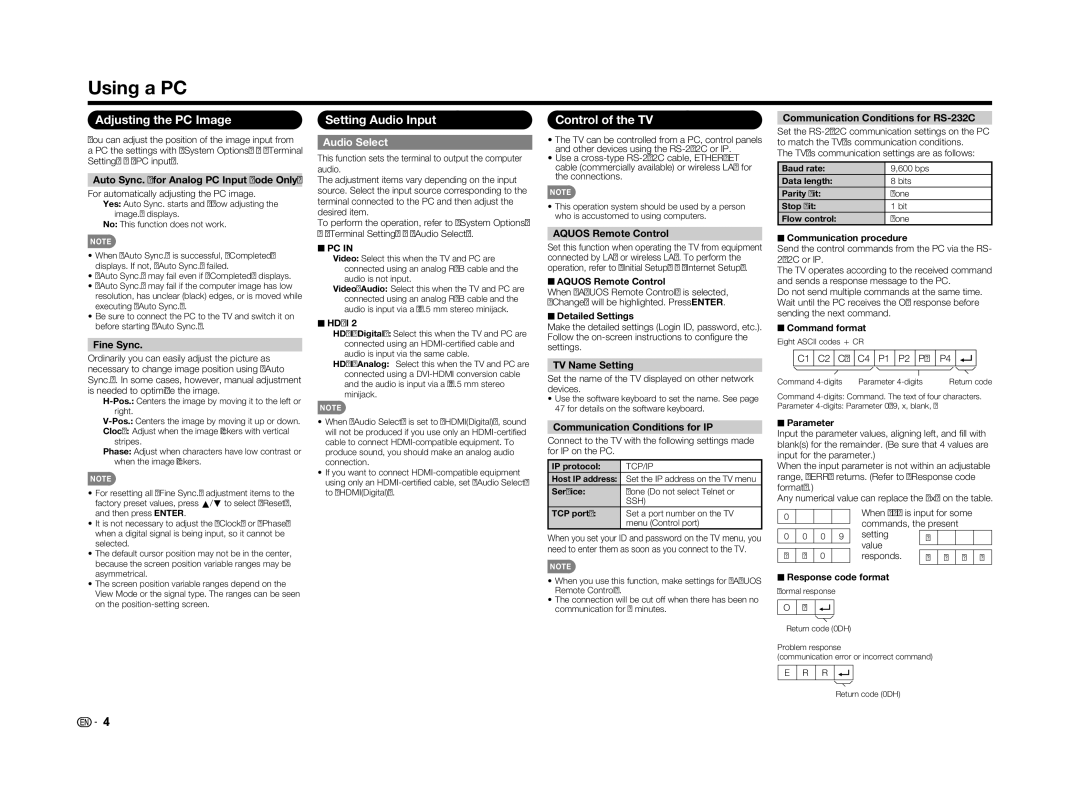
Using a PC
Adjusting the PC Image
You can adjust the position of the image input from a PC the settings with "System Options" > "Terminal Setting" > "PC input".
Auto Sync. (for Analog PC Input Mode Only)
For automatically adjusting the PC image.
Yes: Auto Sync. starts and "Now adjusting the image." displays.
No: This function does not work.
NOTE
•When "Auto Sync." is successful, "Completed" displays. If not, "Auto Sync." failed.
•"Auto Sync." may fail even if "Completed" displays.
•"Auto Sync." may fail if the computer image has low resolution, has unclear (black) edges, or is moved while executing "Auto Sync.".
•Be sure to connect the PC to the TV and switch it on before starting "Auto Sync.".
Fine Sync.
Ordinarily you can easily adjust the picture as necessary to change image position using "Auto Sync.". In some cases, however, manual adjustment is needed to optimize the image.
Clock: Adjust when the image fl ickers with vertical stripes.
Phase: Adjust when characters have low contrast or when the image fl ickers.
NOTE
•For resetting all "Fine Sync." adjustment items to the factory preset values, press a/b to select "Reset", and then press ENTER.
•It is not necessary to adjust the "Clock" or "Phase" when a digital signal is being input, so it cannot be selected.
•The default cursor position may not be in the center, because the screen position variable ranges may be asymmetrical.
•The screen position variable ranges depend on the View Mode or the signal type. The ranges can be seen on the
Setting Audio Input
Audio Select
This function sets the terminal to output the computer audio.
The adjustment items vary depending on the input source. Select the input source corresponding to the terminal connected to the PC and then adjust the desired item.
To perform the operation, refer to "System Options" > "Terminal Setting" > "Audio Select".
■PC IN
Video: Select this when the TV and PC are connected using an analog RGB cable and the audio is not input.
Video+Audio: Select this when the TV and PC are connected using an analog RGB cable and the audio is input via a Ø 3.5 mm stereo minijack.
■HDMI 2
HDMI(Digital): Select this when the TV and PC are connected using an
HDMI+Analog: Select this when the TV and PC are connected using a
NOTE
•When "Audio Select" is set to "HDMI(Digital)", sound will not be produced if you use only an
•If you want to connect
Control of the TV
•The TV can be controlled from a PC, control panels and other devices using the
•Use a
NOTE
•This operation system should be used by a person who is accustomed to using computers.
AQUOS Remote Control
Set this function when operating the TV from equipment connected by LAN or wireless LAN. To perform the operation, refer to "Initial Setup" > "Internet Setup".
■AQUOS Remote Control
When "AQUOS Remote Control" is selected, "Change" will be highlighted. Press ENTER.
■Detailed Settings
Make the detailed settings (Login ID, password, etc.). Follow the
TV Name Setting
Set the name of the TV displayed on other network devices.
•Use the software keyboard to set the name. See page 47 for details on the software keyboard.
Communication Conditions for IP
Connect to the TV with the following settings made for IP on the PC.
IP protocol: | TCP/IP |
Host IP address: | Set the IP address on the TV menu |
Service: | None (Do not select Telnet or |
| SSH) |
TCP port#: | Set a port number on the TV |
| menu (Control port) |
When you set your ID and password on the TV menu, you need to enter them as soon as you connect to the TV.
NOTE
•When you use this function, make settings for "AQUOS Remote Control".
•The connection will be cut off when there has been no communication for 3 minutes.
Communication Conditions for RS-232C
Set the
The TV's communication settings are as follows:
Baud rate: | 9,600 bps |
Data length: | 8 bits |
Parity bit: | None |
Stop bit: | 1 bit |
Flow control: | None |
■Communication procedure
Send the control commands from the PC via the RS- 232C or IP.
The TV operates according to the received command and sends a response message to the PC.
Do not send multiple commands at the same time. Wait until the PC receives the OK response before sending the next command.
■Command format
Eight ASCII codes e CR
C1 C2 C3 C4 P1 P2 P3 P4
Command | Parameter | Return code |
Command
Parameter
■Parameter
Input the parameter values, aligning left, and fi ll with blank(s) for the remainder. (Be sure that 4 values are input for the parameter.)
When the input parameter is not within an adjustable range, "ERR" returns. (Refer to "Response code format".)
Any numerical value can replace the "x" on the table.
0 |
|
|
| When "?" is input for some | ||||
|
|
| commands, the present | |||||
|
|
|
| |||||
|
|
|
| |||||
0 | 0 | 0 | 9 | setting | ? |
|
|
|
|
|
|
| value |
|
|
|
|
|
|
|
|
|
|
|
| |
|
|
|
|
|
|
|
| |
a | 3 | 0 |
| responds. | ? | ? | ? | ? |
|
|
|
|
|
|
|
|
|
■Response code format
Normal response
OK
Return code (0DH)
Problem response
(communication error or incorrect command)
E R R
Return code (0DH)
![]()
![]() 44
44
