U I Nt:.H l;UNVt:.NIENT FEATURES
Demonstration Mode
To demonstrate, touch CLOCK. @] and STARTffOUCH ON pad. Hold the STARTffOUCH ON pad for three sec-
onds.! DEl'fj II art jj SHRI?P II 5:,'jPL~lcmo[]£ill
will appear in the display. Cooking operations and special features can now be demonstrated with no power in the oven.
For example. Touch MINUTE PLUS and the displav will show
!LCD I and countdown quickly to [QJ and the I Et.D' i
To cancel, touch CLOCK. the number@] and STOP!CLEAR.
Custom Help
CUSTOM HELP provides 5 features which make using your
oven easy because specific instructions are provided in the interactive display.
Safety Lock
The Safety Lock prevents unwanted oven operation such
as by small children. Note: Safety Lock is not applicable to Hood Fan and Hood Light buttons.
5 |
|
| Enter cooking program or |
|
|
| |
| I |
| cooking time. |
6 | START | Touch STARTfTOUCH ON | |
|
| ||
|
| TOUCH ON | pad. |
NOTE:
1. Auto start can be used for manual cooking, Compu Broil!
Roast/Bake ITclock is set.
2.If the oven door is opened after programming Auto Start, it is necessary to touch the START pad for the time of day to appear in the readout so that the oven will
automatically begin programmed cooking at the chosen Auto Start time.
3.Be sure to choose foods that can be left in the oven safely until the Auto Start time. Baked potatoes are often a good choice.
The oven can be set so that the control panel is deactivated or locked. To set, touch CUSTOM HELP, the numberITl and STARTfTOUCH ON pad. Should a pad be touched, I LOCK I will appear in the display.
To cancel, touch CUSTOM HELP, the number[Ij and STOP!
CLEAR.
Audible Signal Elimination
If you wish to have the oven operate with no audible sig-
nals. touch CUSTOM HELP. the number[II and STOP!
CLEAR.
To cancel and restore the audible signal. touch CUSTOM HELP, the number [II and STARTffOUCH ON.
Auto Start
If you wish to program your oven to begin cooking automati-
cally at a deSignated time of day. follow this procedure:
*Suppose you want to start cooking a stew for 20 minutes at 4:30. Before setting. check to make sure the clock is showing the correct time of day.
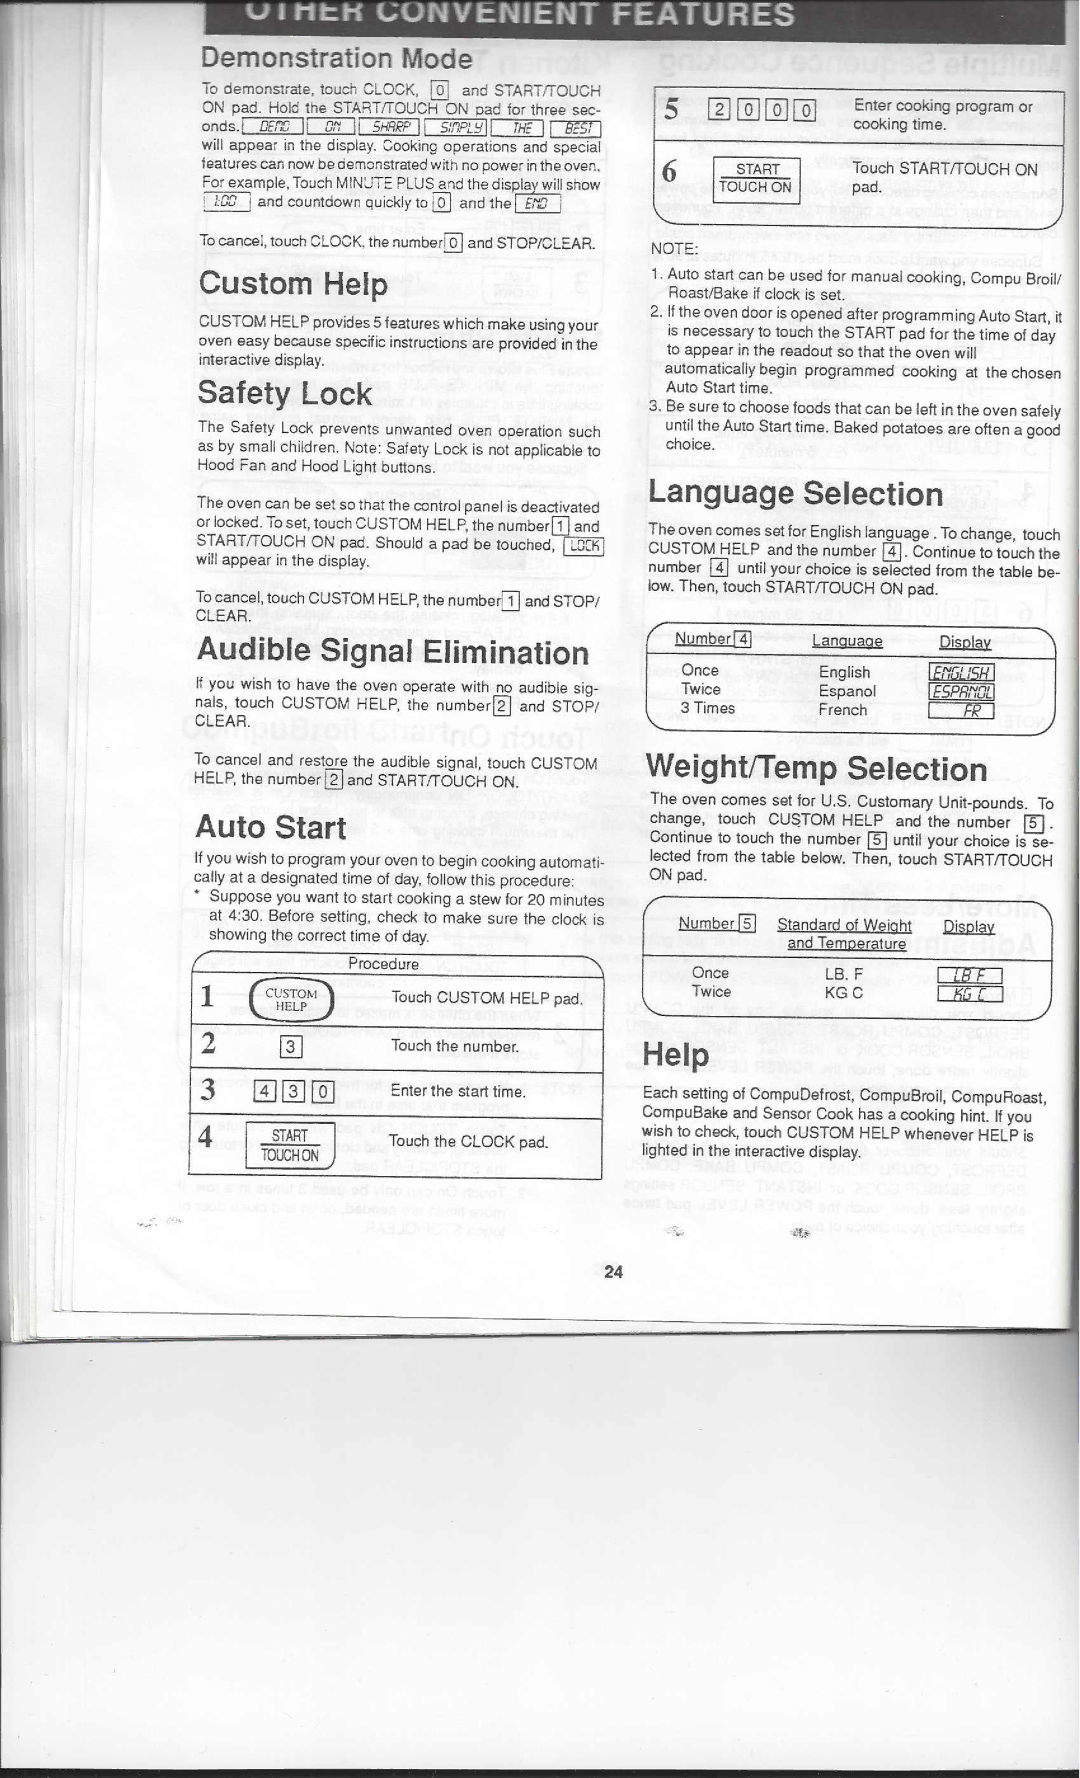
1 | CCHELP |
| Procedure | '\ |
| Touch CUSTOM | HELP pad. | ||
| USTOM) |
|
| |
2 | [I] |
| Touch the number. | |
3 | !Il[I][QJ | Enter the start time. | ||
|
|
| ||
4 |
| j |
| I |
SiART | Touch the CLOCK | pad. | ||
| lTOUCH ON |
|
| |
Language Selection
The oven comes set for English language. To change, touch CUSTOM HELP and the number m. Continue to touch the
number ~ until your choice is selected from the table be-
low. Then, touch STARTfTOUCH ON pad.
,
Number[1J Language ~
Once | English | I £.t'ffd.tS.H I | |
Twice | Espanol | IE5PRt'tDLI | |
3 Times | French | I | r~I |
WeightlTemp Selection
The oven comes set for U.S. Customary
Continue to touch the number @J until your choice is se-
lected from the table below. Then, touch STARTfTOUCH ON pad.
Number ill | ;,tandard of Weighl | ~ |
| and Temg;erS!ture |
|
Once | LB. F | CIEE |
Twice | KGC | I 6Gr |
Help
Each setting of CompuDefrost, CompuBroil, CompuRoast, CompuBake and Sensor Cook has a cooking hint. If you wish to check, touch CUSTOM HELP whenever HELP is lighted in the interactive display.
24