Accessories
Supplied accessories
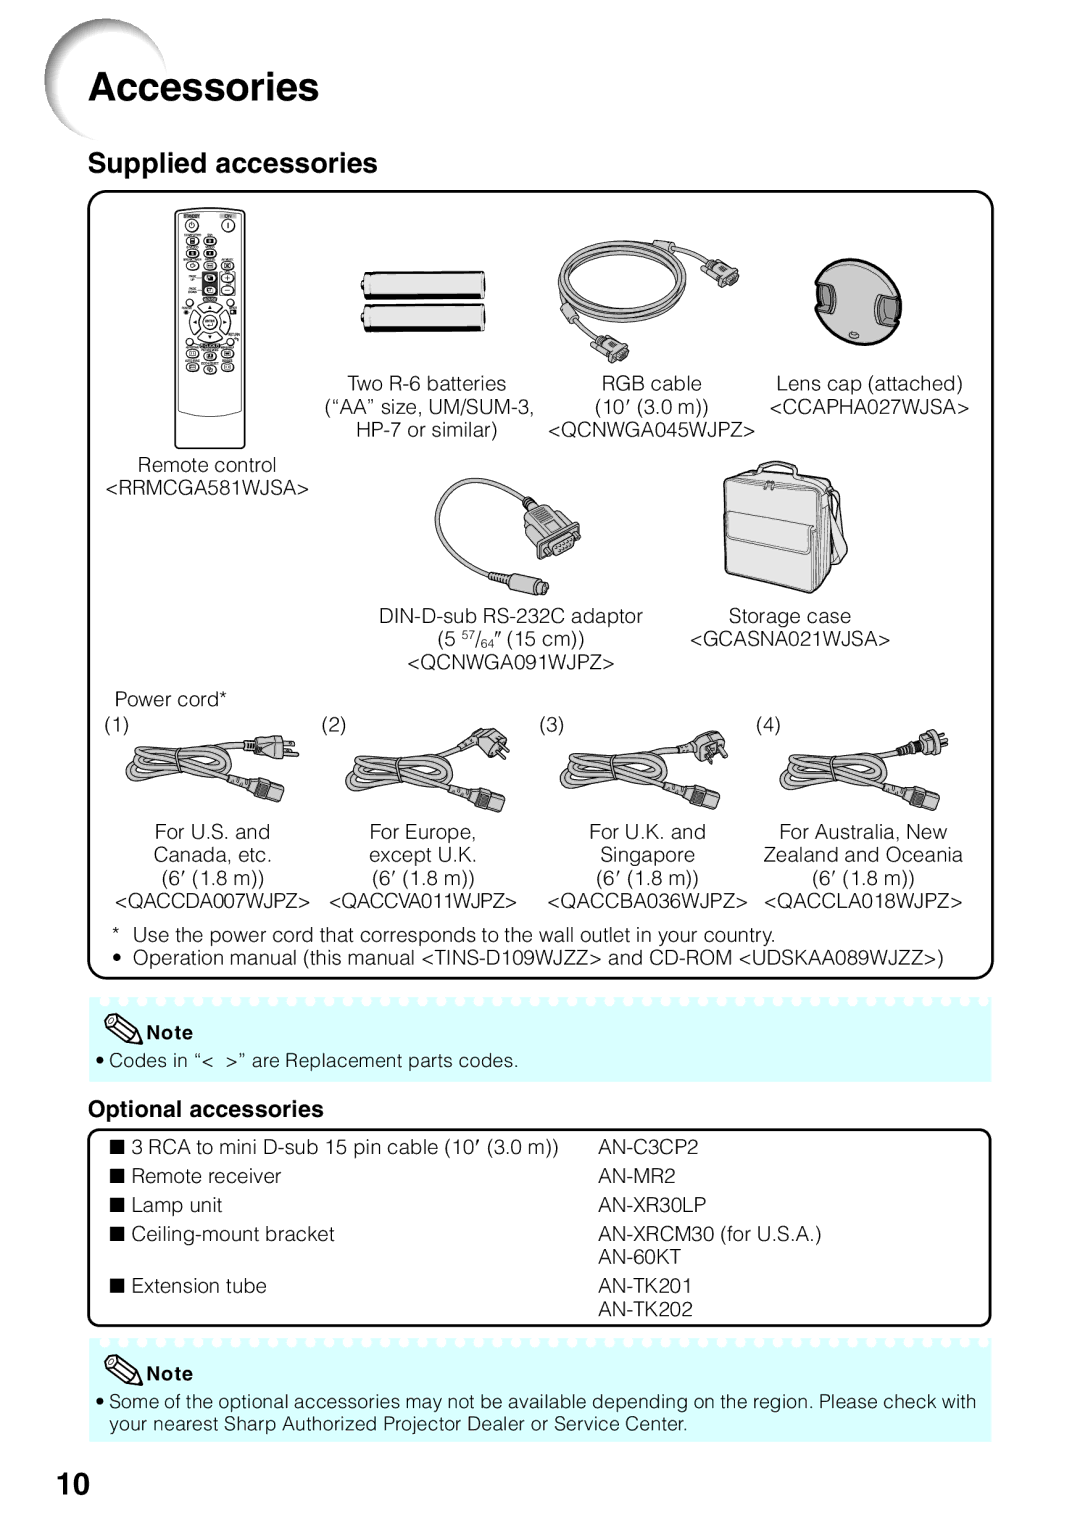
Two | RGB cable | Lens cap (attached) |
(“AA” size, | (10' (3.0 m)) | <CCAPHA027WJSA> |
<QCNWGA045WJPZ> |
|
Remote control
<RRMCGA581WJSA>
| Storage case | |||
| (5 57/64" (15 cm)) | <GCASNA021WJSA> | ||
| <QCNWGA091WJPZ> |
| ||
Power cord* |
|
|
|
|
(1) | (2) | (3) |
| (4) |
For U.S. and | For Europe, |
| For U.K. and | For Australia, New |
Canada, etc. | except U.K. |
| Singapore | Zealand and Oceania |
(6' (1.8 m)) | (6' (1.8 m)) |
| (6' (1.8 m)) | (6' (1.8 m)) |
<QACCDA007WJPZ> | <QACCVA011WJPZ> | <QACCBA036WJPZ> <QACCLA018WJPZ> | ||
* Use the power cord that corresponds to the wall outlet in your country.
• Operation manual (this manual
![]() Note
Note
• Codes in “< >” are Replacement parts codes.
Optional accessories
■ 3 RCA to mini | |
■ Remote receiver | |
■ Lamp unit |
|
■ | |
| |
■ Extension tube |
|
|
|
![]() Note
Note
•Some of the optional accessories may not be available depending on the region. Please check with your nearest Sharp Authorized Projector Dealer or Service Center.
10