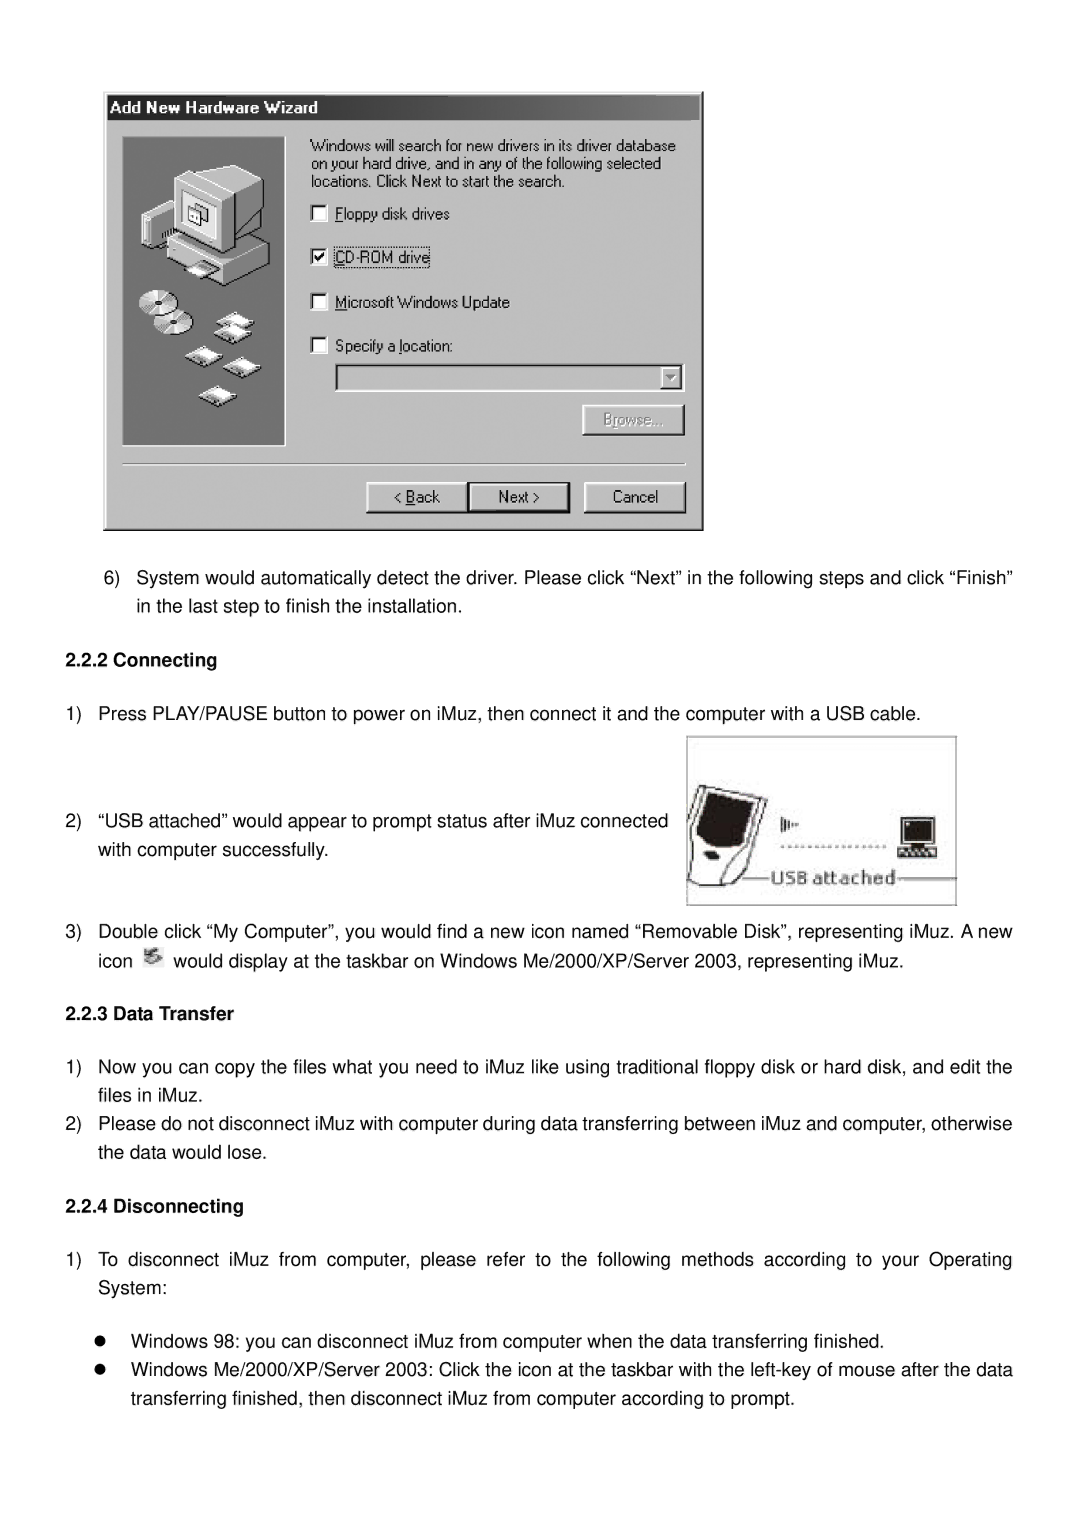
6)System would automatically detect the driver. Please click “Next” in the following steps and click “Finish” in the last step to finish the installation.
2.2.2Connecting
1)Press PLAY/PAUSE button to power on iMuz, then connect it and the computer with a USB cable.
2)“USB attached” would appear to prompt status after iMuz connected with computer successfully.
3)Double click “My Computer”, you would find a new icon named “Removable Disk”, representing iMuz. A new icon ![]() would display at the taskbar on Windows Me/2000/XP/Server 2003, representing iMuz.
would display at the taskbar on Windows Me/2000/XP/Server 2003, representing iMuz.
2.2.3 Data Transfer
1)Now you can copy the files what you need to iMuz like using traditional floppy disk or hard disk, and edit the files in iMuz.
2)Please do not disconnect iMuz with computer during data transferring between iMuz and computer, otherwise the data would lose.
2.2.4 Disconnecting
1)To disconnect iMuz from computer, please refer to the following methods according to your Operating System:
Windows 98: you can disconnect iMuz from computer when the data transferring finished.
Windows Me/2000/XP/Server 2003: Click the icon at the taskbar with the
