R-671 specifications
The Sherwood R-671 is a sophisticated and versatile receiver that has gained a strong reputation among audio enthusiasts and home theater aficionados. Renowned for its exceptional sound quality and robust performance, the R-671 is a testament to Sherwood's commitment to delivering high-fidelity audio experiences.One of the standout features of the Sherwood R-671 is its powerful amplifier section. With a total power output of 100 watts per channel, it is capable of driving a variety of speaker configurations, from compact bookshelf speakers to larger floor-standing models. This ample power ensures that users can enjoy dynamic sound reproduction across a wide range of frequencies.
In terms of connectivity, the R-671 is equipped with multiple input options, including HDMI, digital optical, and coaxial inputs. This diverse array of connections makes it easy to integrate a variety of devices, such as Blu-ray players, gaming consoles, and streaming devices. Additionally, it includes several analog inputs for connecting legacy audio equipment, ensuring compatibility with older components.
One of the most noteworthy technologies featured in the Sherwood R-671 is its advanced surround sound processing. The receiver supports multiple surround formats, including Dolby Digital and DTS, which allows users to experience immersive multi-channel audio from their favorite movies and music. This capability is further enhanced by Sherwood's proprietary sound enhancement technologies, which optimize audio playback for a more engaging listening experience.
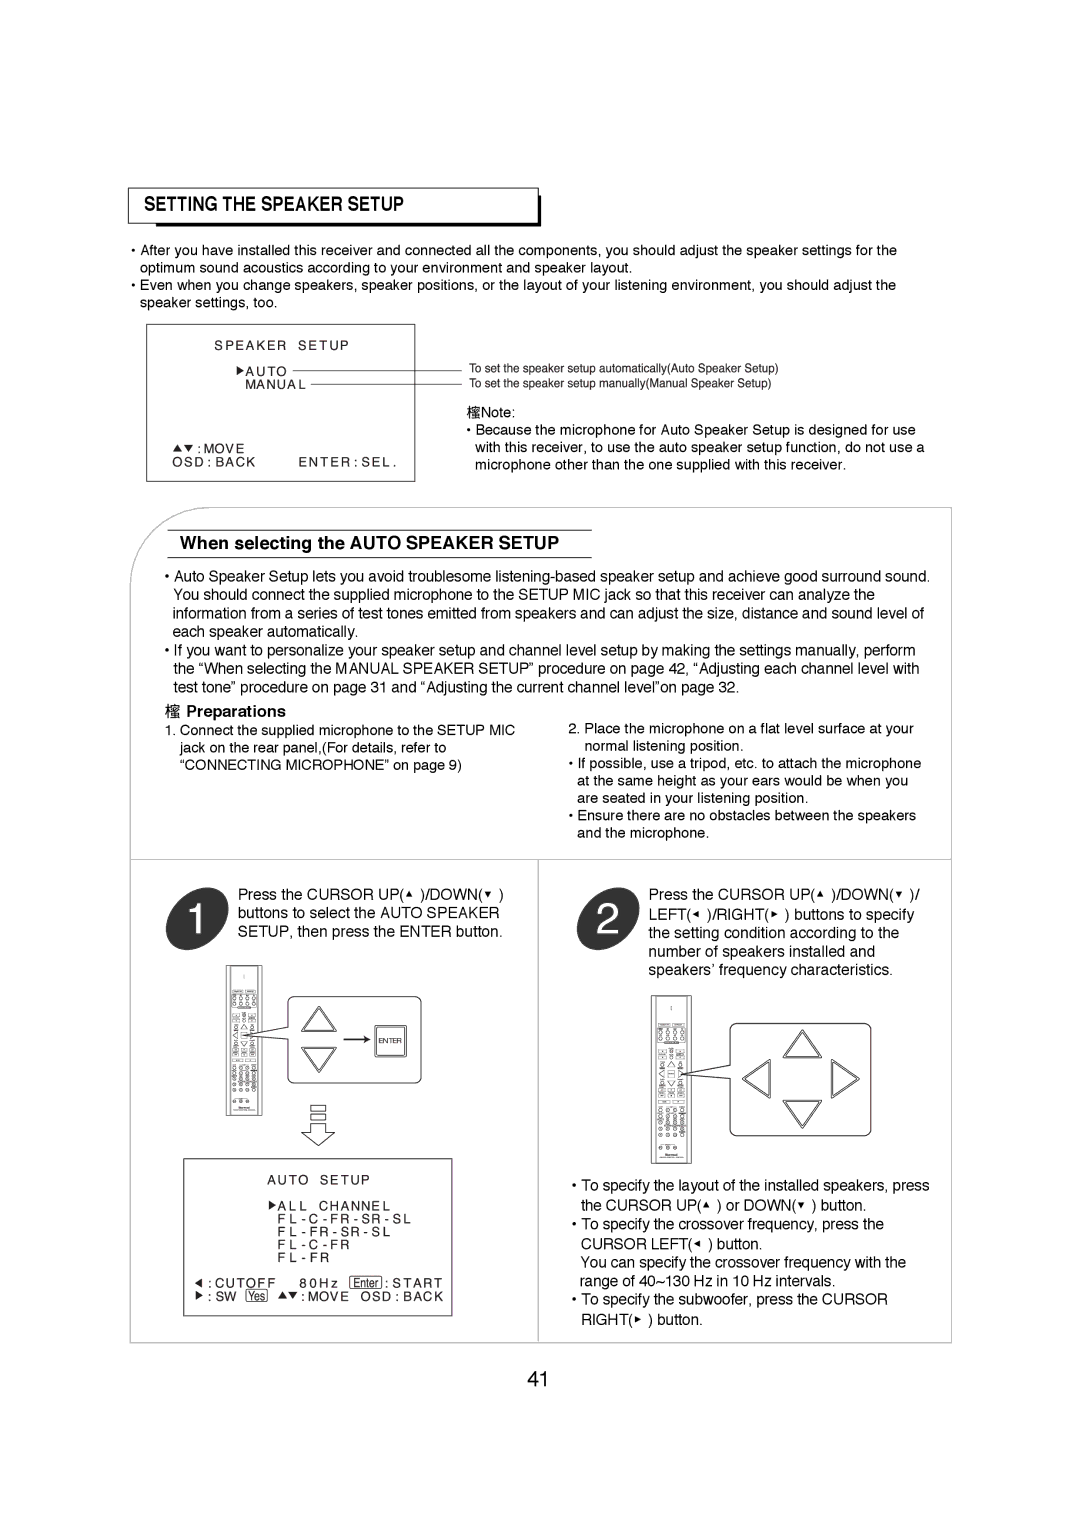
The user interface of the R-671 is designed with ease of use in mind. The front panel features clearly labeled buttons and a bright display, making it straightforward to navigate through settings and inputs. Additionally, the receiver comes with a comprehensive remote control, allowing users to manage their audio and video sources from the comfort of their seating area.
The Sherwood R-671 also boasts an eco-friendly design, incorporating energy-saving features that minimize power consumption when the unit is not in active use. This not only reduces the overall environmental footprint but also leads to lower energy bills for users.
In conclusion, the Sherwood R-671 is a feature-rich receiver that exemplifies quality and performance. With its powerful amplification, versatile connectivity options, advanced surround sound processing, user-friendly interface, and eco-conscious design, it represents an excellent choice for anyone looking to elevate their home audio experience. Whether for casual listening or serious home theater applications, the Sherwood R-671 is equipped to deliver an exceptional performance.

