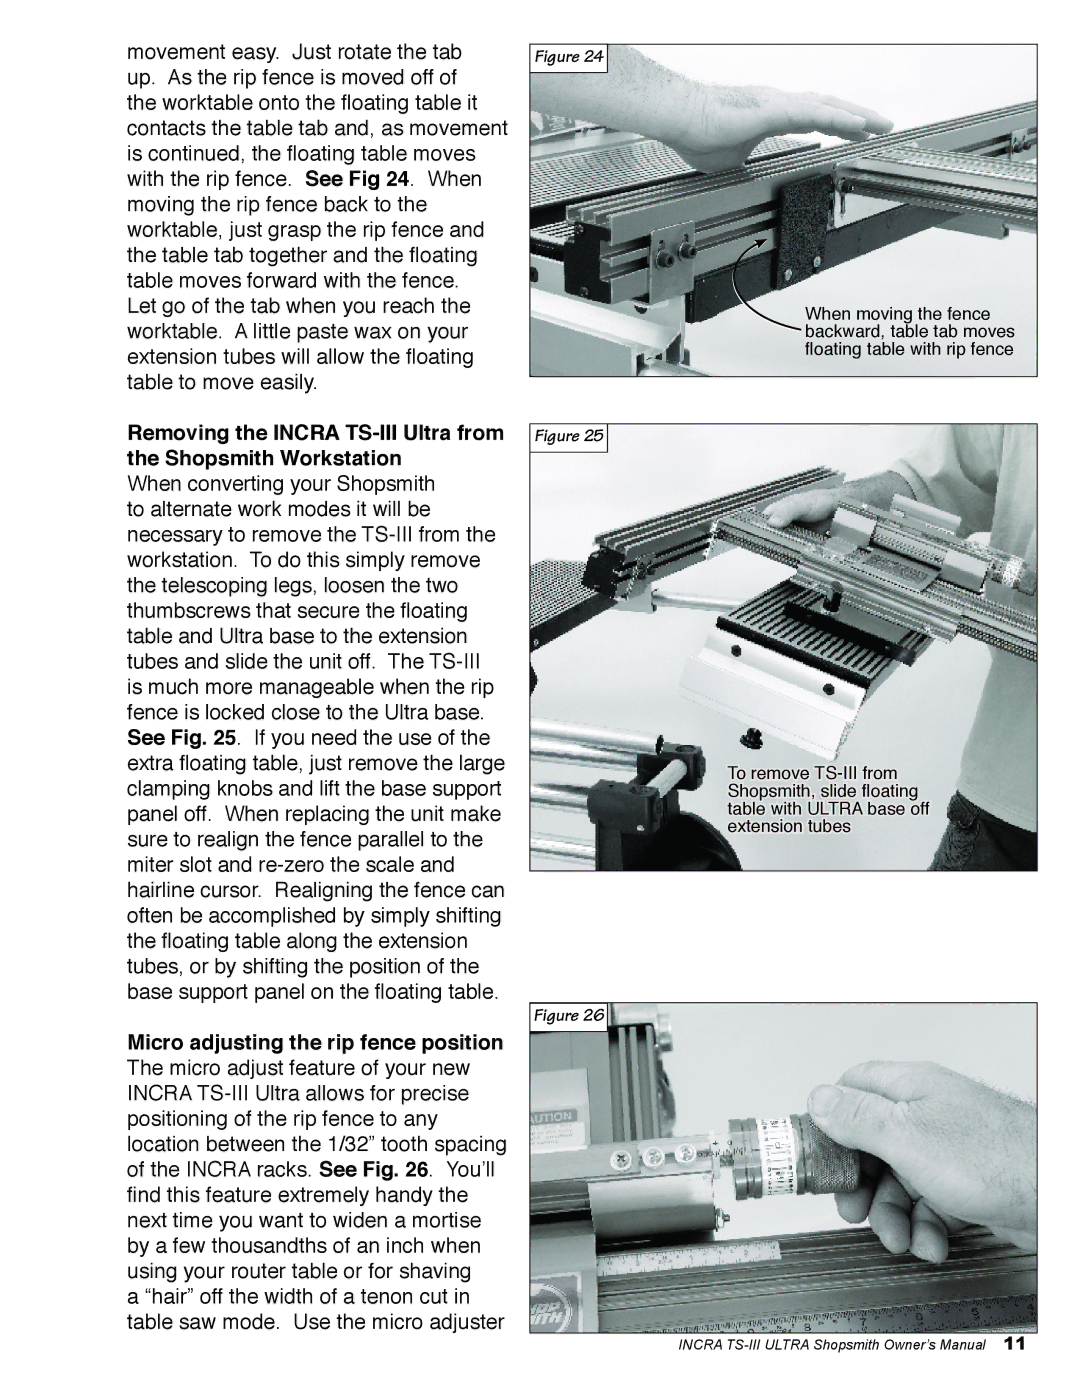
movement easy. Just rotate the tab up. As the rip fence is moved off of the worktable onto the floating table it contacts the table tab and, as movement is continued, the floating table moves with the rip fence. See Fig 24. When moving the rip fence back to the worktable, just grasp the rip fence and the table tab together and the floating table moves forward with the fence.

Let go of the tab when you reach the worktable. A little paste wax on your extension tubes will allow the floating table to move easily.

Figure 24

When moving the fence backward, table tab moves floating table with rip fence

Removing the INCRA TS-III Ultra from the Shopsmith Workstation

When converting your Shopsmith to alternate work modes it will be necessary to remove the TS-III from the workstation. To do this simply remove the telescoping legs, loosen the two thumbscrews that secure the floating table and Ultra base to the extension tubes and slide the unit off. The TS-III is much more manageable when the rip fence is locked close to the Ultra base. See Fig. 25. If you need the use of the extra floating table, just remove the large clamping knobs and lift the base support panel off. When replacing the unit make sure to realign the fence parallel to the miter slot and re-zero the scale and hairline cursor. Realigning the fence can often be accomplished by simply shifting the floating table along the extension tubes, or by shifting the position of the base support panel on the floating table.

Micro adjusting the rip fence position The micro adjust feature of your new INCRA TS-III Ultra allows for precise positioning of the rip fence to any location between the 1/32” tooth spacing of the INCRA racks. See Fig. 26. Youʼll find this feature extremely handy the next time you want to widen a mortise by a few thousandths of an inch when using your router table or for shaving

a “hair” off the width of a tenon cut in table saw mode. Use the micro adjuster

Figure 25

To remove TS-III from Shopsmith, slide floating table with ULTRA base off extension tubes

Figure 26

INCRA TS-III ULTRA Shopsmith Owner’s Manual 11

Page 11
Image 11
Shopsmith TS-III ULTRA owner manual