Colour monitor 463V FA
To set the OSD menu, perform the following steps:
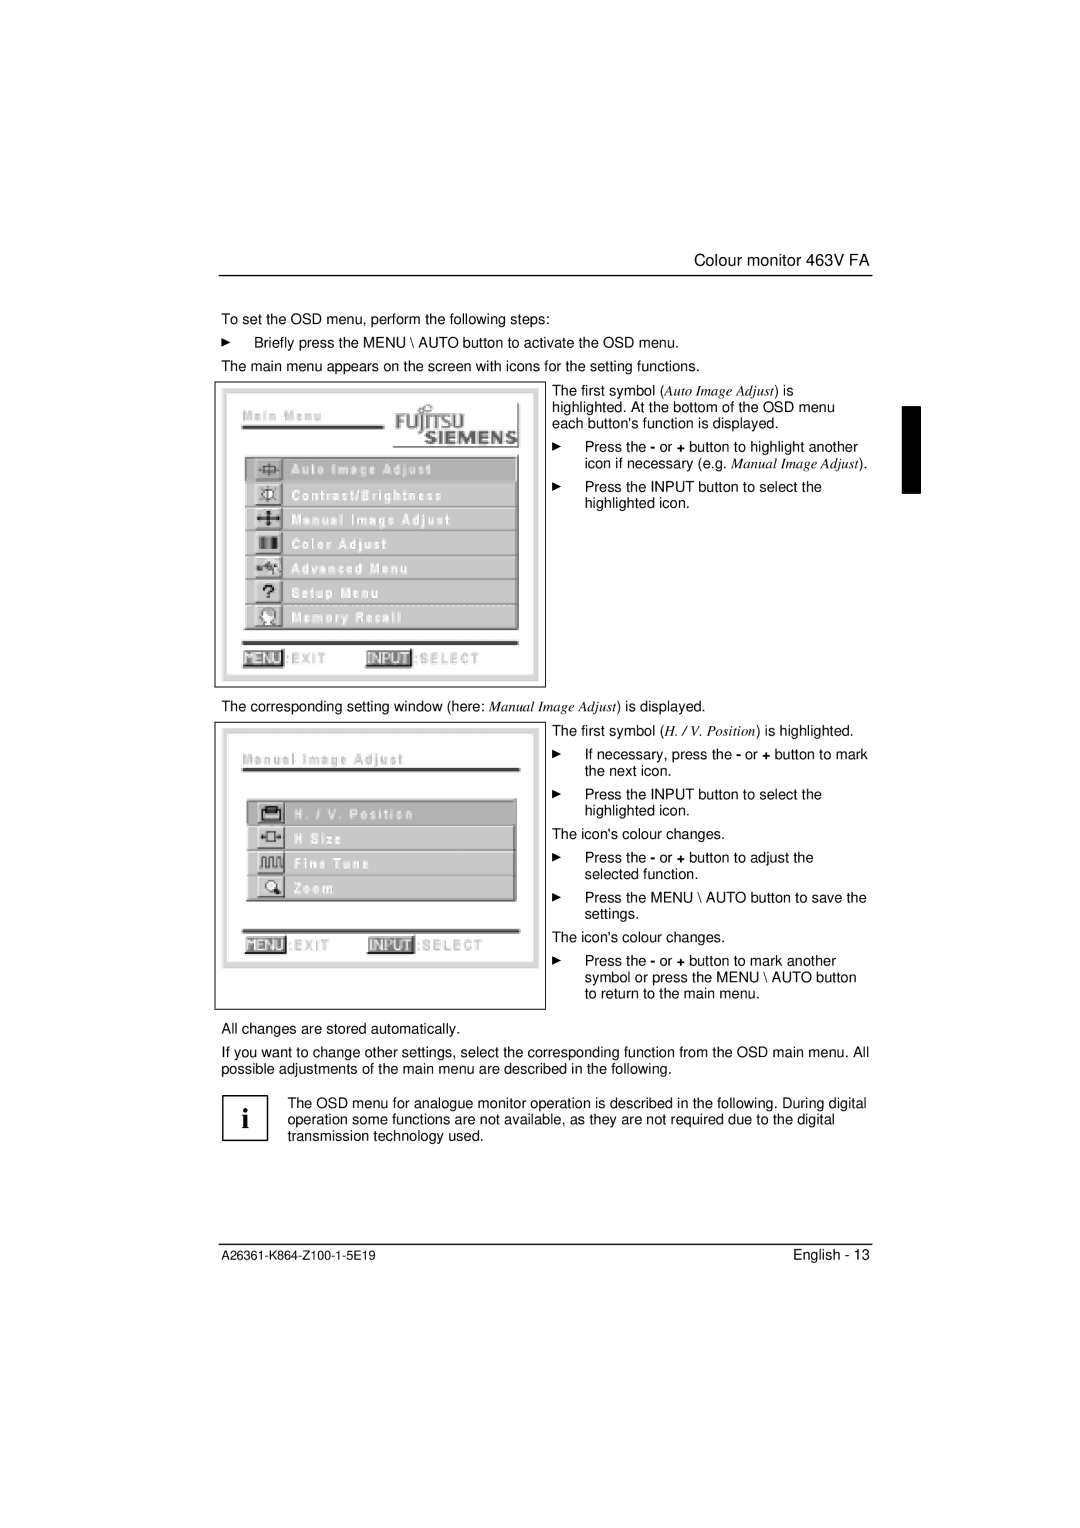
ÊBriefly press the MENU \ AUTO button to activate the OSD menu. The main menu appears on the screen with icons for the setting functions.
The first symbol (Auto Image Adjust) is highlighted. At the bottom of the OSD menu each button's function is displayed.
Ê Press the - or + button to highlight another icon if necessary (e.g. Manual Image Adjust).
Ê Press the INPUT button to select the highlighted icon.
The corresponding setting window (here: Manual Image Adjust) is displayed.
The first symbol (H. / V. Position) is highlighted.
Ê If necessary, press the - or + button to mark the next icon.
Ê Press the INPUT button to select the highlighted icon.
The icon's colour changes.
Ê Press the - or + button to adjust the selected function.
Ê Press the MENU \ AUTO button to save the settings.
The icon's colour changes.
Ê Press the - or + button to mark another symbol or press the MENU \ AUTO button to return to the main menu.
All changes are stored automatically.
If you want to change other settings, select the corresponding function from the OSD main menu. All possible adjustments of the main menu are described in the following.
The OSD menu for analogue monitor operation is described in the following. During digital i operation some functions are not available, as they are not required due to the digital
transmission technology used.
English - 13 |
