c. Setting the stitch width and length Machine will
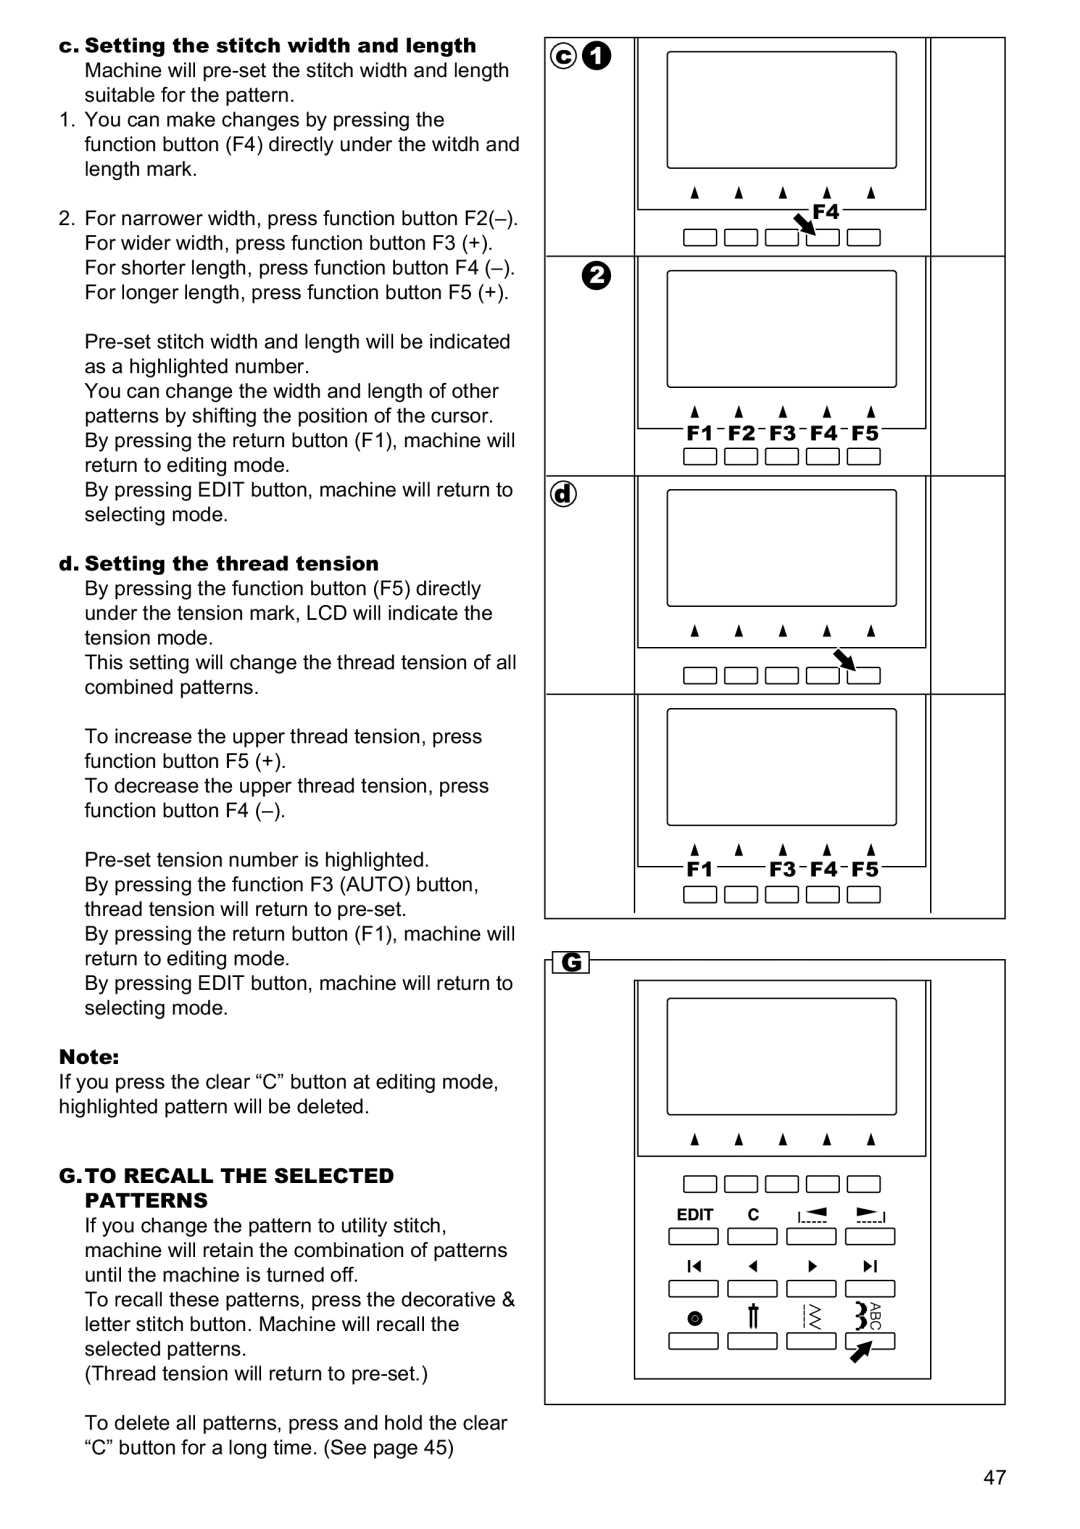
1.You can make changes by pressing the function button (F4) directly under the witdh and length mark.
2.For narrower width, press function button
You can change the width and length of other patterns by shifting the position of the cursor. By pressing the return button (F1), machine will return to editing mode.
By pressing EDIT button, machine will return to selecting mode.
d. Setting the thread tension
By pressing the function button (F5) directly under the tension mark, LCD will indicate the tension mode.
This setting will change the thread tension of all combined patterns.
To increase the upper thread tension, press function button F5 (+).
To decrease the upper thread tension, press function button F4
By pressing the function F3 (AUTO) button, thread tension will return to
By pressing the return button (F1), machine will return to editing mode.
By pressing EDIT button, machine will return to selecting mode.
Note:
If you press the clear “C” button at editing mode, highlighted pattern will be deleted.
G.TO RECALL THE SELECTED
PATTERNS
If you change the pattern to utility stitch, machine will retain the combination of patterns until the machine is turned off.
To recall these patterns, press the decorative & letter stitch button. Machine will recall the selected patterns.
(Thread tension will return to
To delete all patterns, press and hold the clear “C” button for a long time. (See page 45)
F4
F1 F2 F3 F4 F5
F1 F3 F4 F5
47
