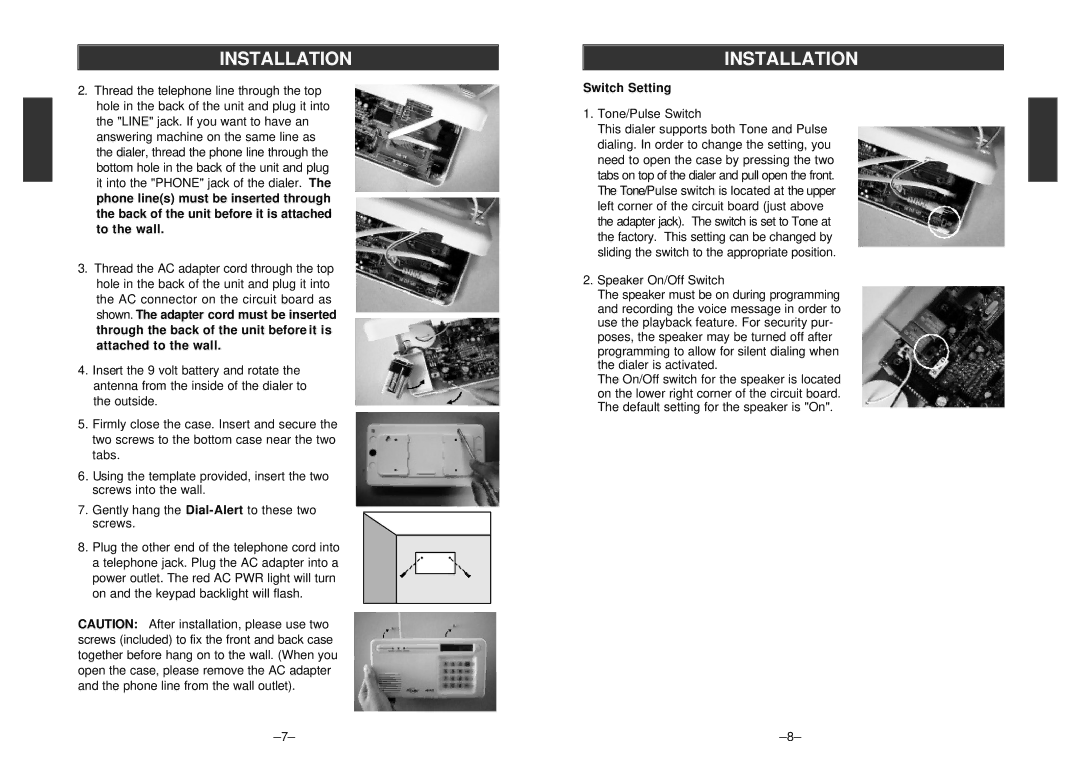
INSTALLATION
2.Thread the telephone line through the top hole in the back of the unit and plug it into the "LINE" jack. If you want to have an answering machine on the same line as the dialer, thread the phone line through the bottom hole in the back of the unit and plug it into the "PHONE" jack of the dialer. The phone line(s) must be inserted through the back of the unit before it is attached to the wall.
3.Thread the AC adapter cord through the top hole in the back of the unit and plug it into the AC connector on the circuit board as shown. The adapter cord must be inserted through the back of the unit before it is attached to the wall.
4.Insert the 9 volt battery and rotate the antenna from the inside of the dialer to the outside.
5.Firmly close the case. Insert and secure the two screws to the bottom case near the two tabs.
6.Using the template provided, insert the two screws into the wall.
7.Gently hang the
8.Plug the other end of the telephone cord into a telephone jack. Plug the AC adapter into a power outlet. The red AC PWR light will turn on and the keypad backlight will flash.
CAUTION: After installation, please use two screws (included) to fix the front and back case together before hang on to the wall. (When you open the case, please remove the AC adapter and the phone line from the wall outlet).
INSTALLATION
Switch Setting
1.Tone/Pulse Switch
This dialer supports both Tone and Pulse dialing. In order to change the setting, you need to open the case by pressing the two tabs on top of the dialer and pull open the front. The Tone/Pulse switch is located at the upper left corner of the circuit board (just above the adapter jack). The switch is set to Tone at the factory. This setting can be changed by sliding the switch to the appropriate position.
2.Speaker On/Off Switch
The speaker must be on during programming and recording the voice message in order to use the playback feature. For security pur- poses, the speaker may be turned off after programming to allow for silent dialing when the dialer is activated.
The On/Off switch for the speaker is located on the lower right corner of the circuit board. The default setting for the speaker is "On".
