Manuals
/
Smeg
/
Kitchen Appliance
/
Convection Oven
Smeg
SA561X-9
installation instructions
Models:
SA561X-9
1
1
53
53
Download
53 pages
21.91 Kb
1
2
3
4
5
6
7
8
Install
Using the timer
Maintenance
Available Accessories
With pins
Adjusting the buzzer volume
Setting the cleaning cycle
Cleaning
Safety Precautions
Advice for cooking meat
Page 1
Image 1
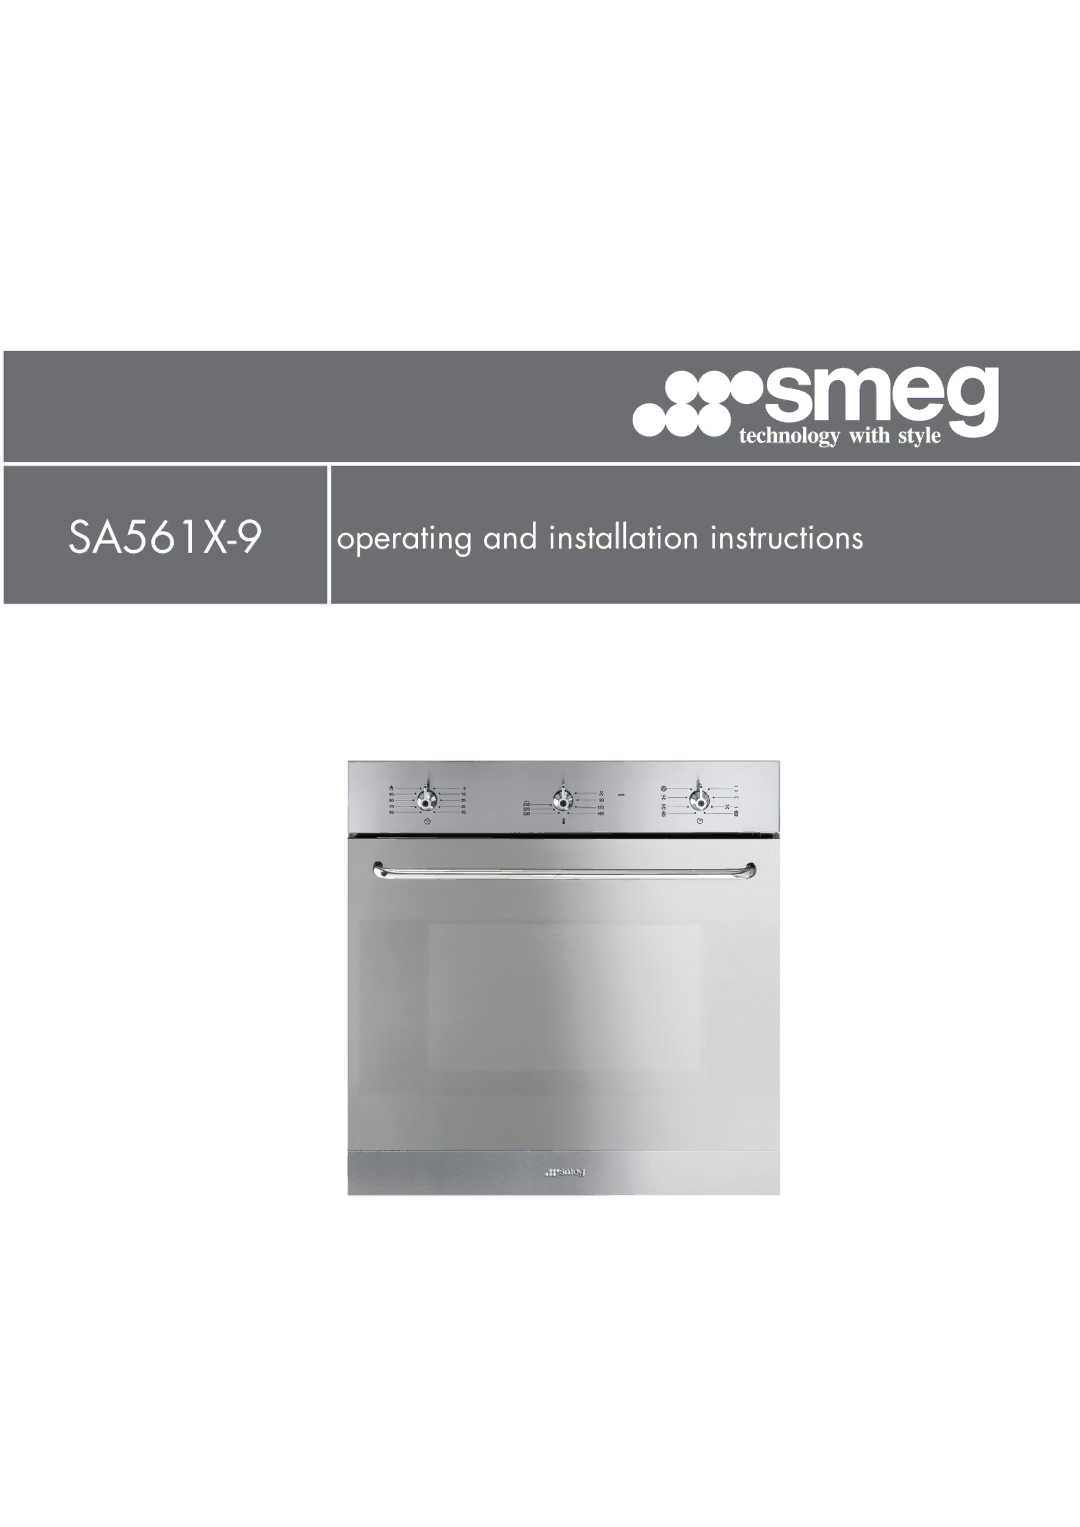
SA561X-9
operating and installation instructions
Page 1
Page 2
Page 1
Image 1
Page 1
Page 2
Contents
SA561X-9
Contents
Instructions for USE
General instructions
General instructions
Safety Precautions
General instructions
Environmental Responsibility
Instructions for disposal
Multifunction Pyrolytic
GET to Know Your Oven
Some models are not provided with all
Available Accessories
Using the support rack
Using the rack or tray
Mechanical lock must always face the back of the oven
Using the handle
Using the rotisserie rod on some models only
General Description Oven runners
Using the Oven
Ovens with frames Ovens with runners
Oven inside lights
Cooling system
Instructions for the User
Oven Thermostat Knob
Description of the controls on the front panel
Instructions for the User
Instructions for the User
Function Knob
Using the timer
Setting the time
Electronic programmer on some models only
Semi-automatic cooking
Stopping the buzzer
Automatic cooking
End of semi-automatic / automatic cooking
Adjusting the buzzer volume
Deleting the set data
Modifying the set data
ECO
Cooking with the Oven
FAN-ASSISTED Grill
Advice for cooking meat
Cooking advice and instructions
Advice for cooking desserts and biscuits
Advice for defrosting and proving
To save energy
Advice for cooking with the Grill and the Fan-assisted grill
Meat
Cooking process information table
1ST Surface 2ND Surface
Pizza
280 190 180 160 170 150
On pyrolytic models only
Proving and defrosting functions
Proving Quantity
Cleaning stainless steel
Cleaning and Maintenance
Ordinary daily cleaning
Cleaning the door glazing
Cleaning the inside of the oven
Ovens with runners
Removing guide frames
Pyrolysis automatic oven cleaning on some models only
Cleaning Light Dirt Medium Dirt Heavy Dirt Duration
Before starting the automatic cleaning cycle
To select a cleaning cycle with a delayed start
Setting the cleaning cycle
Before starting the assisted cleaning cycle
Vapor Clean assisted oven cleaning on some models only
Setting the assisted cleaning cycle
End of the assisted cleaning cycle
Replacing the light bulb
Extraordinary Maintenance
On some models only the bulbs are
Directly with your fingers, wrap them
With moveable levers
Removing the door
With pins
Removing the internal glass panels
Removing the door seal
For multifunction models only
Removing the internal glass panel
Cleaning
Removing the middle glass panels pyrolytic models
Multifunction models
Cable replacement
Installing the Appliance
Electrical connection
Do not remove this plate for any reason
Positioning the oven
Measurements
Instructions for the installer
Instructions for the installer
Page
Page
914773682/ B
Top
Page
Image
Contents