3. Installation | |
Software & Hardware Installation (PC) | |
1) | Power down the computer and remove the power lead. |
2) | Remove the cover(s) to gain access to the PCIe sockets. |
3) | Locate a free PCIe socket and ensure that the rear panel |
4) | blanking plate is removed. |
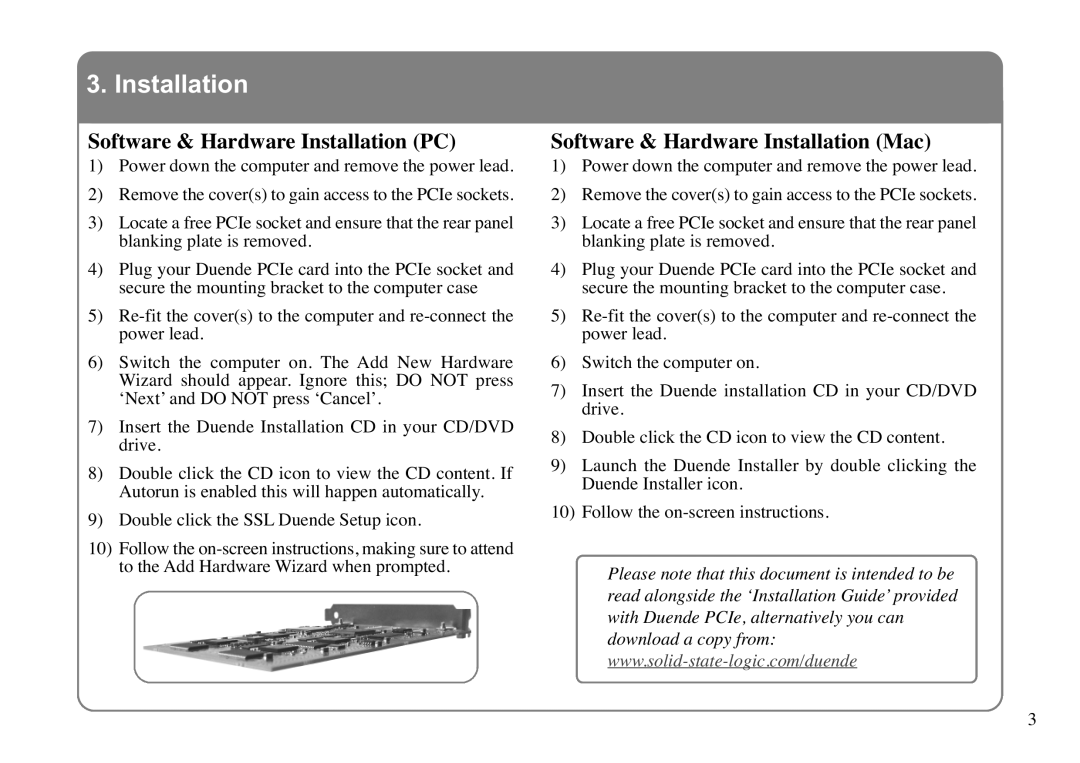
Plug your Duende PCIe card into the PCIe socket and | |
5) | secure the mounting bracket to the computer case |
6) | power lead. |
Switch the computer on. The Add New Hardware | |
| Wizard should ap pear. Ignore this; DO NOT pre ss |
7) | ‘Next’ and DO NOT press ‘Cancel’. |
Insert the Duende Install ation CD in your CD/DVD | |
8) | drive. |
Double click the CD icon to view the CD con tent. If | |
9) | Autorun is enabled this will happen automatically. |
Double click the SSL Duende Setup icon. | |
10) | Follow the |
| to the Add Hardware Wizard when prompted. |
Software & Hardware Installation (Mac)
1) Power down the computer and remove the power lead.
2) Remove the cover(s) to gain access to the PCIe sockets.
3) Locate a free PCIe socket and ensure that the rear panel blanking plate is removed.
4) Plug your Duende PCIe card into the PCIe socket and
secure the mounting bracket to the computer case.
5)
6) Switch the computer on.
7) Insert the Duende installation CD in your CD/DVD drive.
8) Double click the CD icon to view the CD content.
9) Launch t he Due nde Installer b y d ouble c licking the Duende Installer icon.
10) Follow the
Please note that this document is intended to be read alongside the ‘Installation Guide’ provided with Duende PCIe, alternatively you can download a copy from:
3