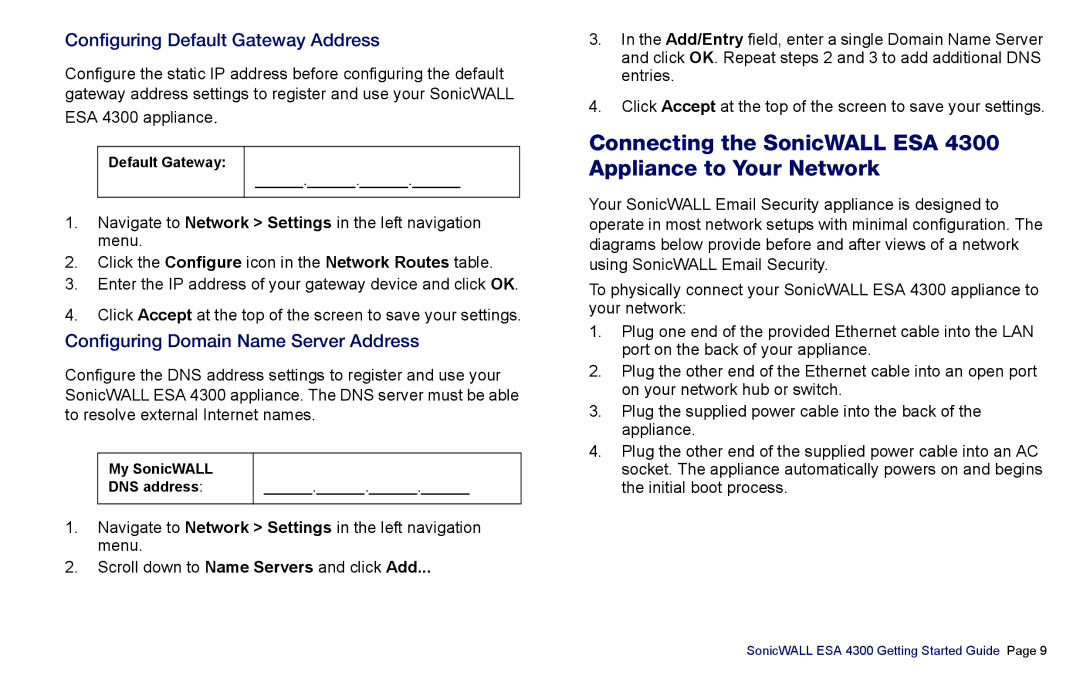
Configuring Default Gateway Address
Configure the static IP address before configuring the default gateway address settings to register and use your SonicWALL
ESA 4300 appliance.
Default Gateway:
______.______.______.______
1.Navigate to Network > Settings in the left navigation menu.
2.Click the Configure icon in the Network Routes table.
3.Enter the IP address of your gateway device and click OK.
4.Click Accept at the top of the screen to save your settings.
Configuring Domain Name Server Address
Configure the DNS address settings to register and use your SonicWALL ESA 4300 appliance. The DNS server must be able to resolve external Internet names.
My SonicWALL |
|
DNS address: | ______.______.______.______ |
1.Navigate to Network > Settings in the left navigation menu.
2.Scroll down to Name Servers and click Add...
3.In the Add/Entry field, enter a single Domain Name Server and click OK. Repeat steps 2 and 3 to add additional DNS entries.
4.Click Accept at the top of the screen to save your settings.
Connecting the SonicWALL ESA 4300 Appliance to Your Network
Your SonicWALL Email Security appliance is designed to operate in most network setups with minimal configuration. The diagrams below provide before and after views of a network using SonicWALL Email Security.
To physically connect your SonicWALL ESA 4300 appliance to your network:
1.Plug one end of the provided Ethernet cable into the LAN port on the back of your appliance.
2.Plug the other end of the Ethernet cable into an open port on your network hub or switch.
3.Plug the supplied power cable into the back of the appliance.
4.Plug the other end of the supplied power cable into an AC socket. The appliance automatically powers on and begins the initial boot process.
SonicWALL ESA 4300 Getting Started Guide Page 9
