Configure the following fields:
Field | Description |
|
|
System date | Select the date (year, month, day) and time |
and time | (hours:minutes) in |
|
|
Available | Select your local time zone. |
Time Zones |
|
|
|
Automatically | Select the checkbox if you would like to |
adjust for | enable this feature. |
Daylight |
|
Savings Time |
|
|
|
3.Click Submit to save changes.
Your SonicWALL ESA 4300 appliance is now set to your local time. The Web management interface may log you out after the time is set. This is
Configuring Static IP Address
Once the IP address of your SonicWALL ESA 4300 appliance is changed, you cannot access the appliance without this address. Before continuing, enter the chosen IP address for your SonicWALL ESA 4300 appliance.
Email Security IP |
|
address: | ______.______.______.______ |
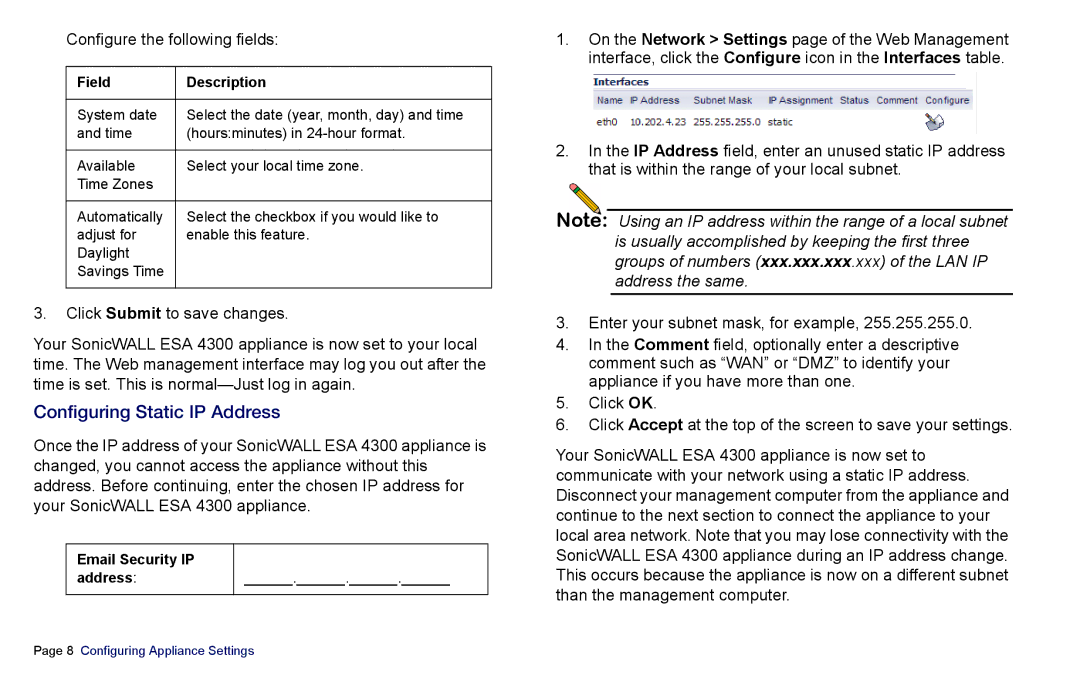
1.On the Network > Settings page of the Web Management interface, click the Configure icon in the Interfaces table.
2.In the IP Address field, enter an unused static IP address that is within the range of your local subnet.
Note: Using an IP address within the range of a local subnet is usually accomplished by keeping the first three groups of numbers (xxx.xxx.xxx.xxx) of the LAN IP address the same.
3.Enter your subnet mask, for example, 255.255.255.0.
4.In the Comment field, optionally enter a descriptive comment such as “WAN” or “DMZ” to identify your appliance if you have more than one.
5.Click OK.
6.Click Accept at the top of the screen to save your settings.
Your SonicWALL ESA 4300 appliance is now set to communicate with your network using a static IP address. Disconnect your management computer from the appliance and continue to the next section to connect the appliance to your local area network. Note that you may lose connectivity with the SonicWALL ESA 4300 appliance during an IP address change. This occurs because the appliance is now on a different subnet than the management computer.
Page 8 Configuring Appliance Settings