Windows 98
1.From the Start list, highlight Settings and then select Control Panel.
2.
3.Select Specify an IP Address.
4.Type "192.168.168.200" in the IP Address field.
5.Type "255.255.255.0" in the Subnet Mask field.
6.Click DNS Configuration.
7.Type the DNS IP address in the Preferred DNS Server field. If you have more than one address, type the second one in the Alternate DNS server field.
8.Click OK, and then click OK again.
9.Restart the computer for changes to take effect.
5
Alert!
Launching the Setup Wizard
To begin the configuration of your SonicWALL, you must log into the SonicWALL using a Web browser and the default LAN IP address, 192.168.168.168, of the SonicWALL. Follow the instructions below:
1. Launch your Web browser.
Because you are temporarily disconnected from the Internet, you may receive an error message when your Web browser first opens. This does not affect your installation process. Continue with the steps below.
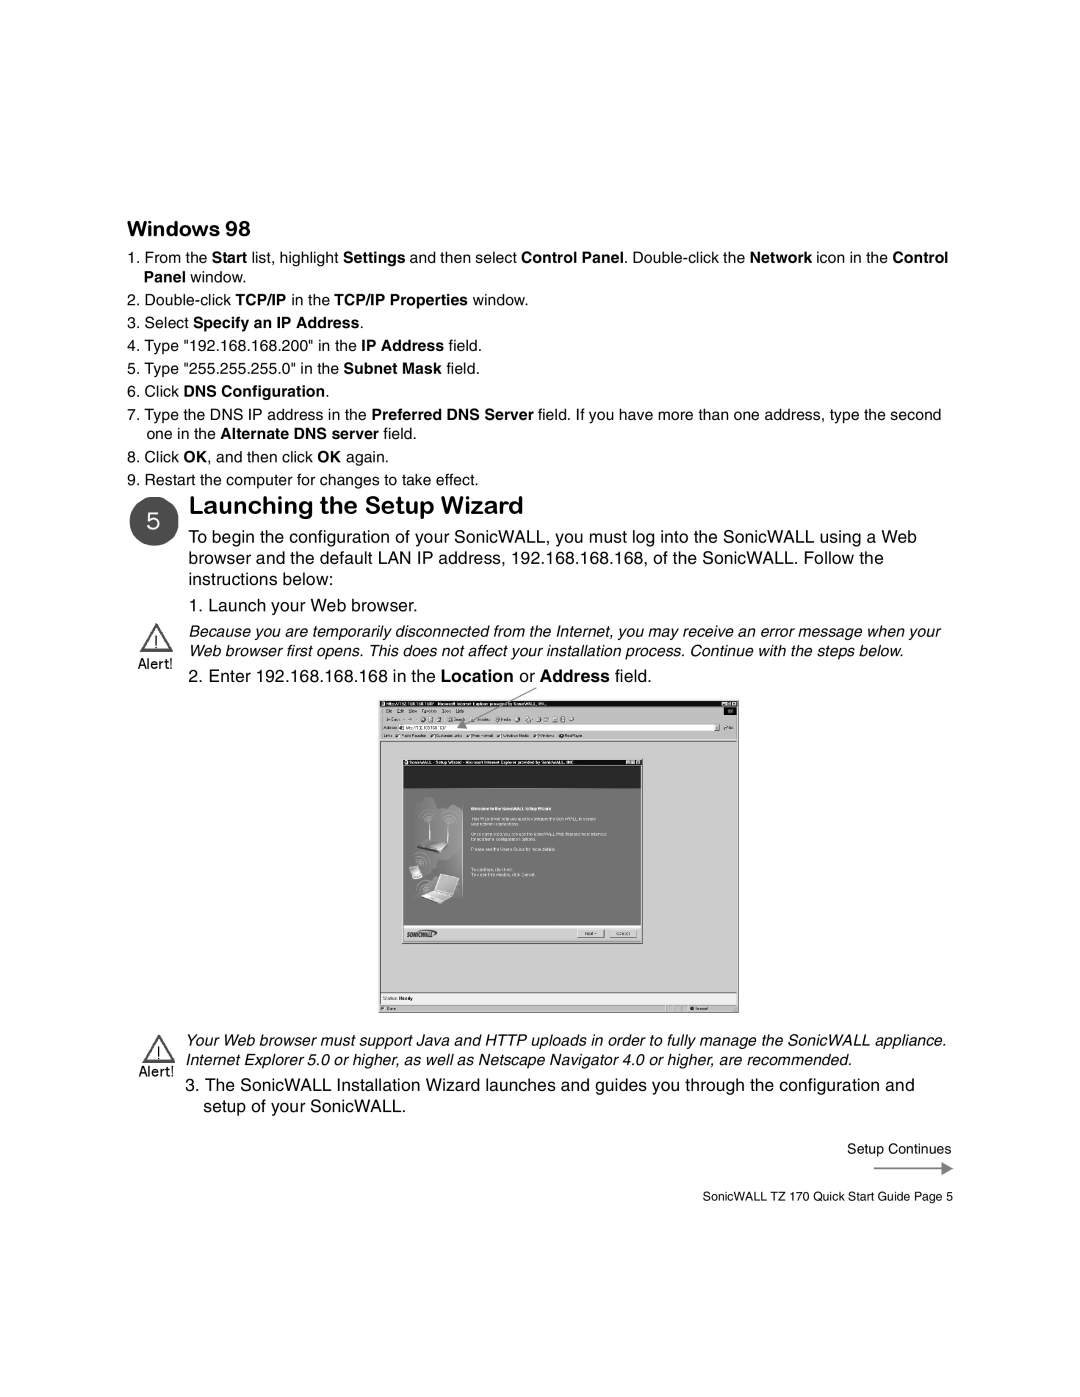
2. Enter 192.168.168.168 in the Location or Address field.
Your Web browser must support Java and HTTP uploads in order to fully manage the SonicWALL appliance. Alert! Internet Explorer 5.0 or higher, as well as Netscape Navigator 4.0 or higher, are recommended.
3.The SonicWALL Installation Wizard launches and guides you through the configuration and setup of your SonicWALL.
Setup Continues
SonicWALL TZ 170 Quick Start Guide Page 5