Storing Information About CDs (Custom Files) (CDP-CA9ES only)
Playing tracks in a clip (Clip Play)
Press one of the MUSIC CLIP buttons before you start playing.
“CLIP á” appears in the display and the selected MUSIC CLIP button indicator lights. The player starts playing tracks in the selected clip.
To play tracks in another clip
Press pto stop playing, then press one of the MUSIC CLIP buttons you want to play.
Labeling a Disc (Disc Memo) 
You can label a disc using up to 10 characters and have the player display the Disc Memo every time you select the disc. The Disc Memo can be anything you like, such as a title, musician’s name, category or date of purchase.
Notes
∙Clip Play is available only in Continuous and Shuffle Play mode. If you press MUSIC CLIP in Program Play mode, the player automatically enters Continuous Play mode and start Clip Play.
∙In ALL DISCS Play mode, the player plays the tracks in the selected clip on all discs consecutively.
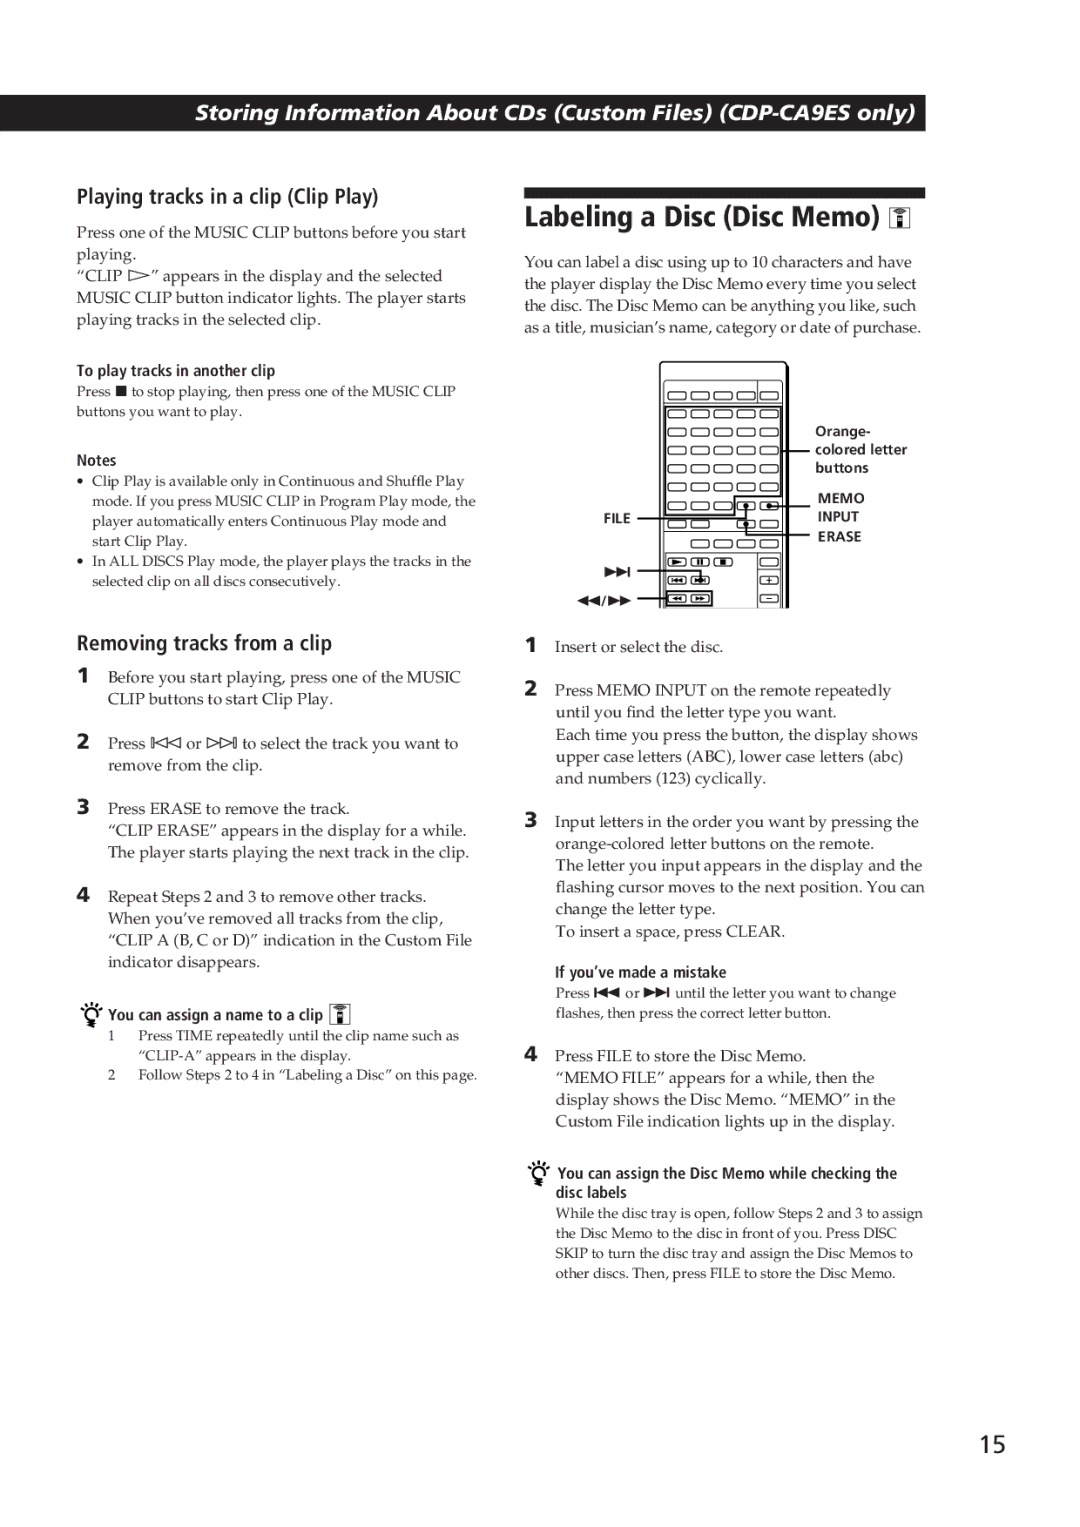
FILE
+ ![]() 0/)
0/) ![]()
![]()
![]()
![]()
Orange- colored letter buttons
MEMO
INPUT
ERASE
Removing tracks from a clip
1Before you start playing, press one of the MUSIC CLIP buttons to start Clip Play.
2Press - or ± to select the track you want to remove from the clip.
3Press ERASE to remove the track.
“CLIP ERASE” appears in the display for a while. The player starts playing the next track in the clip.
4Repeat Steps 2 and 3 to remove other tracks. When you’ve removed all tracks from the clip, “CLIP A (B, C or D)” indication in the Custom File indicator disappears.


 You can assign a name to a clip


1Press TIME repeatedly until the clip name such as
2Follow Steps 2 to 4 in “Labeling a Disc” on this page.
1Insert or select the disc.
2Press MEMO INPUT on the remote repeatedly until you find the letter type you want.
Each time you press the button, the display shows upper case letters (ABC), lower case letters (abc) and numbers (123) cyclically.
3Input letters in the order you want by pressing the
The letter you input appears in the display and the flashing cursor moves to the next position. You can change the letter type.
To insert a space, press CLEAR.
If you’ve made a mistake
Press =or + until the letter you want to change flashes, then press the correct letter button.
4Press FILE to store the Disc Memo. “MEMO FILE” appears for a while, then the display shows the Disc Memo. “MEMO” in the Custom File indication lights up in the display.

 You can assign the Disc Memo while checking the disc labels
While the disc tray is open, follow Steps 2 and 3 to assign the Disc Memo to the disc in front of you. Press DISC SKIP to turn the disc tray and assign the Disc Memos to other discs. Then, press FILE to store the Disc Memo.
15