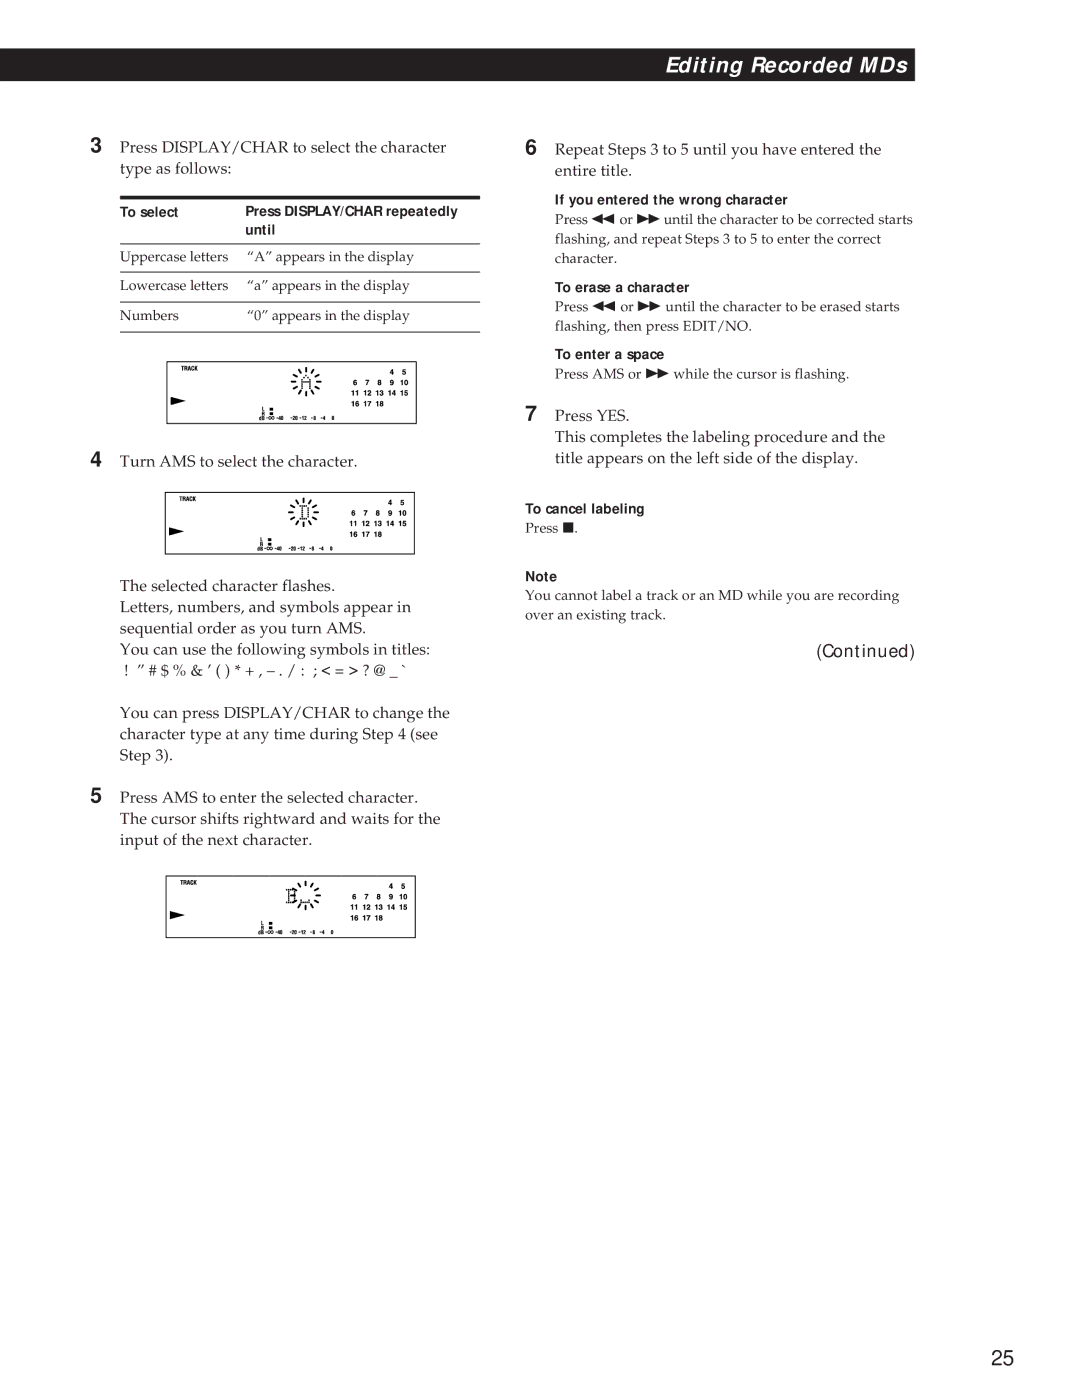
3Press DISPLAY/CHAR to select the character type as follows:
To select | Press DISPLAY/CHAR repeatedly | ||
|
| until | |
|
|
|
|
Uppercase letters | “A” appears in the display | ||
|
|
|
|
Lowercase letters | “a” appears in the display | ||
|
|
|
|
Numbers | “0” appears in the display | ||
|
|
|
|
|
|
|
|
|
|
|
|
4Turn AMS to select the character.
The selected character flashes.
Letters, numbers, and symbols appear in sequential order as you turn AMS.
You can use the following symbols in titles:
!” # $ % & ’ ( ) * + ,
You can press DISPLAY/CHAR to change the character type at any time during Step 4 (see Step 3).
5Press AMS to enter the selected character. The cursor shifts rightward and waits for the input of the next character.
Editing Recorded MDs
6Repeat Steps 3 to 5 until you have entered the entire title.
If you entered the wrong character
Press 0 or ) until the character to be corrected starts flashing, and repeat Steps 3 to 5 to enter the correct character.
To erase a character
Press 0 or ) until the character to be erased starts flashing, then press EDIT/NO.
To enter a space
Press AMS or ) while the cursor is flashing.
7Press YES.
This completes the labeling procedure and the title appears on the left side of the display.
To cancel labeling
Press p.
Note
You cannot label a track or an MD while you are recording over an existing track.
(Continued)
25
