Recording Over Existing Tracks
Follow the procedure below to record over existing material just as you would on an analog cassette tape.
6
¤ 0 ) Ḡp r
• | • |
|
• | • |
|
• | • | • |
• |
| • |
• |
| • |
• |
| • |
• |
| • |
-AMS ±
á P p
=/+![]() = + r
= + r
0 )
1Do Steps 1 to 5 in “Recording on an MD” on page 6.
2Turn AMS (or press = or +) until the number of the track to be recorded over appears.
3To record from the start of the track, continue from Step 6 in “Recording on an MD” on page 7.
While “TRACK” flashes in the display
Thedeckisrecordingoveranexistingtrack,andstops flashingwhenitreachestheendoftherecorded portion.
To record from the middle of the track
1 AfterStep2above,press | ß(or á)tostart |
playback.
2 Press ß(or P)whereyouwanttostartrecording.
3ContinuefromStep6in“RecordingonanMD”on
page7.
Note
Youcannotrecordfromthemiddleofanexistingtrackwhen the“PROGRAM”or“SHUFFLE”ison.
Recording on MDs
Adjusting the Recording Level
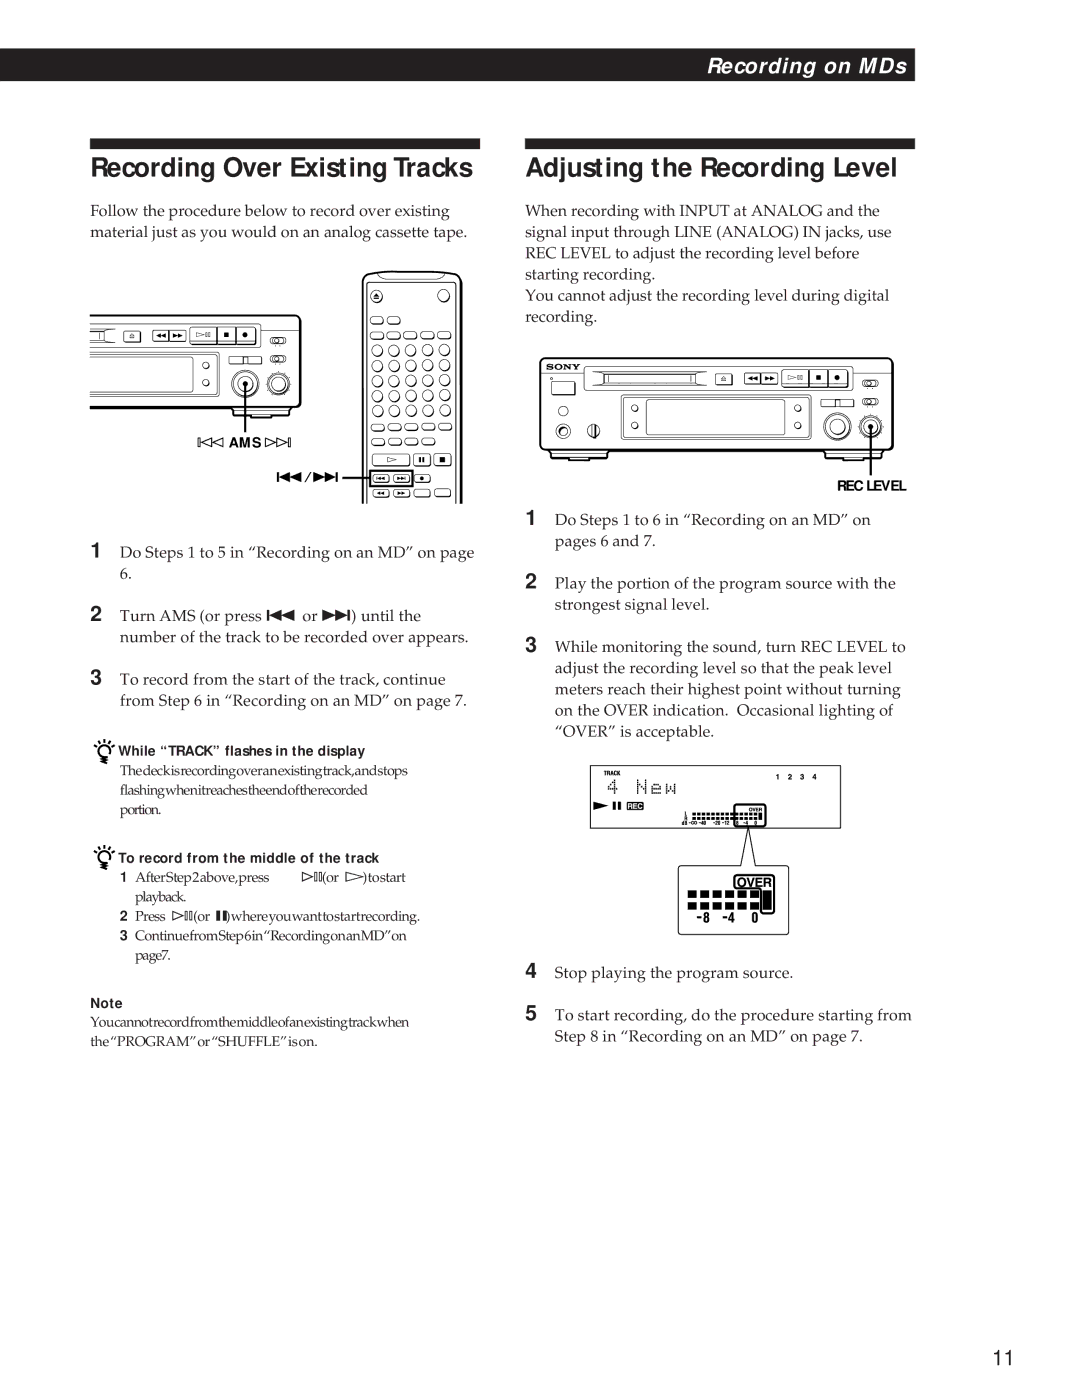
When recording with INPUT at ANALOG and the signal input through LINE (ANALOG) IN jacks, use REC LEVEL to adjust the recording level before starting recording.
You cannot adjust the recording level during digital recording.
¤ 0 ) Ḡp r
• | • |
|
• | • |
|
• | • | • |
• |
| • |
• |
| • |
• |
| • |
• |
| • |
REC LEVEL
1Do Steps 1 to 6 in “Recording on an MD” on pages 6 and 7.
2Play the portion of the program source with the strongest signal level.
3While monitoring the sound, turn REC LEVEL to adjust the recording level so that the peak level meters reach their highest point without turning on the OVER indication. Occasional lighting of “OVER” is acceptable.
4
5 To start recording, do the procedure starting from Step 8 in “Recording on an MD” on page 7.
11
